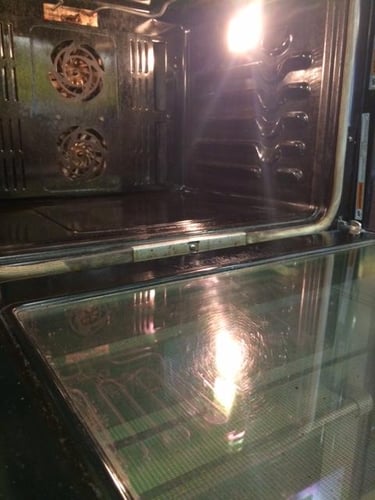
It seems like our ovens are always on at The Chopping Block. From baked granola and frittatas in the morning to roasted vegetables and meats at night, we’ve always got something in the oven. And of course, with each dish that goes into the oven, a little something always stays behind: residues, spill-overs, and grease. It’s all in the nature of the business, and it wouldn’t be cooking if things didn’t get a little messy.
In your home kitchen, you’re not likely to end up with as much mess as we do, after weeks of nonstop baking, roasting and charring. But even a few batches of cupcakes, or a couple of those late-night frozen pizzas can leave your oven pretty grimy after a few uses.
It’s recommended that you clean your oven every 3 to 6 months, depending on how frequently you use it. However, I don’t meet too many people who clean their oven every three months, especially in the summer. Self-cleaning oven cycles pop the oven up to 800, even 1000 degrees Fahrenheit for a few hours: not a kitchen I want to be in the middle of July! Thankfully, you can easily detail-clean your oven between regular cleanings without the heat. The racks, the glass and the interior of the oven can all be cleaned with a few basic household products and these easy steps.
1. Soak the racks.
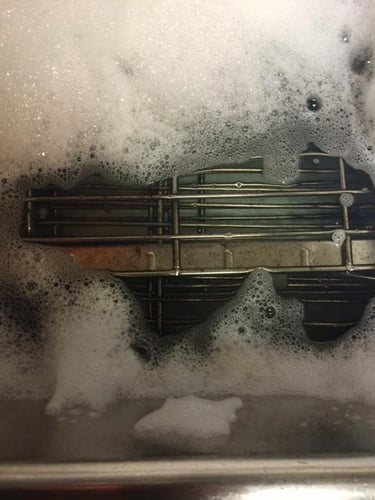
The racks of your oven are the only part that you can remove, so you can soak them to shortcut a little bit of the scrubbing. The racks catch a lot of spill-overs and residues, so you’ll want to soak them in hot water with a little added cleaning product to help break it up. At The Chopping Block, we use ammonia: about a quarter cup for a full sink. However, if you don’t have ammonia around the house, dish soap works just fine.
In our prep kitchens, we have pretty big sinks, but your home sink will most likely be too small for your racks. In this case, lay the racks at an angle in your sink so that they’re halfway submerged, then rotate them after half an hour to soak the other half. If you want, you can even soak the racks in your bathtub to avoid having to flip them. Once they’re in the water, leave them for about an hour.
2. Use non-abrasive cleaners and tools.
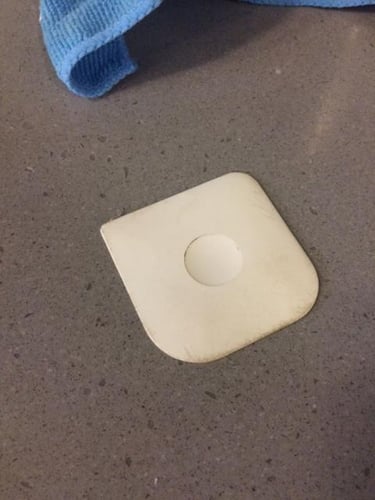
When cleaning your oven window and exterior, you have two goals. The first is to get it clean, obviously. But the second is to clean without causing any damage. It’s not very often that you buy a new oven, so you want to keep it in great condition for many years. Since a lot of cleaning products are abrasive, they can scratch the glass and metal of your oven, and make a lot of unsightly marks. To clean the doors without scratching them, use a little dish soap, a soft sponge and a plastic scraper. As opposed to steel wool or a metal scraper (the kind used for grills), a plastic scraper won’t leave any scratches on your glass or oven door. If you don’t have a plastic scraper for cleaning around the house, use the next best thing: an old credit card or grocery rewards card! Here’s the plastic scraper we use on our ovens:
3. Never use too much water.
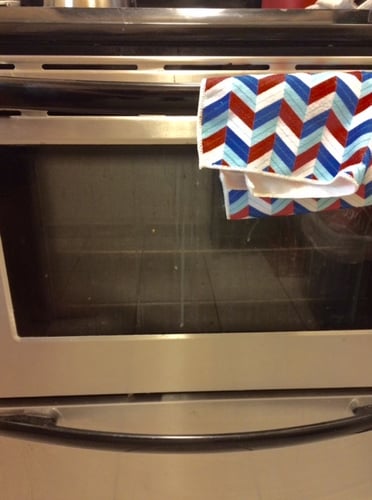
Always make sure not to use too much water when cleaning your oven’s door: we’ve all seen those ovens with water streaks between the glass panes. The oven in my apartment was like this when I moved in, and it’s pretty frustrating to look at. These water marks are caused by cleaning with too much water, and letting that water soak into the oven door’s seal. This is very expensive to fix, so you’ll probably be stuck with it until you buy a new oven. At The Chopping Block, our door seals are made from a cloth-like material, so they’re extra-susceptible to soaking and retaining excess water. Here’s a picture of my oven at home: this is exactly what you want to avoid.
4. Carefully scrub and scrape your oven window.
The glass of your oven door can become pretty dirty over time. Even if you meticulously clean your kitchen surfaces regularly, a dirty oven window can betray its messy interior. Cleaning your oven window is a little more tricky than cleaning most glass, however, since simple glass cleaner won’t get rid of grease or burnt splatter marks. For this, you’ll need to do a little, careful scrubbing. Here’s an example of those burnt splatter marks that you’re looking to remove:
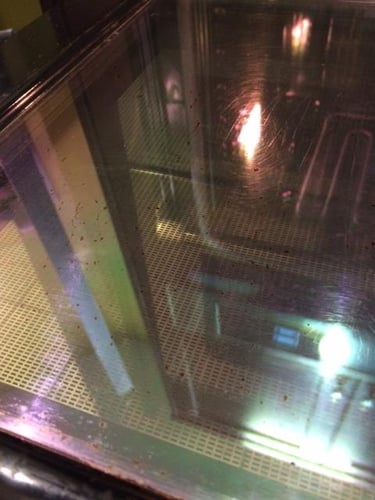
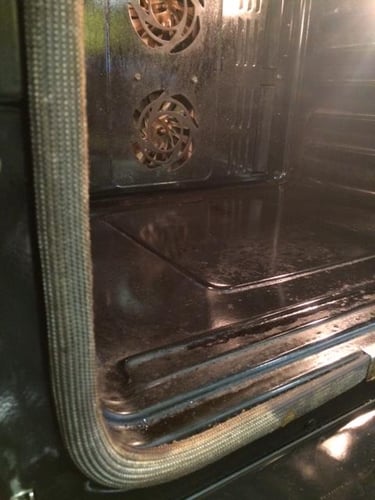
To clean the glass, prepare some soapy water. Dip your sponge in, then wring it out so that it’s barely damp. Begin scrubbing the inside and the outside of the oven’s glass, making sure that water never drips or runs towards the edge of the door. Then, begin to scrape away any built up residue with the plastic scraper. Continue until you’ve removed the grease and spots. Carefully rinse and wipe away the soap, then finish by applying a small amount of glass cleaner and wiping. Again, avoid the oven’s door seal, pictured here.
5. Clean the oven’s interior.
You can use the same, soapy water for the inside of the oven. With the racks removed, you should be able to reach in easily and wipe away any loose debris. Alternate scrubbing any stuck-on residue and scraping with the plastic scraper, but don’t overwork yourself. Many baked-on spots won’t come off until you have time to give your oven a self-clean. Wipe down the inside of the door as well, but again, make sure that you don’t use too much water.
6. Scrub and replace the racks.
While steel wool is off limits for the glass and interior of the oven, you can use it for the racks. While they’re in your sink (or bathtub), scrub away the burnt-on char with some steel wool or the abrasive side of a sponge. Once they’re clean, dry them off and put them back into the oven.
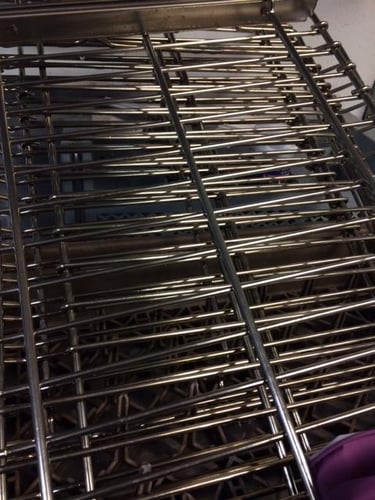
That’s it! Not so bad, right? If you find that these methods don’t remove as much residue as you like, you can leave your oven on for 15-30 minutes at 350 degrees to loosen up some of the grime. Completing this process every few months will keep your oven looking much nicer between normal self-cleaning cycles, and will save you the hassle of running that 1000 degree cycle in the middle of summer.


