I just got back from a two-day cheese making class at the Ploughshare Institute in Waco, Texas. I couldn’t have been more pleased with the class. When I take classes, I am always looking for ways to break down the information so that I can teach a home cook how to recreate the technique at home or a chef to use on a small scale.
Most cheese making classes are geared toward the commercial side of cheese making; they are highly technical and require a ton of specialty equipment. But the Ploughshare Institute did the work for me. The classes were incredibly well organized and the techniques were all ones that could be duplicated at home.
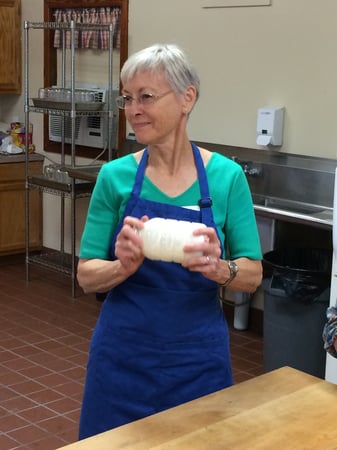
What was really great about the first day of class was the flow, which this blog series will mirror. We actually started by making butter.
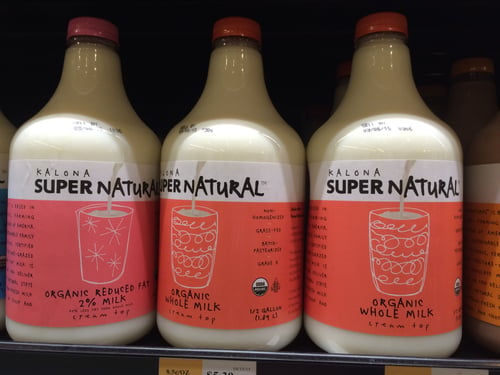
I used to make butter when I was a little girl, and I loved the experience of making it as much as actually eating the butter! Anyone can do this, and it's really fun to do with your kids. There is just one essential ingredient: cream. We actually used skimmed cream from some raw milk alongside cream that we skimmed from a low temperature, un-homogenized milk… in our area the brand you can find is Kalona Farms. You can use regular pasteurized heavy cream as well if that is what you can find.
What we did was simple: fill an old mayonnaise jar half full with the cream… you need space in the jar so do not fill it more than halfway. Put the lid on tight and shake the jar until the milk separates from the cream and the cream turns into butter.
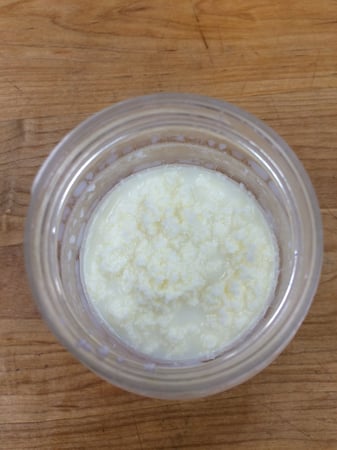
You will see a complete separation and the butter will form in clumps.
You can also whip the cream with a hand mixer until the same thing happens. Milk will separate from the cream completely and you end up with a solid mass of over-whipped cream, which is butter. We mixed in a little salt into the butter which is great for eating, just not baking. You can freeze or refrigerate the butter if you don’t eat it all!
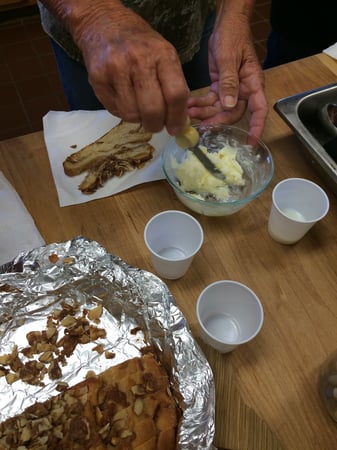
The leftover milk from making the butter is now skim milk because we separated the fat (butter) from the milk when we whipped it. Now you have this beautiful milk to turn into buttermilk!
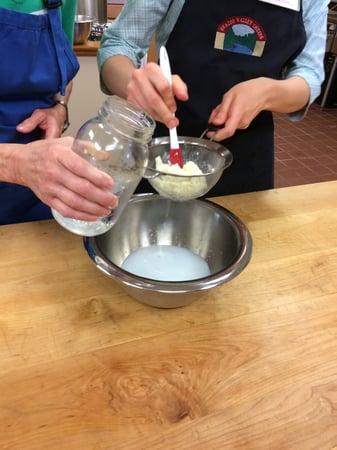
The easiest way to make buttermilk the first time is to whisk in ¼ cup of cultured buttermilk from the store into 1 quart of skim milk heated to 80 degrees.
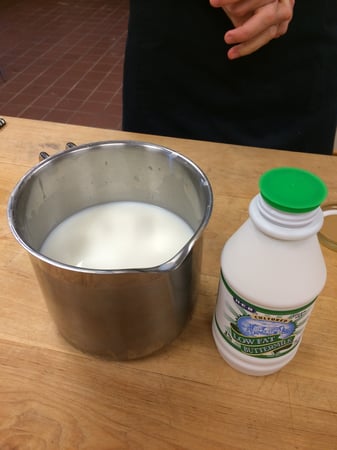
If you don't have leftover milk from making butter, you can just use purchased skim milk. Put the mixture in a sterilized glass jar with a lid and wrap the milk mixture in a towel and let set out at between 70 and 80 degrees for 12 hours, and you have buttermilk!
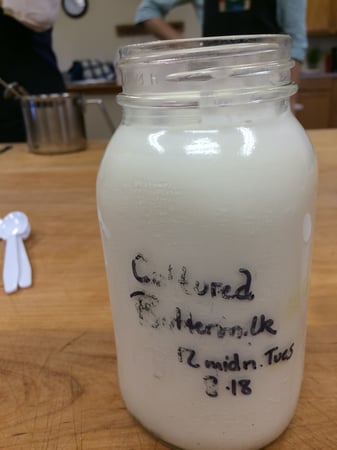
You then have fresh buttermilk that you can add to skim milk, so you do not need to use store bought when you make more in the future. Be sure to store your buttermilk in the refrigerator.
To make sour cream, whisk in ¼ cup of your fresh buttermilk into 4 cups of heavy cream. Put the mixture in a sterilized glass jar with a lid and wrap that in a towel and keep at 70 to 80 degrees until thick, about 24 hours. And voila, you have sour cream!
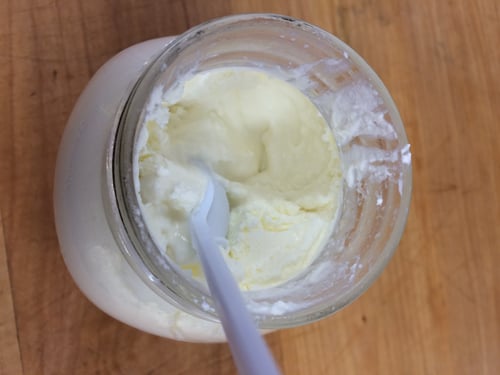
It’s best to completely chill it before using and before you go on to the next step of turning your sour cream into cream cheese. I'll cover the cheese making process in my next blog, so stay tuned!
If you can’t wait until next month for your cheese fix, give this ricotta recipe a try, and check out some of The Chopping Block's cooking classes that feature cheese!
