
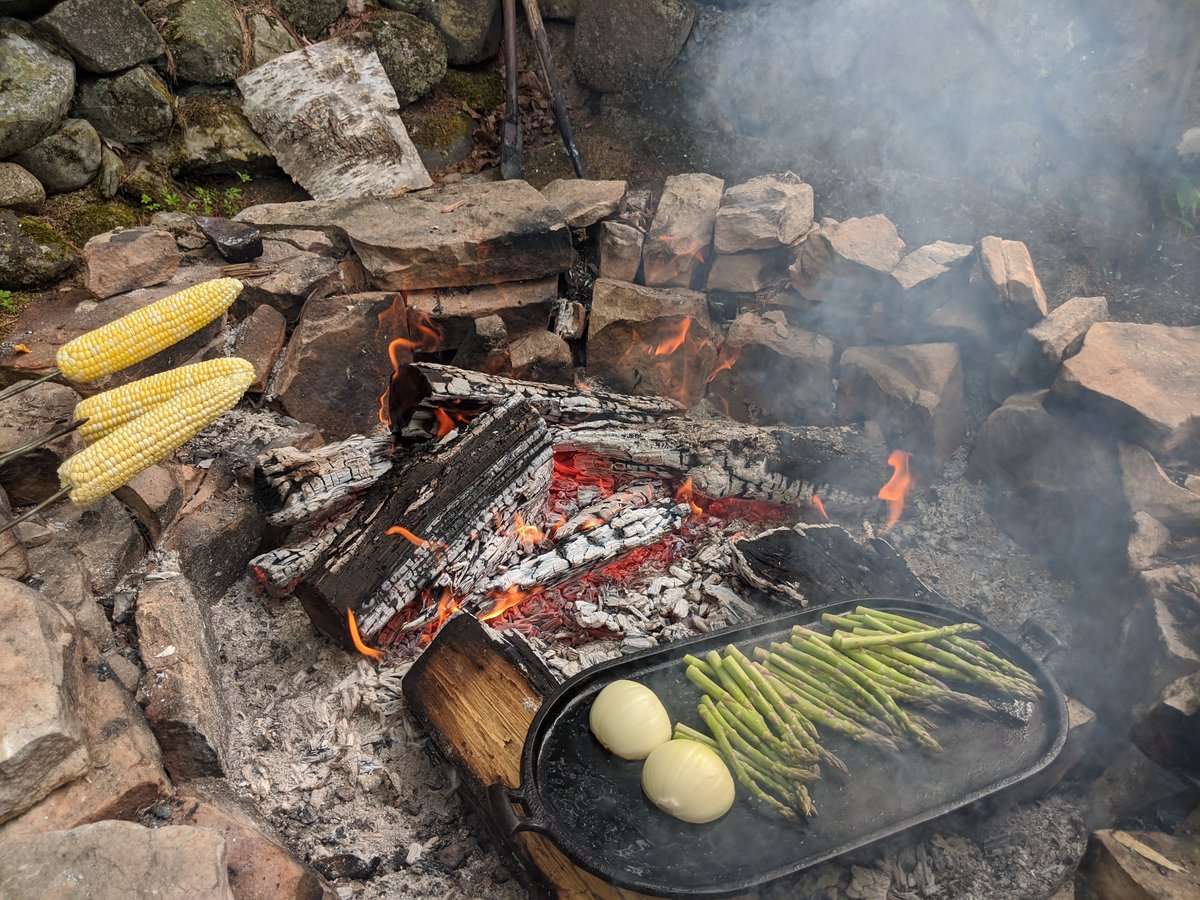
Cooking over an open flame is often romanticized, but at its core, it is a lesson in thermodynamics. Whether you are working with wood, charcoal, or gas, mastering fire is less about following a recipe and more about reading the stages of heat. Professional cooks and experienced home barbecue enthusiasts alike know that managing fire is an active, ongoing conversation between the fuel, the oxygen, and the food.
To understand fire cooking, you must move past the idea of an "on" or "off" switch and learn to recognize how different heat sources behave at various stages of their lifespan.
The Dynamics of Fuel: Wood, Charcoal, and Gas
Each fuel source dictates your relationship with the ingredient. Understanding how they generate heat is the first step toward controlling them.
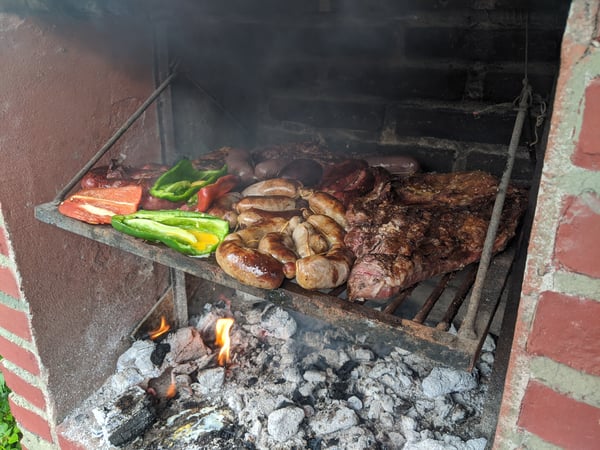
- Gas: Gas offers precision and predictability. It provides pure, instant ambient and conductive heat without the variable of fuel degradation. However, it lacks the complex flavor compounds produced by combustion byproducts like wood smoke.
- Charcoal: Charcoal briquettes or lump charcoal provide intense, steady radiant heat. Lump charcoal burns hotter and faster, responding quickly to oxygen changes, while briquettes offer a dependable, level burn rate.
- Hardwood: Wood is the most complex fuel. It introduces a timeline. You cannot cook directly over a freshly ignited log; you must wait for the wood to break down structurally into coals to avoid bitter, acrid soot on your food.
The Three Stages of a Cooking Fire
A solid fuel fire moves through distinct phases, and each phase serves a specific culinary purpose. Managing your timeline means matching your ingredients to the appropriate stage of the fire.
1. The Kindergarten Stage (High Flamage, Low Coals)
When wood or charcoal is first ignited, volatile compounds are rapidly burning off. The flames are high, yellow, and unstable.
- The Environment: Pungent, thick white smoke and intense, erratic direct heat.
- What to Cook: Nothing. Cooking during this phase soot-stains the food and imparts an unpleasantly bitter, resinous flavor. Wait for the fuel to ash over.
2. The Sweet Spot (Active Ember Bed)
This is where the majority of live-fire cooking happens. The flames have subsided, and the charcoal or wood has collapsed into glowing, ash-covered embers.
- The Environment: Intense, steady radiant heat. The smoke shifts from thick white to a translucent, pale blue.
- What to Cook: This is your searing and roasting window. Steaks, charred vegetables, and spatchcocked chickens thrive here. The heat is high enough to trigger the Maillard reaction efficiently without burning the exterior before the interior cooks through.
3. The Dying Ember Bed (Low, Sustained Heat)
As the embers spend their energy, they become covered in a thick layer of grey ash, radiating a gentle, deeply penetrating heat.
- The Environment: Low, highly stable indirect heat with minimal risk of flare-ups.
- What to Cook: This is the ideal zone for slow-roasting tough cuts, smoking fish, or baking flatbreads directly on the ash.
Thermal Strategy: Spatial Heat Control
Unlike a kitchen stove, you do not control live fire simply by turning a dial; you control it by moving the food relative to the heat source.
The most fundamental technique for both home and professional live-fire setups is the two-zone fire. By banking your charcoal or wood embers strictly to one side of the hearth, you create two distinct cooking environments in a single chamber:
- The Direct Zone: Located directly over the embers. This utilizes intense radiant heat to quickly sear protein surfaces, render fat, and develop crusts.
- The Indirect Zone: Located on the empty side of the grill. Here, the heat cooks the food via convection—hot air circulating around the ingredient, much like an oven. This allows large cuts of meat to cook gently to the center without scorching the outside.
For gas grill users, this same dynamic is achieved by turning on only one set of burners and placing the food over the unlit section.
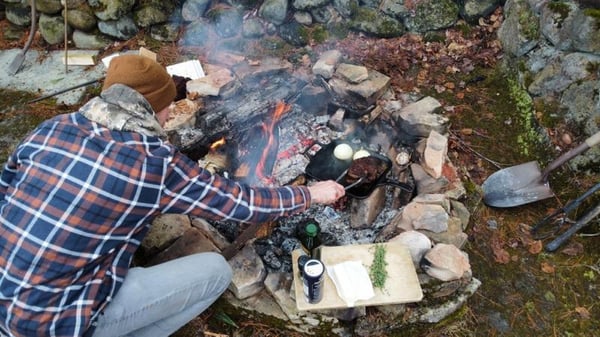
Don’t forget, just because you’re cooking over life fire doesn’t mean you can’t take advantage of some excellent tools like cast iron pans
Learning to navigate these physical zones—and recognizing when your fire has transitioned from an unruly flame to a stable ember—is what bridges the gap between frustration and mastery. Fire is a tool of patience. Once you learn to read its stages, you gain control over an entirely new level of depth of flavor.
I hope this post can take a little of the intimidation out of cooking with live fire. Whether you’re making coal-fired pizzas, camping with cast iron, or simply want to make the best burger you can hone your skills with us this summer at one of our Grilling Classes.
