
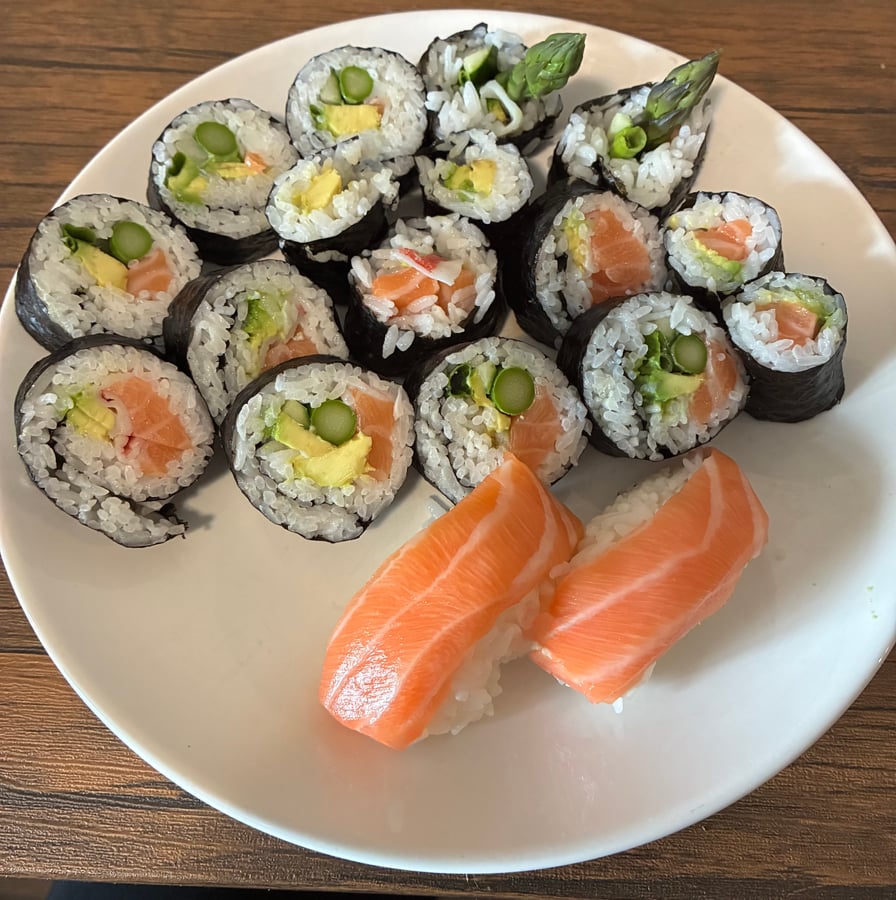
If you’re a home cook who loves sushi, you may or may not have considered making it at home. You may have researched how to make it and realized you were in over your head and decided it was best to leave it to the pros — restaurant sushi tastes better anyway.
Or maybe you did try to make it at home and it was a disaster: the rice came out mushy, the rolls fell apart, and you ordered take out instead, your sushi dreams all but crushed.
If this sounds like you, don’t worry. I’m here to help.
Now, if you’re hoping to learn how to properly roll sushi, you won’t find that in this post. You’ll have to take one of our sushi classes for that. But what I can do is show you the correct way to make sushi rice, which will make rolling the sushi significantly easier if and when you decide to learn the technique. It can also open plenty of avenues for making other dishes that involve sticky rice, like onigiri (Japanese rice balls).
If you were to ask a chef what the most important part of sushi is, they would all agree it’s the rice. Master sushi chefs actually spend years perfecting their rice alone. Sure, the quality of the fish plays an important role too, but if that fish is paired with some poorly made rice, the entire experience is ruined. And if I’m being honest, making a good pot of sushi rice takes a little more finesse than simply following the directions on the bag. Trust me, I’ve read them. They’re not always accurate.
So, let me break down the steps to making a restaurant-worthy batch of sushi rice, while explaining the importance of each step.
Step One: Choose Your Rice
Not all rice is created equal, and the kind of rice you use absolutely matters. While this may be obvious, it’s still worth mentioning for all the sushi beginners out there. Under no circumstances should you use any type of rice that isn’t labeled as ‘sushi rice’. This is because the rice is a specific type of short-grain Japanese rice with high levels of starch, which is where that distinct stickiness comes from. Without that, your sushi won’t hold together.
I’m not going to get into the different types of brands out there. Just pick up whatever you can find. Following this method will take care of the rest.
Step Two: Rinse the Rice
Even though the high starch is an important factor in sushi rice, you still want to rinse off the excess. This ensures your rice doesn’t come out too gummy or have an overly starchy taste. Trust me, you don’t want to skip this step.
Now there is some technique that goes into this. For starters, you want to avoid rinsing your rice in a strainer. While it may seem practical, the rough texture of a strainer is enough to break apart those delicate grains, leading to mushy rice. Instead, place your rice in a pot or bowl, fill it with cold water, and use your hand to gently agitate it. Pour off the water and repeat this process at least 5 times to ensure as much excess starch is removed as possible.
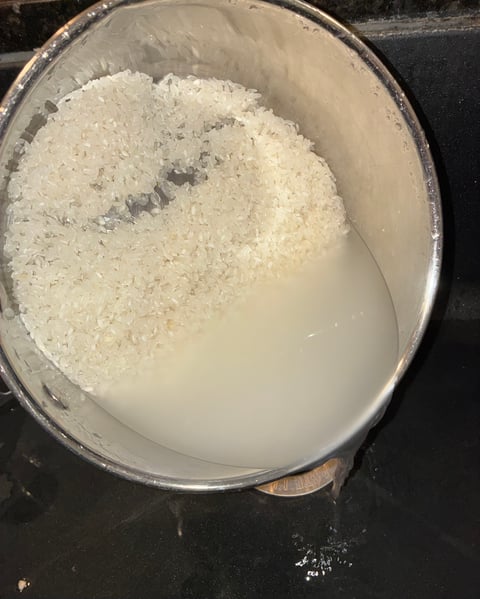
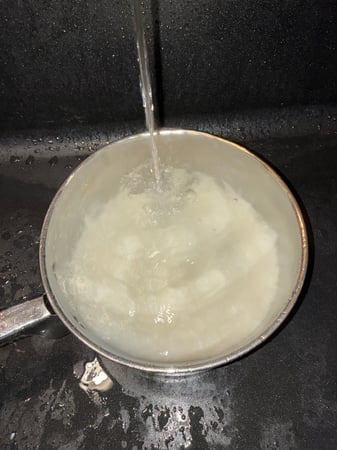
Note: To ensure as much starch is removed as possible, I also recommend running the water over the pot of rice until the water is no longer cloudy.
Step Three: Soak the Rice
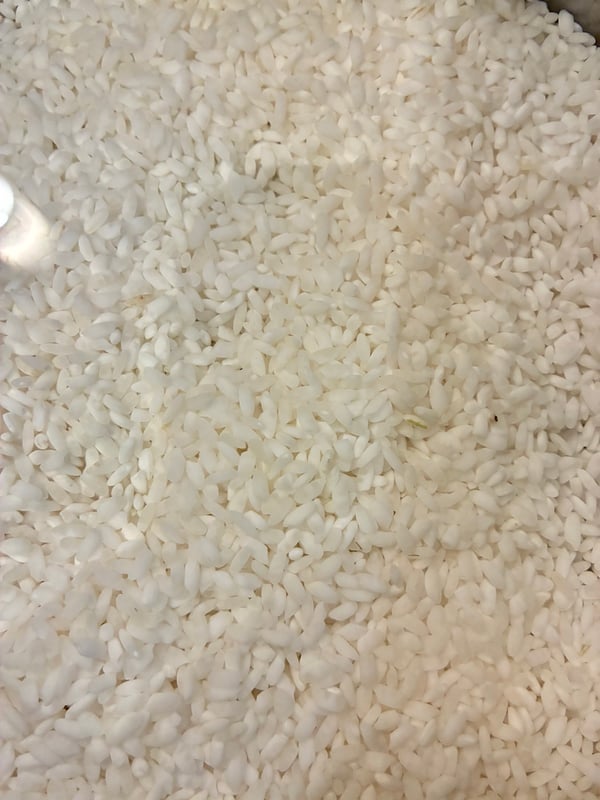
Another step you absolutely shouldn’t skip is soaking the rice. Soaking allows the grains to absorb water more easily and evenly, ensuring the entire batch cooks at an even pace and comes out nice and fluffy.
I recommend soaking your rice for 20-30 minutes — you’ll know it’s ready when the grains turn white and opaque. Once it’s ready, drain the rice one more time, then fill your pot with fresh water.
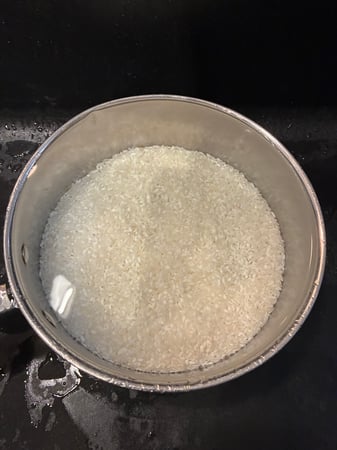
Before soaking
After soaking
Step Four: Use the Correct Ratio of Water
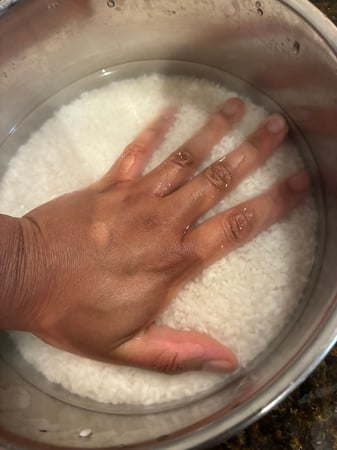
Searching online for the correct water to rice ratio may yield different results. Some sources might say 1:1 is correct, while others say 1.5:1. I’ve even seen 1.1 or 1.2:1, which involves way too much math for me. At The Chopping Block, our tried and true method for measuring the water is laying your hand flat on the rice and measuring the water up to the first knuckle on your index finger. It doesn’t matter how big or small your hand is — somehow, it works every time. I can’t explain it. Just trust us on this.
Step Five: Cook the Rice, Then Let It Steam
This is one of those instructions that some bags of rice get wrong. For example, the bag in my pantry says to cook the rice for 20 minutes (and it doesn’t even say to soak it!). For any chef, the golden rule for rice across the board is to simmer for 15 minutes, then let it rest off heat (without lifting the lid!) for another 10 minutes. Forget everything else you may have learned about rice. I promise if you follow this timing, your rice will always come out perfect.
Note: If making the rice on the stovetop, be sure to bring it to a boil first before covering it and dropping it to low. Don’t start your timer until after you’ve dropped it to a simmer.
Step Six: Season the Rice
The final step to your rice that I think often gets overlooked is seasoning. You know how sushi rice has that slightly sweet and sour flavor that perfectly complements the fish? That’s because it’s seasoned with a mixture of three ingredients: rice vinegar, sugar, and salt, called ‘sushi-su’. Our recommended recipe is 1 cup of rice vinegar, 2 tablespoons of sugar, and 2 teaspoons of salt. You can either mix this yourself, or buy a bottle of rice vinegar that’s already labeled as ‘seasoned’. I recommend mixing your own — it tastes better, and you get the same flavor every time.
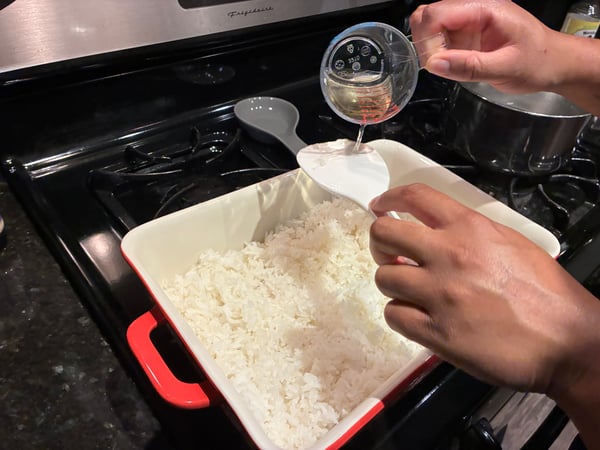
You always want to make sure you season your rice while it’s still hot. After it’s had time to steam off of heat, remove it by scraping the sides of your pot so the rice will fall out at once into a larger, wider vessel, like a 9x13 baking dish. Gently separate and spread the rice into a single layer. The ideal tool for this is a rice paddle, but a wooden spoon will work in a pinch. It’s important to use a gentle slicing motion here so you don’t mash the grains. Pour the seasoning over the back of your spoon and let it cascade onto the rice for even distribution. For 3 cups of rice, I recommend using 1/4 cup of sushi su. Stir it into the rice with a cutting and folding motion.
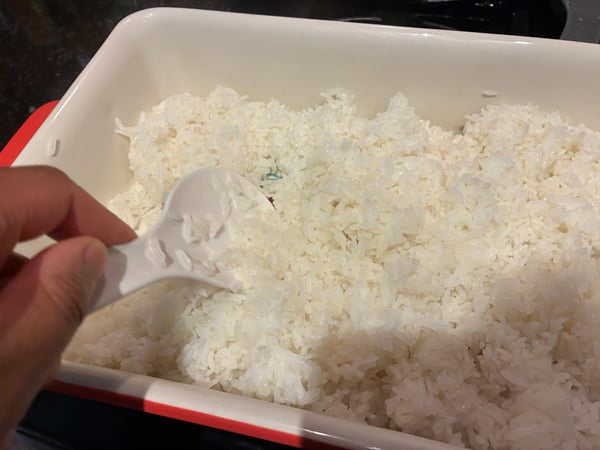
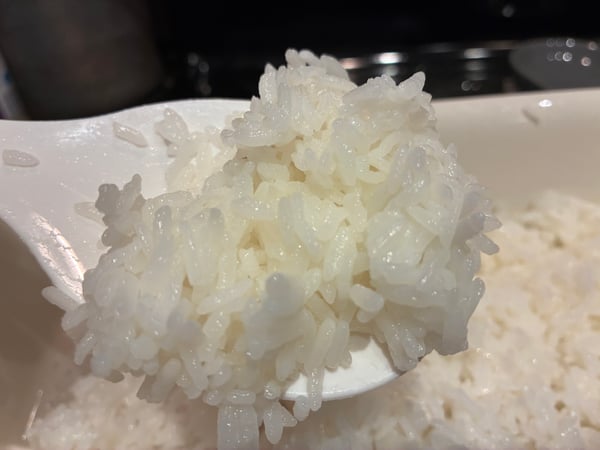
See how you can see each individual grain? That’s how you know you’ve made it correctly. The texture is sticky but not mushy, and it’s flavored to perfection.
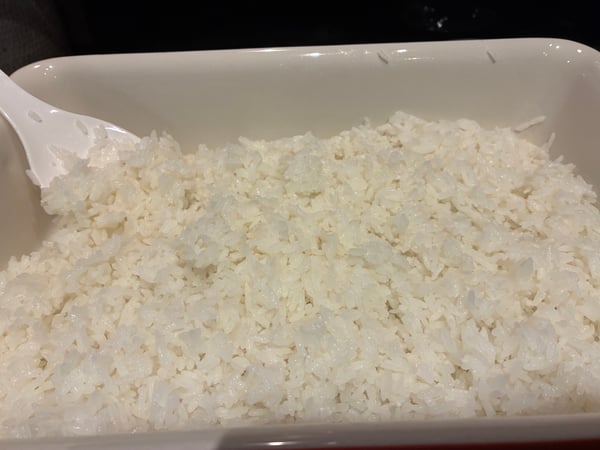
This process may seem more time consuming than you probably expected, but I promise it’s absolutely worth it. There’s nothing worse than taking a bite of sushi with mushy, poorly made rice. Use this guide to make your next batch of sushi rice, then go forth and impress your friends and family. They’ll be calling you their resident sushi chef before too long.
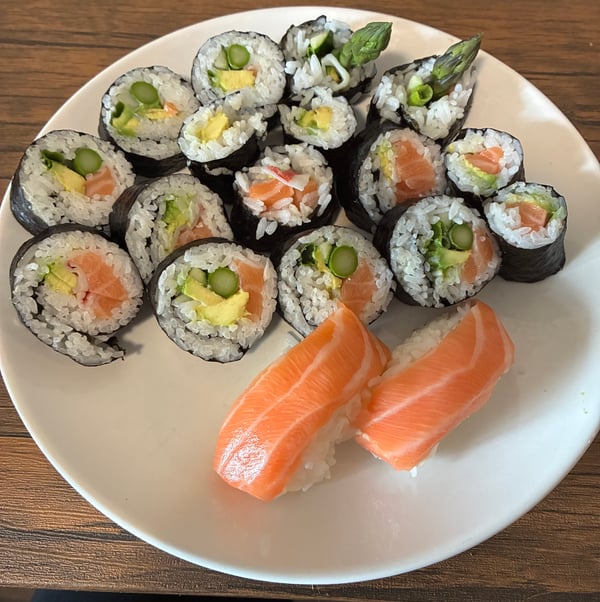
Want to see sushi rice being made at The Chopping Block? Check out this video.
Or, learn how to do it yourself in one of our upcoming hands-on Sushi Workshop classes:
