
The kids are out of school for the holidays, and some of you are taking a break from work this week even if that means just staying out of your home office this year. With all of this extra time on your hands, why not fire up the oven for some fun Christmas cookie baking? Whether you are making cookies for yourself, your family, your neighbors for a socially distant drop off, or Santa Claus himself, this week is the perfect time to whip up a batch (or two or three) of cookies to share the holiday spirit.
Executive Chef Lisa Counts recently taught a cookie baking and decorating workshop in conjunction with the Chicago Tribune and one of the techniques she demonstrated was a very cool marbling effect for sugar cookies. After watching this class, my friend and I were inspired to give it a go in my own kitchen. I don't typically have the patience to decorate lots of sugar cookies with intricate details, but this method couldn't be easier!
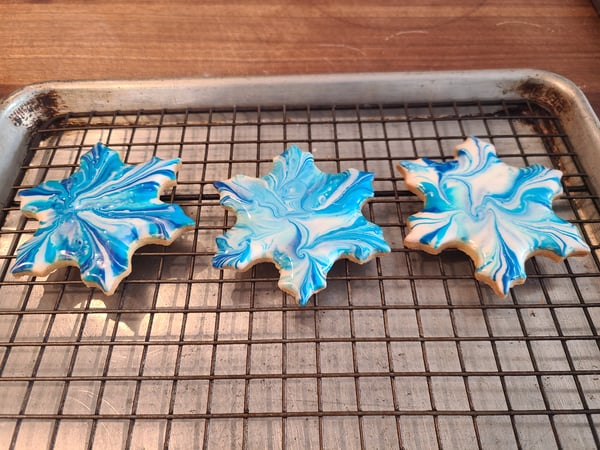
These are Lisa's cookies from the class. Marbling is one of those simple techniques that elevates a humble sugar cookie to something Instagram-worthy. First, you'll make sugar cookies and The Chopping Block's recipe below is a tried and true classic. Here's my friend Ashley and my dog Boz hard at work.

Once those cookies are baked and completely cool, divide your royal icing into as many bowls as you want colors. Drizzle the food coloring gel into the bowl and then use a skewer to swirl it around in different patterns (circles, stars, etc.).
Dip a sugar cookie straight into the icing. Move it gently back and forth to make sure it's completely covered in icing then lift it up face down, letting the extra icing drizzle off. Instantly, you have cookie art!
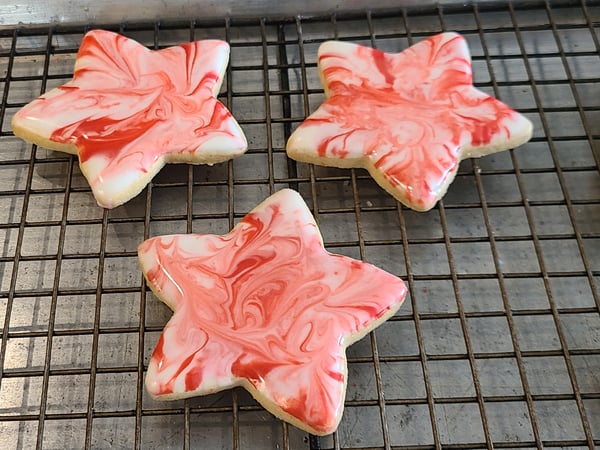
We decided to keep with traditional Christmas colors and focused on red and green cookies. The mashup of both colors also looked pretty cool!
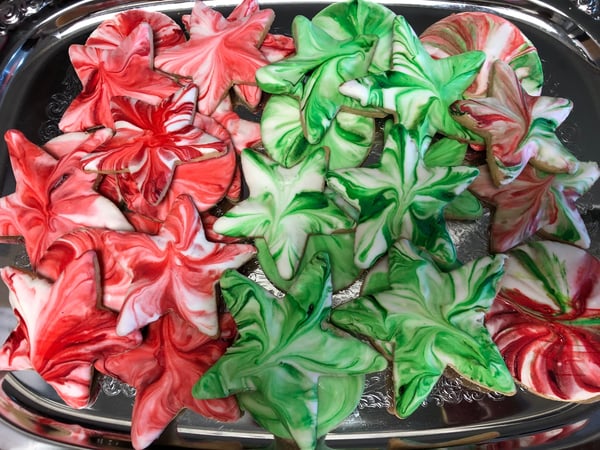
The Daily Meal edited a video from the class if you want to see Chef Lisa in action with this technique. Click here to watch it.
Classic Sugar Cookies
Scroll down for a printable version of this recipe
Yield: 2 dozen 2 1/2-inch cookies
Active time: 15 minutes
Start to finish: 1 hour 30 minutes
2 cups all-purpose flour
1 teaspoon baking powder
1/4 teaspoon fine sea salt
1 1/4 sticks (10 tablespoons) unsalted butter, softened
3/4 cup granulated sugar
1 egg
1 1/2 teaspoons vanilla extract
1. Place flour, baking powder and salt in a medium mixing bowl. Whisk together until well combined.
2. Cream butter and sugar, using an electric mixer, until light and fluffy, about 5 minutes. Add egg and vanilla and mix thoroughly.
3. Add flour mixture to wet ingredients. Mix until combined.
4. Divide dough in half, flatten into a disk and wrap in plastic wrap. Refrigerate until firm, about 30 minutes.
5. Preheat the oven to 350°.
6. Dust your work surface with flour and roll the dough out to 1/8- to 1/4-inch thickness. Use cookie cutters to cut out festive shapes and place on parchment-lined sheet trays.
7. Bake for about 10 to 12 minutes, or until just golden brown around the edges. Ice with Royal Icing (recipe follows) and enjoy!
Royal Icing
Yield: 5-6 cups
Active time: 10 minutes
Start to finish: 20 minutes
3 egg whites, room temperature
4 1/2 cups powdered sugar
1/2 teaspoon cream of tartar
Pinch of salt
1/4 teaspoon vanilla extract
Assorted food coloring
1. Place the egg whites, powdered sugar, cream of tartar and salt in the bowl of a stand mixer fitted with a whisk attachment.
2. Mix on medium-low speed until blended. Add the vanilla, and increase the speed to medium high.
3. Continue beating until stiff peaks form, and the mixture has tripled in volume, 7 to 8 minutes.
4. Add food coloring to the icing, if desired, and mix well.
5. Remove the bowl from the mixer, cover tightly with plastic wrap and store at room temperature until ready to use, up to 6 hours.
6. When ready to use, transfer the icing to a piping bag and decorate your cookies.
7. Allow at least two hours for royal icing decorations to dry, at room temperature.
We couldn't stop at just sugar cookies, so we also made Thumbprints and Red Velvet Crinkle Cookies. All three cookies were so different in their techniques and taste, I couldn't really pick a favorite!
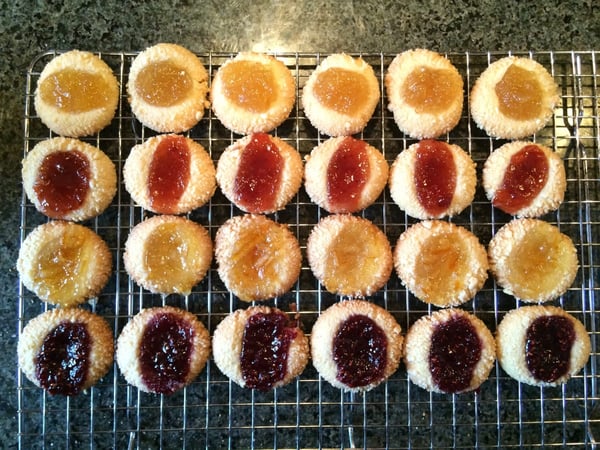
Thumbprint Cookies
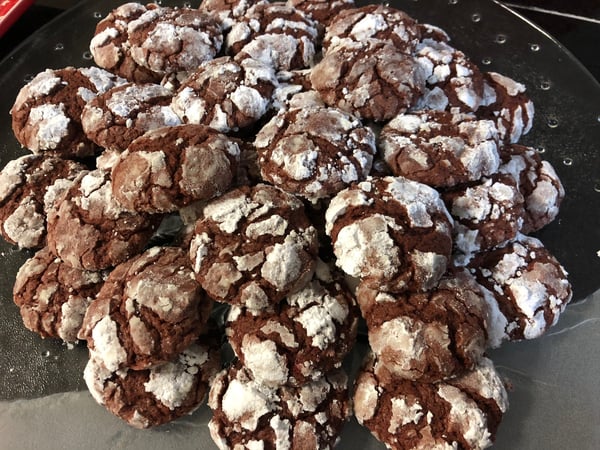
Red Velvet Crinkle Cookies
If you need more cookie inspiration, don't miss our Cookies for Santa virtual class this Thursday, December 24 at 11am CST. You'll learn how to make all of these for the jolly old man:
- Gingerbread Cookies with Vanilla Glaze and Sprinkles
- Jam-Filled Thumbprints Cookies
- Red and Green Peppermint Patties
Whether you bake with us virtually on Thursday or on your own, go ahead and join our private Facebook group and share your cookie creations with other home cooks.

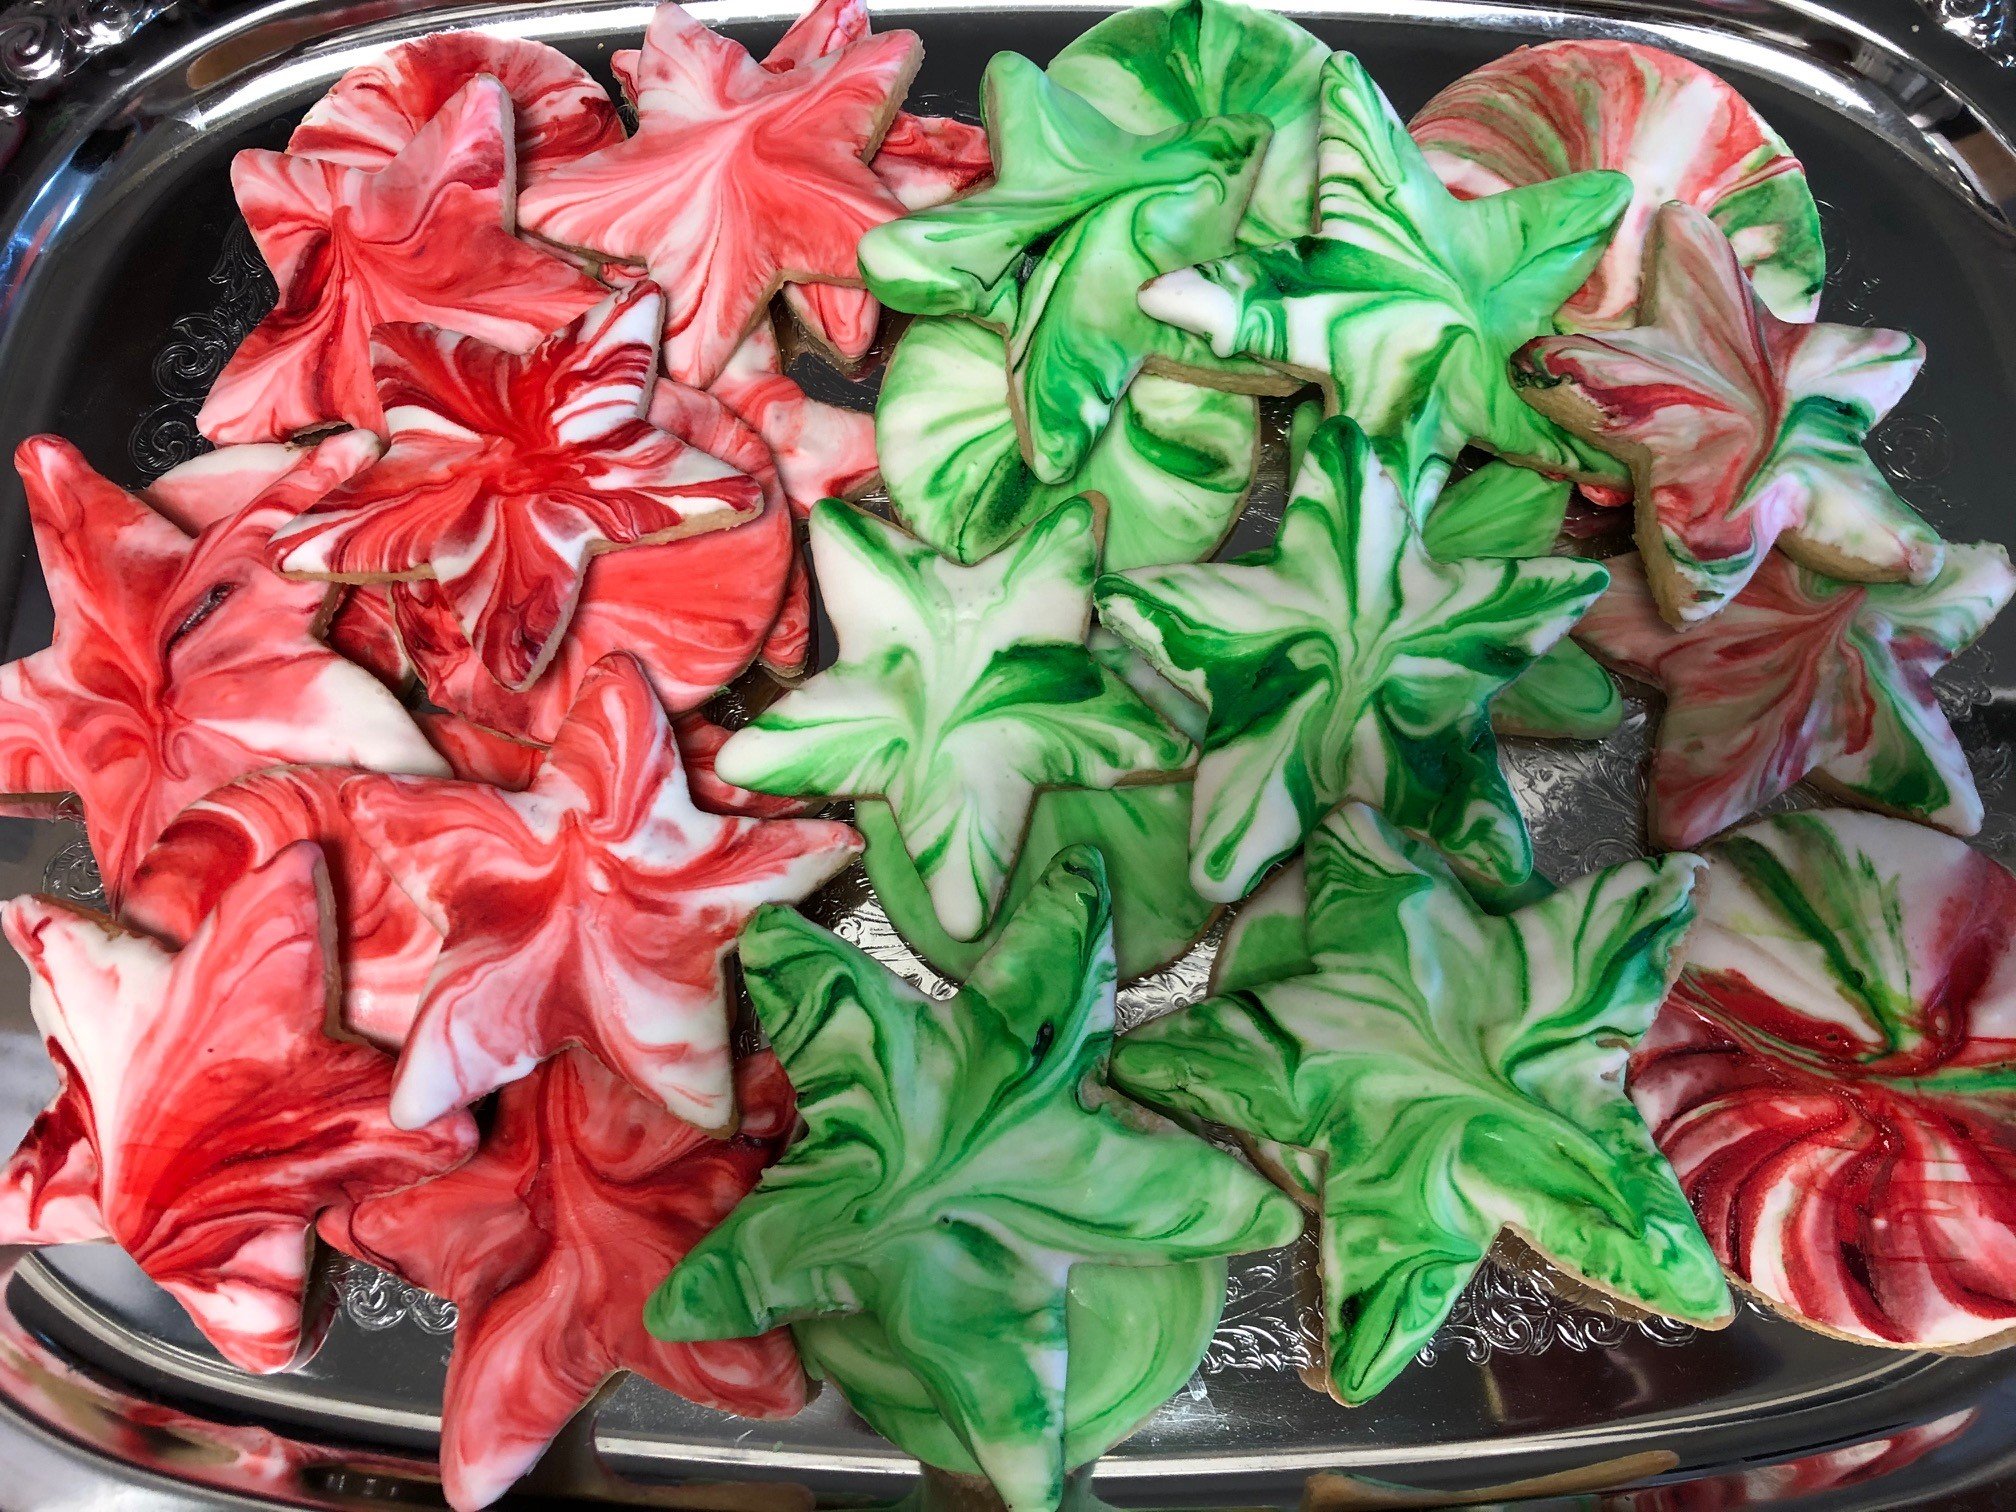
Sugar Cookies with Royal Icing
Ingredients
- 2 cups all-purpose flour
- 1 teaspoon baking powder
- 1/4 teaspoon fine sea salt
- 1 1/4 sticks (10 tablespoons) unsalted butter, softened
- 3/4 cup granulated sugar
- 1 egg
- 1 1/2 teaspoons vanilla extract
- 3 egg whites, room temperature
- 4 1/2 cups powdered sugar
- 1/2 teaspoon cream of tartar
- Pinch of salt
- 1/4 teaspoon vanilla extract
- Assorted food coloring
Instructions
- Place flour, baking powder and salt in a medium mixing bowl. Whisk together until well combined.
- Cream butter and sugar, using an electric mixer, until light and fluffy, about 5 minutes. Add egg and vanilla and mix thoroughly.
- Add flour mixture to wet ingredients. Mix until combined.
- Divide dough in half, flatten into a disk and wrap in plastic wrap. Refrigerate until firm, about 30 minutes.
- Preheat the oven to 350°.
- Dust your work surface with flour and roll the dough out to 1/8- to 1/4-inch thickness. Use cookie cutters to cut out festive shapes and place on parchment-lined sheet trays.
- Bake for about 10 to 12 minutes, or until just golden brown around the edges. Ice with Royal Icing (recipe follows) and enjoy!
- Place the egg whites, powdered sugar, cream of tartar and salt in the bowl of a stand mixer fitted with a whisk attachment.
- Mix on medium-low speed until blended. Add the vanilla, and increase the speed to medium high.
- Continue beating until stiff peaks form, and the mixture has tripled in volume, 7 to 8 minutes.
- Add food coloring to the icing, if desired, and mix well.
- Remove the bowl from the mixer, cover tightly with plastic wrap and store at room temperature until ready to use, up to 6 hours.
- When ready to use, transfer the icing to a piping bag and decorate your cookies.
- Allow at least two hours for royal icing decorations to dry, at room temperature.

