
I love researching recipes! If you were to look at my email inbox folder, you would find hundreds of saved recipes. Most have become like old friends that I just can’t seem to let go, and I’m always appreciative of having them just a few clicks away. Upon review, the majority of these emails are dessert recipes, with chocolate as the main ingredient.
I do happen to have a huge love for chocolate. I don’t go to bed at night until I have my nightly indulgence of a couple of squares of dark chocolate.
My all-time favorite dessert is chocolate cream pie, but I very seldom make it myself. I’ve tried to duplicate the exact one that my grandmother used to make that I had in my early teens before she passed away. Her pie crust was always so buttery, flaky and crisp, and her chocolate filling contained the perfect amount of cocoa and sweetness. Sometimes I think my memories could be the recollections of a young boy who simply adored his grandmother so much that her baking skills always seemed like perfection. But I thank her practically every day for instilling in me a love and passion for cooking.
Lately, several recipes have been popping up in my inbox with the ingredient “black cocoa powder”. I’ve been extremely curious as to how exactly to use it in recipes and what the outcome would be.
“Black cocoa powder” is a highly processed form of cocoa powder. It’s ultra-Dutch processed, which means that it’s treated with an alkaline solution to reduce acidity. It is smooth and super dark, much darker than light brown natural cocoa powder, which is not as processed.
One of my favorite pastry chefs and cookbook authors, David Lebovitz, talks about the difference between Dutch-process and natural cocoa powder. He states that “Dutch-process cocoa powder is made from cocoa (cacao) beans that have been washed with a potassium solution, to neutralize their acidity. Natural cocoa powder is made from cocoa beans that are simply roasted, then pulverized into a fine powder.”
He also goes on to explain what exactly ‘Dutching’ does to cocoa powder:
“Aside from neutralizing the acidity, Dutching cocoa powder makes it darker and can help mellow the flavor of the beans. Some artisan companies in the United States don’t Dutch-process their cocoa as they claim their cocoa beans don’t need to be acid-neutralized. Most supermarket brands of cocoa powder in America, such as Hershey’s and Nestle, are natural cocoa powders.”
So, what is black cocoa powder? Black cocoa is cocoa powder that has been heavily Dutched. If you’ve ever eaten an Oreo cookie, then that will give you the best example of what exactly black cocoa powder tastes like. It has a strong, robust flavor. For that reason, it’s a good idea to use it in conjunction with another cocoa powder. It does do an amazing job of boosting the color of whatever you’re baking.
The first thing I really wanted to make using black cocoa powder was homemade Oreo cookies. I poured over many recipes, and the more research I did, the more confused I got about which one to try… there are so many!
First, I needed to get some black cocoa powder. That eventually led me down the research rabbit hole of which black cocoa powder to choose. I wanted to hop on the recipe pretty quickly while the iron was still hot and the interest was at its peak. I chose a cocoa powder that I could order and have delivered to me within a few days. I then settled on a recipe, but it used fluted edge cookie cutters to make the cookies with.
It occurred to me that I gave away my fluted edge cookie cutters to my sister a few years ago. She’s an awesome baker and at the time, I thought that she would get a lot more use out of them than I would. Who knew that years later I would get a hankering to bake some homemade Oreo cookies using fluted edge cookie cutters? So I had to order fluted edge cookie cutters. And much to my surprise, I couldn't get any online for at least two weeks. So I made something else using the black cocoa powder to test out while waiting for the cookie cutters to be delivered.
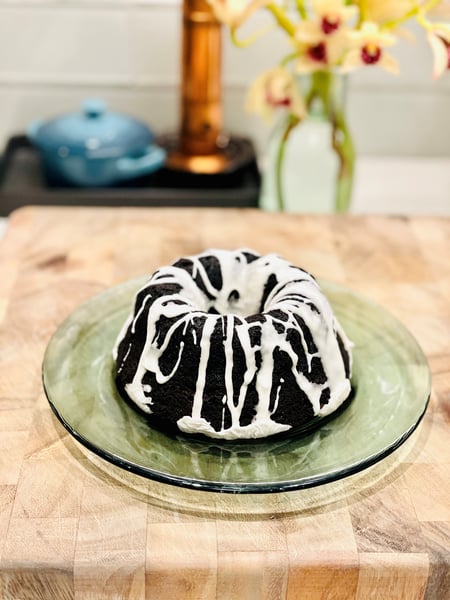
I chose to make a triple chocolate loaf pan cake so I could finally use the fancy fluted loaf pan that my niece and her husband gave me as a birthday gift. The cake came out beautiful! It released from the pan perfectly, and with every fluted edge intact. And then as I transferred it from the wire cooling rack to the cake plate that I was going to eventually drizzle the vanilla glaze on, it broke in half. So, I no longer had this beautiful loaf pan cake that I could photograph and include in this blog. But as luck would have it, there was some extra batter left. Enough to fill up one of the mini Bundt pans that I could take a photo of and show you.
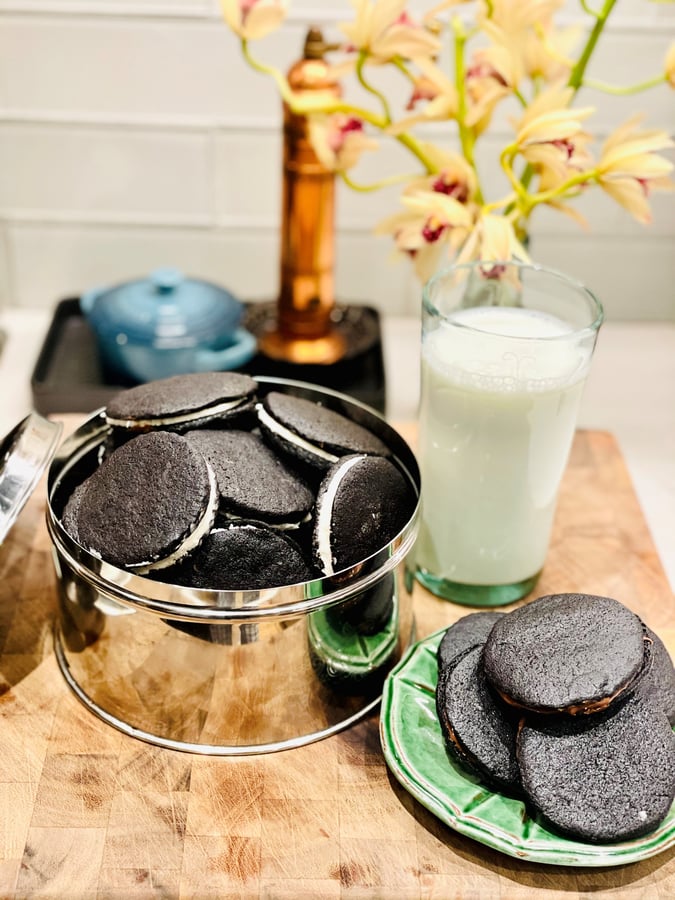
I have to say the taste of homemade Oreo cookies is so much better than the store-bought. But I have to be honest and completely transparent here. They are a bit of work to make, but so worth it in the long run. I cannot wait to make them again and try a couple of different ways of streamlining the process.
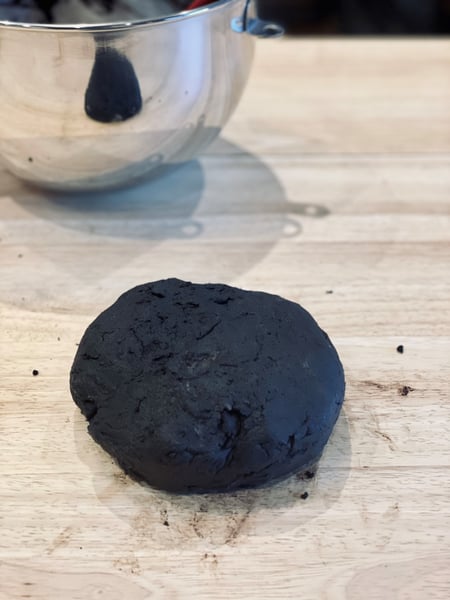
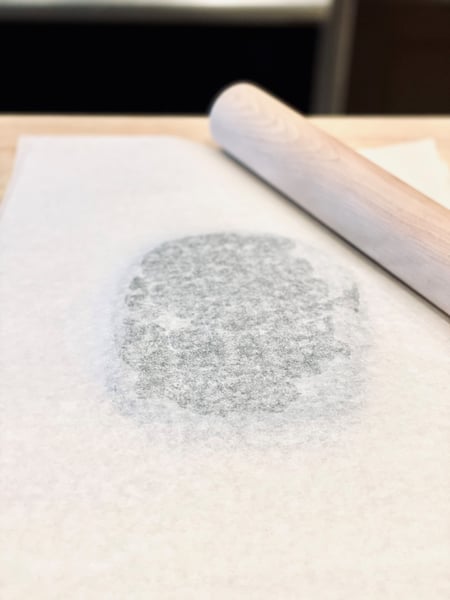
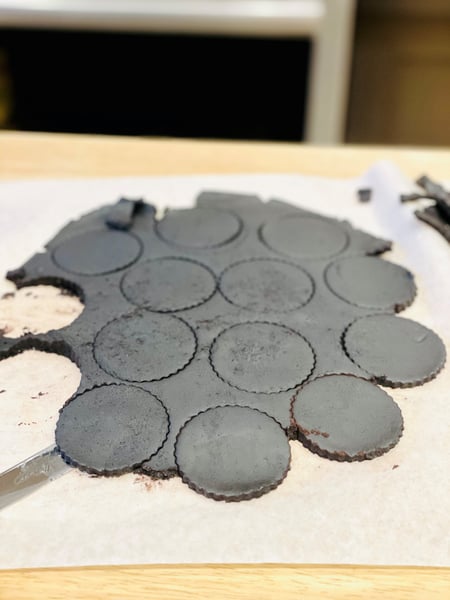
In the recipe I chose and adapted, after making the cookie dough, you are instructed to divide it in two, shape into two 6-inch squares, wrap each square of dough in plastic wrap, and then chill for at least two hours. You then pull out the dough, place it between two sheets of parchment paper, roll out to a 1/8 inch and using the fluted edge cookie cutter, cut out as many cookie shapes as possible, taking the scraps, putting them back together only once, in order to roll and cut out more shapes. Those directions created a more uniform cookie, with a flatter look, and with the kind of crisp texture that you’re used to from Oreo cookies.
Other recipes instructed that you take the dough and roll it into a log, chill for at least an hour, before slicing into 1/8-inch slices with a sharp knife. Another recipe had directions of using a small scoop, to scoop and roll out the cookies, then to use the bottom of a glass to flatten the dough scoops before baking.
After trying method #1: rolling out one square of dough between two sheets of parchment paper to at least a 1/8-inch, and cutting the cookie shapes using a fluted edge cookie cutter, taking the scraps of dough, reworking them, rechilling them, and then rolling and cutting out the dough once again, I decided to try the other two methods.
Method #2: I rolled a portion of the dough into a log shape, wrapping it tightly in plastic wrap, chilling and then slicing into 1/8-inch slices. This was by far the far easier method. It yielded a cookie not as crisp or uniform looking, but the end result was a decent looking, delicious cookie.
Method #3: I took a small portion of the dough and rolled it into small ball shapes and flattening them with the bottom of a glass. This method worked, however it produced the least uniform looking cookie. It did result in a cookie with a crisp Oreo-like texture. All cookies made were absolutely delicious!
There were also suggestions as to how to place the cream sandwich filling in the middle of the cookie. Several gave directions to use a piping bag in order to pipe the cream on the flat cookie side, others suggested spreading the filling using a small offset spatula, before placing another cookie half on top, squeezing both cookies together, until the cream filling oozes out the sides.
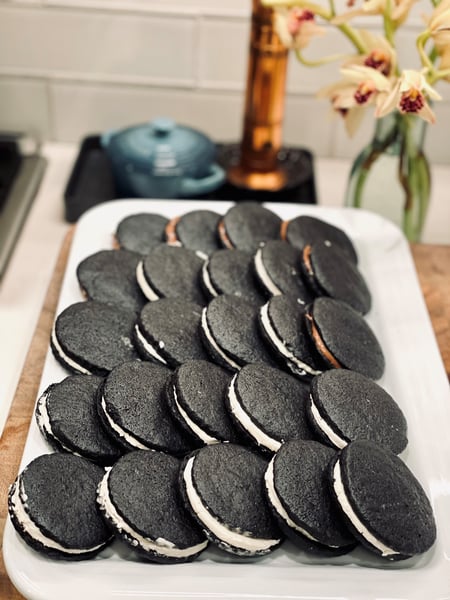
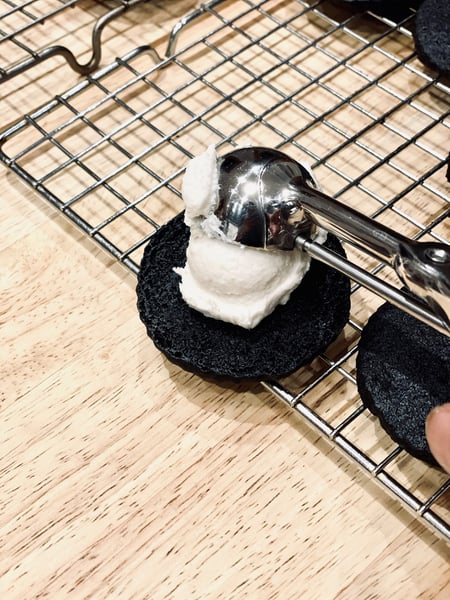
I chose the method of taking a small scoop, scooping out an even portion of filling, placing it on the flat cookie bottom, placing the other cookie half on top and squeezing both cookies together, until the cream filling oozes out of the sides. This isn't as clean of a look as using a piping bag to pipe out the cream, but the end result was a decent looking and very delicious cookie.
One last thing about the cream filling: I ended up running out of the cream filling, leaving me with 5 sandwich cookies that would go without. So, for those cookies I used some Nutella spread that I had on hand as the filling. So good! There's an amazing contrast between that filling and the vanilla cream filling.
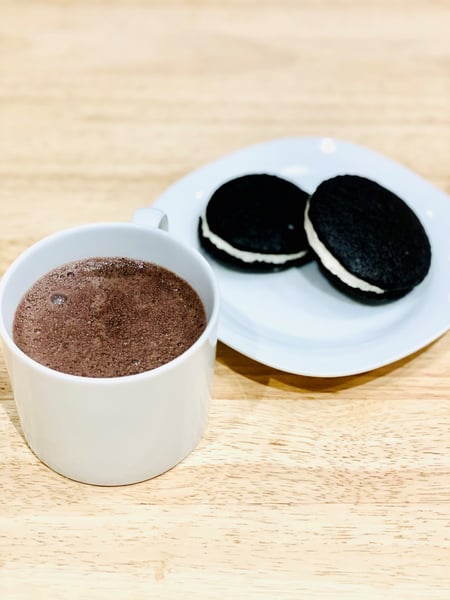
I ended the black cocoa powder experiment by making a mug of hot cocoa. I took two tablespoons of black cocoa powder, a tablespoon of brown sugar, (you can also use agave syrup, granulated sugar, or maple syrup), a pinch of salt and cayenne pepper, 1/4 teaspoon of cinnamon, and mixed that all together in a sauce pan with 2 tablespoons of heavy cream over a low flame. Once all the ingredients have come together and the sugar is dissolved, I added in a cup of whole milk, whisked and blended it all together, adding in at the end a 1/4 teaspoon of vanilla extract, before pouring into a mug to drink. The black cocoa powder produced one of the most robust flavored hot cocoas ever! It’s the perfect cocoa to have on a really chilly night, with a nice dollop of whipped cream on top.
My advice for making your own homemade Oreo cookies is to do whatever technique suits you. If you happen to have some cookie cutters around and feel comfortable rolling out the chilled dough between two sheets of parchment paper, I suggest you give that method a try. Just be sure to roll out your dough evenly in the process. This cookie experiment has taught me that I might need to invest in a rolling pin that has plastic rings on the ends to help in rolling out your dough to the specific thickness you require.
Now that I’ve conquered making homemade Oreo cookies using black cocoa powder, I think it just might be time for me to make a chocolate cream pie. It definitely won’t be my grandmother’s traditional chocolate cream pie, but in the long run it will still honor her spirit and pay homage to her brilliant baking ability.
Homemade Oreo Cookies
Scroll down for a printable version of this recipe
Prep time: 50 minutes
Cook time: 10-12 minutes
Chilling time: At least two hours
Total: 3 hours 2 minutes
Servings: 24-26 sandwich cookies
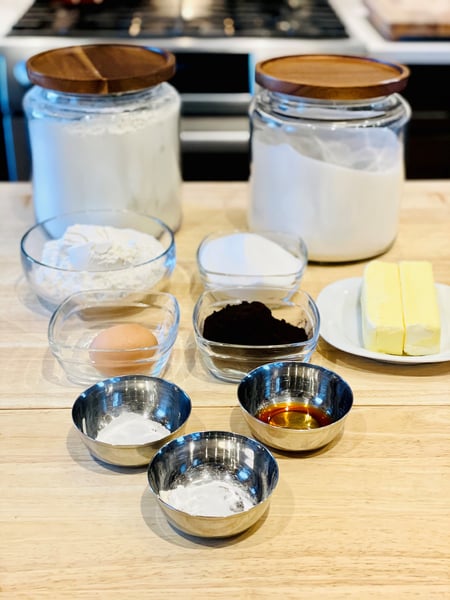
For the dough:
2 cups all purpose-flour
1/2 cup sifted black (dark) cocoa powder
1/2 teaspoon baking powder
2 sticks softened unsalted butter (8 ounces)
1 cup granulated sugar
1 large egg
1 teaspoon pure vanilla extract
For the filling:
1/4 cup (2 ounces) unsalted butter, at room temperature
1/4 cup vegetable shortening
2 cups sifted confectioners’ sugar
2 teaspoons vanilla extract
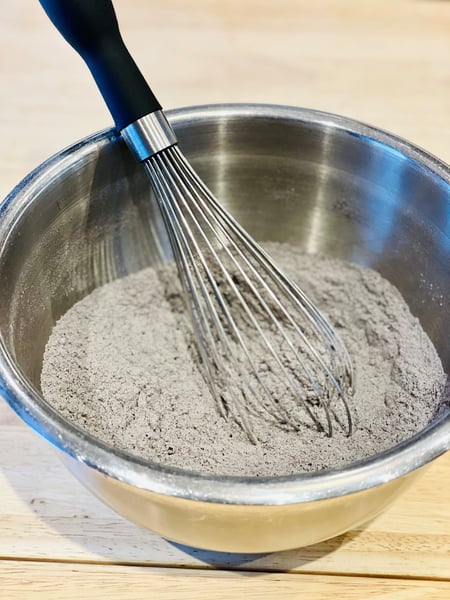
1. Whisk together the flour, cocoa powder, baking powder and salt.
2. In the bowl of a stand mixer with the paddle attachment or a hand mixer with beater attachments, beat butter and sugar until pale and fluffy, then beat in egg and vanilla. At low speed, and in three batches, mix in the flour mixture, just until a blended dough form. Divide dough in half and form each piece into a 6-inch square, wrap in plastic wrap, chill until firm, at least 2 hours and up to 3.

3. Preheat oven to 350 degrees F. Grease or line two baking sheets with parchment paper or silicone baking mats.
4. Roll out 1 piece of dough between the sheets of parchment paper into a 14x10-inch rectangle (1/8-inch thick).
5. Slide dough in parchment onto a tray and freeze until dough is firm, about 10 minutes. Repeat with remaining dough. Slide chilled and firm dough out of the freezer and using a 2-inch fluted or round cutter, cut out as many rounds as possible, reserving and chilling any scraps to use again. Transfer cookies to the parchment lined or greased baking sheets, arranging them 1/2 inch apart. (If dough becomes too soft, return to freezer until firm).
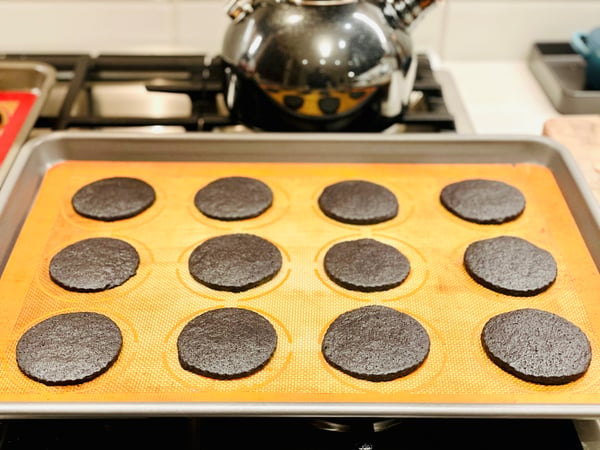
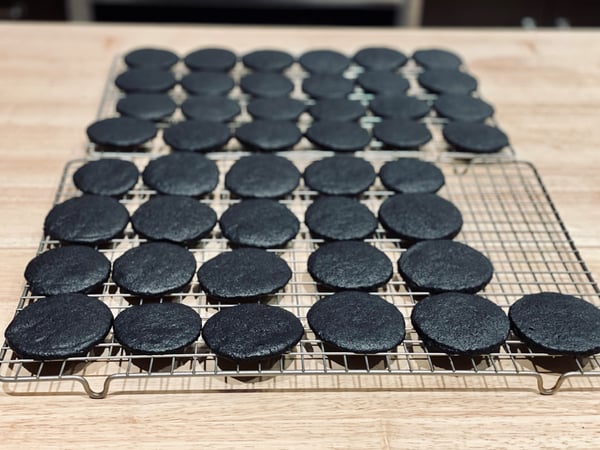
6. Bake the cookies until baked through and slightly puffed, 10-12 minutes. Cool on sheet tray for 5 minutes, then gently transfer to a wire rack to cool completely, (cookies will crisp up as they cool). Make more cookies with the remaining dough and scraps, re-rolling only once.
7. Make the filling: Beat the butter and shortening together at medium speed until combined and smooth. Reduce the speed to low and gradually beat in the confectioners’ sugar and vanilla. Increase the speed to high and beat for 2-3 minutes, until the filling is light and fluffy.
8. Assemble the cookies: Pipe or scoop a heaping teaspoon of filling onto the flat side of the plain cookies. Top with another cookie to create sandwiches, squeezing the two cookies together if needed in order to ooze the filling out to the cookie edges. Store in an airtight container. Lastly, enjoy with a tall glass of ice-cold milk!

The Chopping Block has some really fun virtual baking classes coming up that you will enjoy if you like these cookies. Join us for:
- Virtual Pie and Tart Workshop Sunday, March 14 11am CST
- Virtual Baking: Scones and Lemon Curd Sunday, March 21 11am CST
If you make these homemade Oreo cookies, please post a picture of yours in our private Facebook group so I can see your successes!


Homemade Oreo Cookies
Ingredients
- 2 cups all purpose-flour
- 1/2 cup sifted black (dark) cocoa powder
- 1/2 teaspoon baking powder
- 2 sticks softened unsalted butter (8 ounces)
- 1 cup granulated sugar
- 1 large egg
- 1 teaspoon pure vanilla extract
- 1/4 cup (2 ounces) unsalted butter, at room temperature
- 1/4 cup vegetable shortening
- 2 cups sifted confectioners’ sugar
- 2 teaspoons vanilla extract
Instructions
- Whisk together the flour, cocoa powder, baking powder and salt.
- In the bowl of a stand mixer with the paddle attachment or a hand mixer with beater attachments, beat butter and sugar until pale and fluffy, then beat in egg and vanilla. At low speed, and in three batches, mix in the flour mixture, just until a blended dough form. Divide dough in half and form each piece into a 6-inch square, wrap in plastic wrap, chill until firm, at least 2 hours and up to 3.
- Preheat oven to 350 degrees F. Grease or line two baking sheets with parchment paper or silicone baking mats.
- Roll out 1 piece of dough between the sheets of parchment paper into a 14x10-inch rectangle (1/8-inch thick).
- Slide dough in parchment onto a tray and freeze until dough is firm, about 10 minutes. Repeat with remaining dough. Slide chilled and firm dough out of the freezer and using a 2-inch fluted or round cutter, cut out as many rounds as possible, reserving and chilling any scraps to use again. Transfer cookies to the parchment lined or greased baking sheets, arranging them 1/2 inch apart. (If dough becomes too soft, return to freezer until firm).
- Bake the cookies until baked through and slightly puffed, 10-12 minutes. Cool on sheet tray for 5 minutes, then gently transfer to a wire rack to cool completely, (cookies will crisp up as they cool). Make more cookies with the remaining dough and scraps, re-rolling only once.
- Make the filling: Beat the butter and shortening together at medium speed until combined and smooth. Reduce the speed to low and gradually beat in the confectioners’ sugar and vanilla. Increase the speed to high and beat for 2-3 minutes, until the filling is light and fluffy.
- Assemble the cookies: Pipe or scoop a heaping teaspoon of filling onto the flat side of the plain cookies. Top with another cookie to create sandwiches, squeezing the two cookies together if needed in order to ooze the filling out to the cookie edges. Store in an airtight container. Lastly, enjoy with a tall glass of ice-cold milk!