
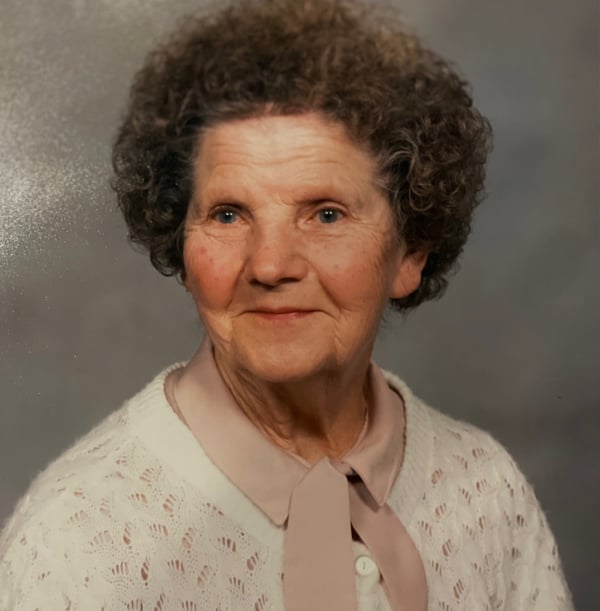
I think it is surprising that I haven’t written a million blogs about my grandmother Ruby, her recipes, her cooking and her garden. She was one of the most influential cooks of my childhood. Ruby was my paternal grandmother; Iris was my maternal grandmother. Ruby was an amazing cook, and Iris couldn’t boil water. Therefore my mother never learned to cook from her own mother but rather her mother-in-law. My mother learned every single thing she knew about cooking from Ruby. Even then, I had a sense that every nourishing and delicious thing I ate as a child somehow originated from my grandmother Ruby. She helped to create me - body and soul.
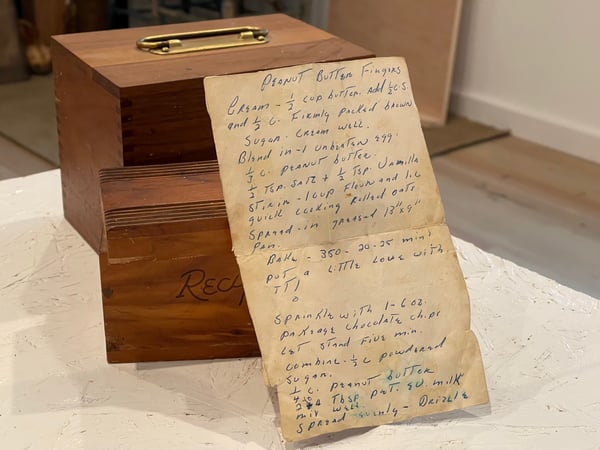
 I recently noticed my grandmother Ruby’s recipe box sitting on my cookbook shelf. When she passed away, I jumped to grab it as I assumed it would be in high demand. I was amazed that no one really wanted it, until I opened it. I pulled it out, sat down and sifted through the index cards filled with recipes, magazine recipe clippings and scraps of papers with scribbles and notes. What I can tell you is that most of these were not my grandmother’s recipes but primarily a wish list of my Aunt Carol, recipes she was clearly trying to convince my grandmother to make and dishes my grandmother never did. Recipes for sweet and sour shrimp with pineapple, pineapple upside down cake and brown sugar pineapple slices, to name a few. I guess my aunt was infatuated with pineapple! There were only two recipes in the entire box that I can attribute to my grandmother: her bread and butter pickles and her Peanut Butter Fingers.
 I was too young to really understand the importance of learning her secrets when she was alive. Although I was lucky that my mother learned her potato soup, pot roast, and chicken and noodles, her chocolate pie, glazed donuts as big as a dinner plate and spiced peaches are just distant memories. Please my friends - coax those special recipes out of those that you love and share them. Sharing my grandmother's peanut butter finger recipe with you seems to me a way to keep her alive in the world.
Peanut Butter Fingers
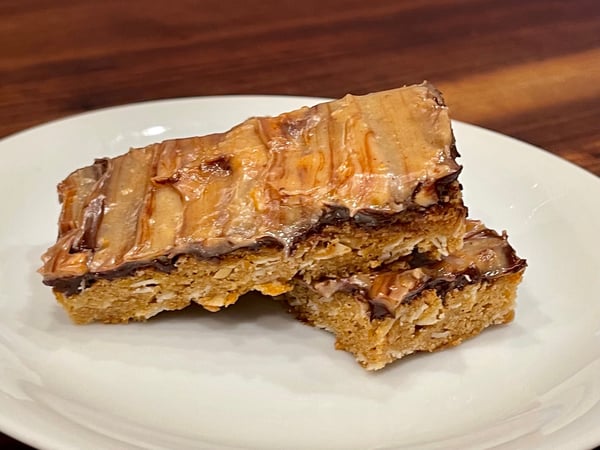
These bars are unlike any other bar I have ever had. The texture of the bar is chewy and tender, it's almost like a candy bar. I think that is why I liked them so much when I was a kid, they seemed more like a Snickers bar in texture and flavor than a bar. Snickers candy bars were a luxury item we seldom got to enjoy.
Scroll down for a printable version of this recipe
Author: Ruby Young
Yield: 24
Prep time: 20 minutes
Bake time: 20 to 25 minutes
1 stick unsalted butter, room temperature
1/2 cup granulated sugar
1/2 cup light brown sugar, packed
1 large egg
1/3 cup peanut butter
1/2 teaspoon salt
1/2 teaspoon vanilla
1 cup flour
1 cup quick cooking oats
6 ounces semi-sweet chocolate chips
1/4 cup peanut butter
1/2 cup powdered sugar
2 to 4 tablespoons evaporated milk
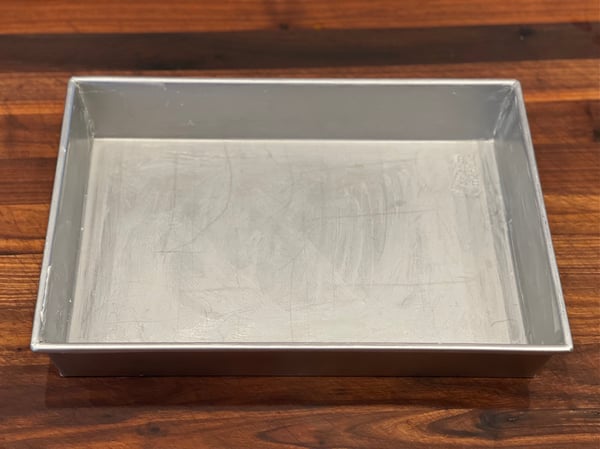
Step 1: Prepare the pan and preheat the oven
Evenly butter a 9x13 pan and preheat your oven to 350 degrees.
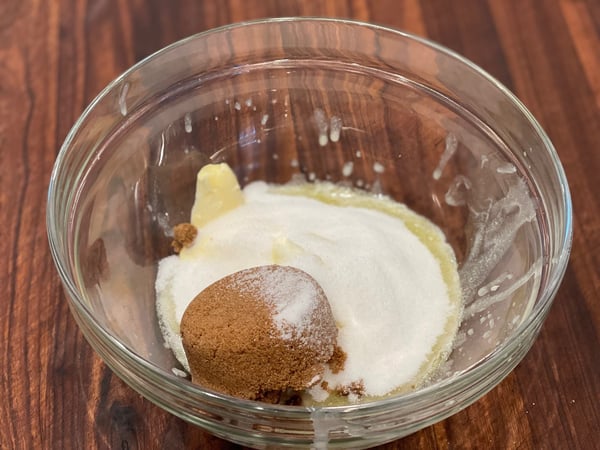
 Step 2: Cream sugar
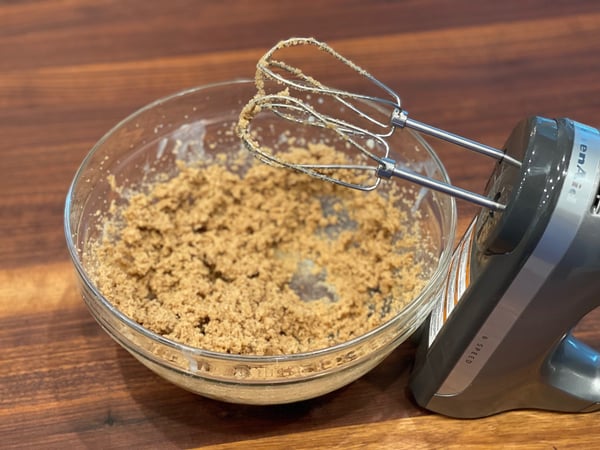
Place room temperature butter, granulated and brown sugar into deep mixing bowl and with a hand mixer combine until mixture gets a little fluffy and lighter in color.
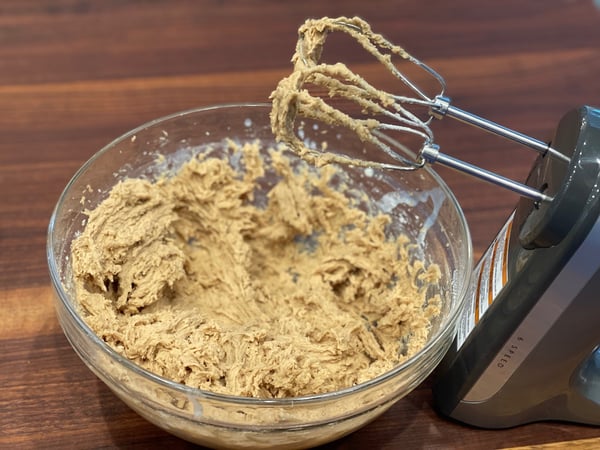
 Step 3: Combine remaining batter ingredients
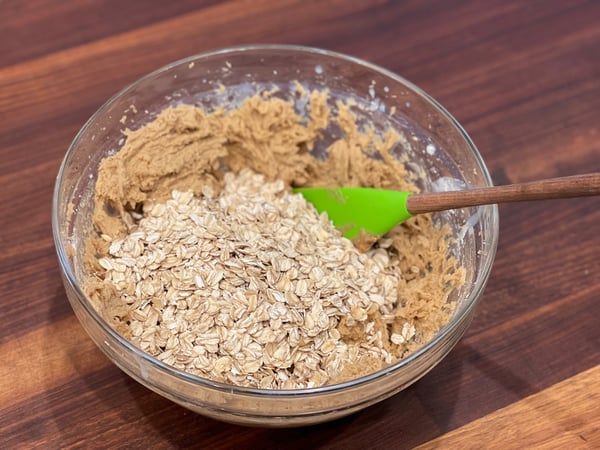
Add the egg and mix until combined. Add peanut butter, salt and vanilla and mix until combined. Add flour and mix until combined. Add oats and stir in with wooden spoon or rubber spatula so the oatmeal retains its shape.
 Step 4: Put a little love into it
My favorite part of having this handwritten recipe is that it says “Put a Little Love into it” at this point in the recipe. I couldn’t agree more that it makes everything taste better!
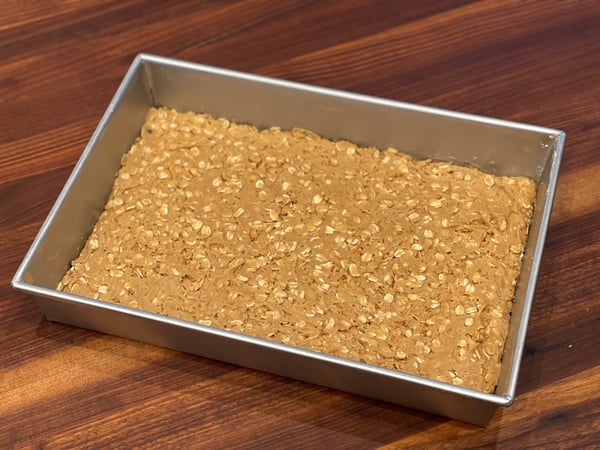
Spread the batter evenly in the pan. This is a very stiff batter so it takes a little work to spread it evenly. You might be surprised to see how thin this batter is in the pan, the base of the bar is only about 1/3 inch thick.
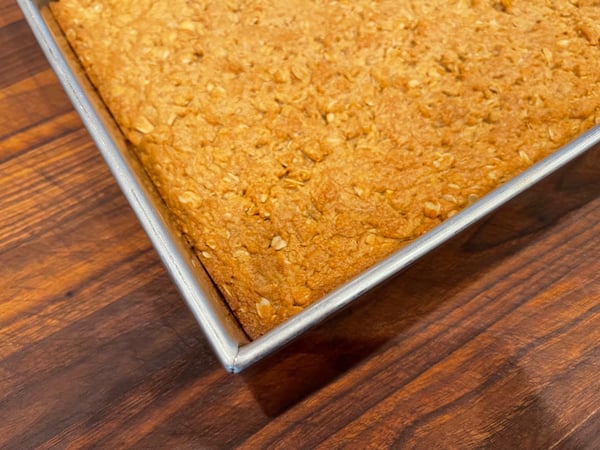
 Put the bars in the oven and bake for 20 to 25 minutes. I personally think anything past 22 minutes is too long. They will start to pull away from the sides of the pan and be just lightly brown but they will be done. They can get hard and crunchy rather than chewy and tender if you over bake them.
Step 5: Spread toppings
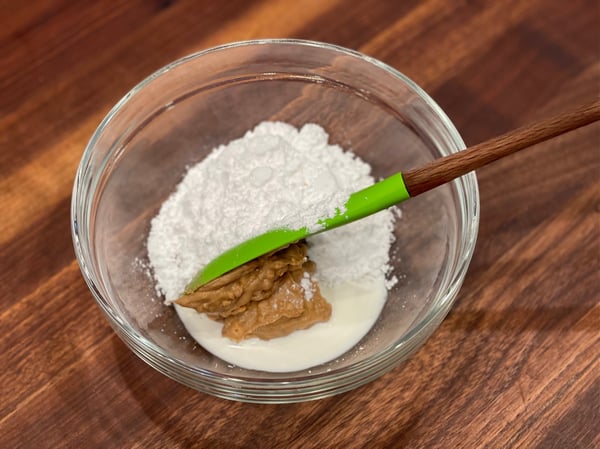
While bars are baking make the peanut butter topping by mixing 1/4 cup peanut butter with 1/2 cup powdered sugar. Add just enough evaporated milk to make the mixture spreadable.
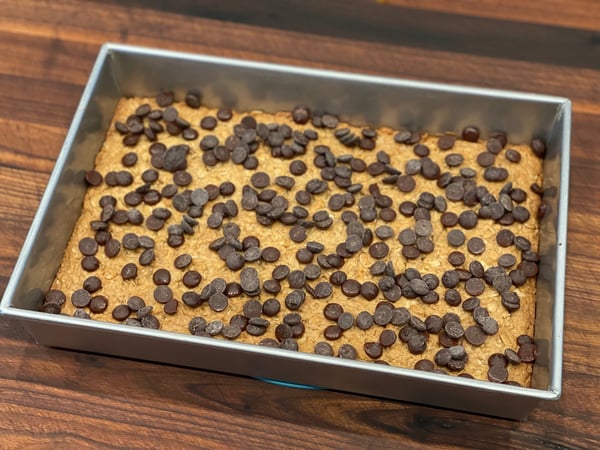
 Once the bars come out of the oven, sprinkle chocolate chips evenly over the surface of the bars. Let them sit for a few seconds just to let them soften slightly and then spread the chocolate evenly over the surface of the bars.

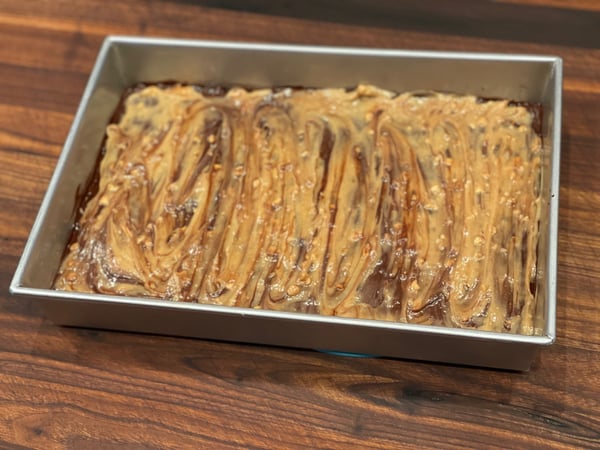
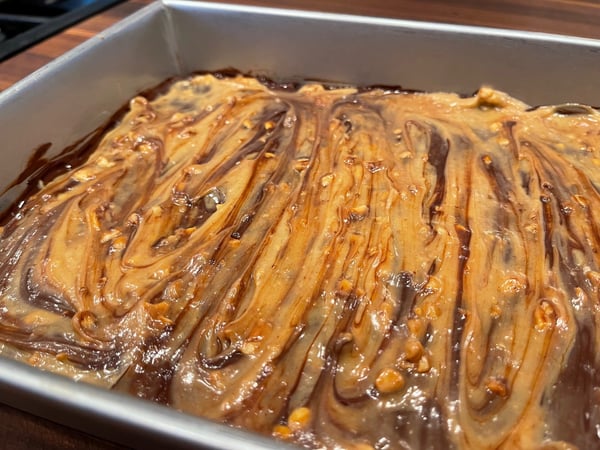
Dollop the peanut butter topping over the top of chocolate and then spread the topping creating a swirling pattern over the surface of the bars.
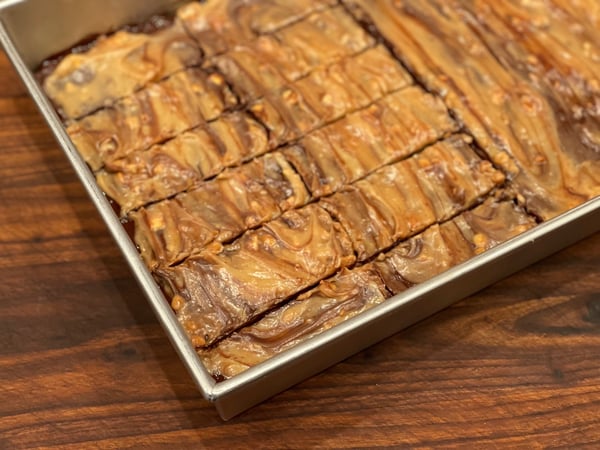
 Let cool completely, slice and serve. My grandmother cut them in long bars shapes more like a candy bar so that is how I cut mine.
 I hope you enjoy eating these sweet treats but also sharing them. I love to bake and share the results with friends and neighbors just like my grandmother Ruby did with me. I like to think that our chefs bring their own personal experiences, stories and tips to every class that we offer and we hope to see you soon to share them with you whether it be in-person or virtually.


Peanut Butter Fingers
Ingredients
- 1 stick unsalted butter, room temperature
- ½ cup granulated sugar
- ½ light brown sugar, packed
- 1 large egg
- 1/3 cup peanut butter
- ½ teaspoon salt
- ½ teaspoon vanilla
- 1 cup flour
- 1 cup quick cooking oats
- 6 ounces semi-sweet chocolate chips
- ¼ cup peanut butter
- ½ cup powdered sugar
- 2 to 4 tablespoons evaporated milk
Instructions
- Evenly butter a 9x13 pan and preheat your oven to 350 degrees.
- Place room temperature butter, granulated and brown sugar into deep mixing bowl and with a hand mixer combine until mixture gets a little fluffy and lighter in color.
- Add the egg and mix until combined. Add peanut butter, salt and vanilla and mix until combined. Add flour and mix until combined. Add oats and stir in with wooden spoon or rubber spatula so the oatmeal retains its shape.
- Spread the batter evenly in the pan. This is a very stiff batter so it takes a little work to spread it evenly. You might be surprised to see how thin this batter is in the pan, the base of the bar is only about 1/3 inch thick.
- Put the bars in the oven and bake for 20 to 25 minutes. I personally think anything past 22 minutes is too long. They will start to pull away from the sides of the pan and be just lightly brown but they will be done. They can get hard and crunchy rather than chewy and tender if you over bake them.
- While bars are baking make your peanut butter topping by mixing ¼ cup peanut butter with ½ powdered sugar. Add just enough evaporated milk to make the mixture spreadable.
- Once the bars come out of the oven, sprinkle chocolate chips evenly over the surface of the bars. Let them sit for a few seconds just to let them soften slightly and then spread the chocolate evenly over the surface of the bars.
- Dollop the peanut butter topping over the top of chocolate and then spread the topping creating a swirling pattern over the surface of the bars.
- Let cool completely, slice and serve.