
Lots of people have summer gardens, and there is nothing more satisfying than eating the fruits of your labor for dinner. I often find myself with a lot of odds and ends in my refrigerator: a pepper here, an eggplant there. You can always throw a few tomatoes in a salad, a pepper on a pizza or even fry up an Eggplant Parmesan over some pasta. But these kinds of dishes don’t use up a ton of vegetables, so when I need to knock down the produce inventory, I go to Ratatouille.
Ratatouille is a French dish that originated in Nice, and it is nothing more than a vegetable casserole/stew that traditionally utilizes tomatoes, garlic, summer squash (green and yellow), eggplant, onion, peppers, and a plethora of herbs. The nice part about this dish is that there are no real constraints on how much of these items or even anything saying that these are mandated ingredients. I often throw in a sweet potato, carrots, a parsnip, celery, kale, or anything that I find in the drawer of the refrigerator.
The primary idea behind the dish is that you slice all the ingredients thinly (1/16-1/4 inch) season them and layer them into a casserole dish. When you put the dish into the oven, each ingredient begins to sweat out their juices and as the water evaporates the flavors condense. After a while, these veggies and their juices begin to caramelize and the pectin in the tomatoes mixes with them and creates a rich sauce around everything.
This all sounds fantastic, until you think about the oven being on for an hour or two on a hot summer day, making your house a bit unbearable! I made this mistake several times and it never made sense to me why this dish was so perfect for using your summer garden and yet so untimely for the weather at that time of year. Therefore, I have devised a modification of this traditional dish that you can do in a 1/3 of the time and outside on a grill. All you need is a cast iron pan!
When you make this grilled Ratatouille, you are going to make a few changes but, not only are you encompassing the depth of flavors from the traditional style, you are introducing a fantastic grilled flavor that can match up to any summer feast.
First, you will need to dig in the refrigerator and figure out what vegetables you want to use. Here's what I found:
- 4 small zucchini
- 3 medium yellow squash
- 3 stalks celery
- 3 medium carrots
- 2 red bell peppers
- 1 yellow onion
- 3 peaches
- ½ cup salsa
- 1 cup vegetable stock
If you are wondering where the last three ingredients came from, let's think about it. The peaches will bring a great sweet flavor into the mix, the salsa will act as some of our seasoning and give off the pectin I wanted from tomatoes and the stock will give some moisture to our pan after grilling (which is a dry cooking method) the veggies!
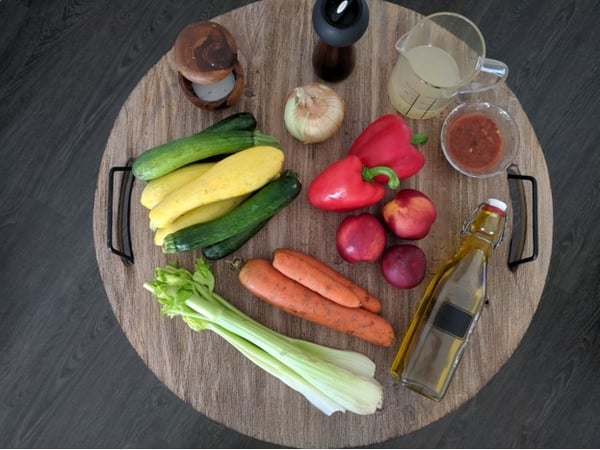
From here, I cut all the ingredients into 1/2 inch slices. This is on the thicker side for a Ratatouille, but they need to be thicker to hold up to the grilling process. I also mixed together 2 Tablespoons of onion powder and garlic powder for a little jazz in the seasoning but, you can use any seasoning blend you enjoy.
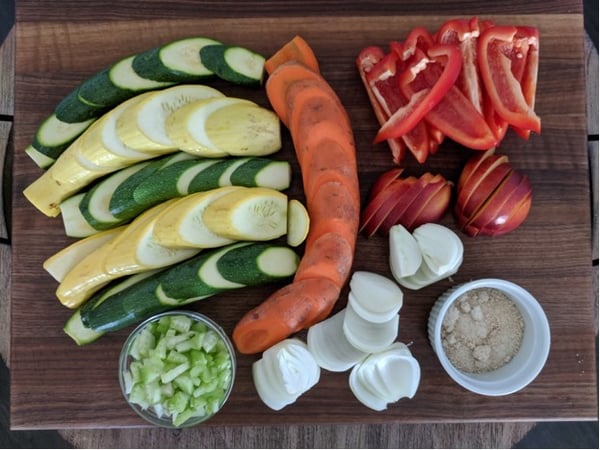
After everything is cut, toss each item separately in grapeseed oil, your seasoning blend, salt and pepper.
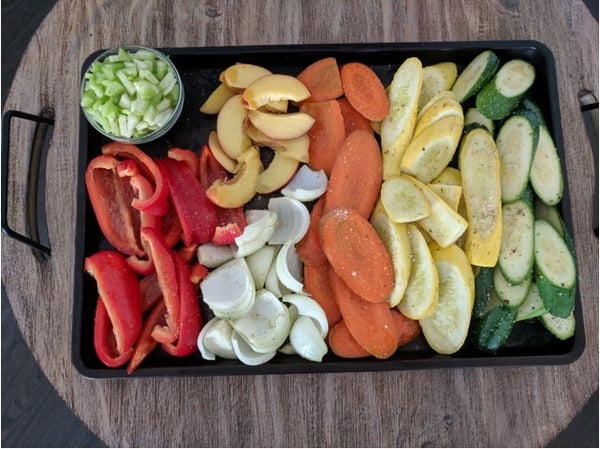
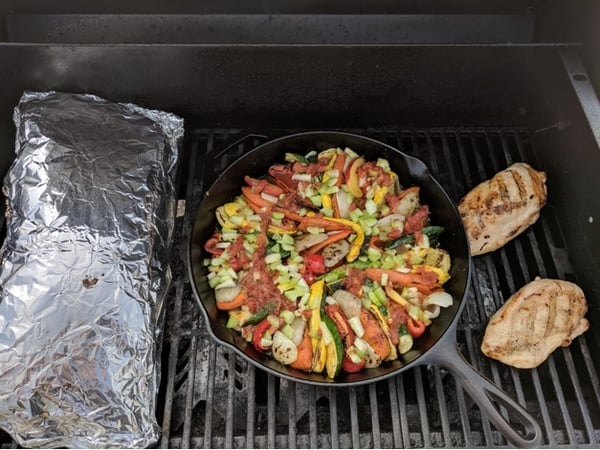
Keeping the veggies separated will make the building process easier later on. Now that you are ready to grill you will want to crank your grill up to high and let it get HOT! When you cook you veggies you are not trying to cook them 100% because they are going to carry over cook a lot as they are mostly high water content veggies and we want to let them blend flavors in the cast iron pan. Organize your grill and get a nice browning on each piece and don’t hesitate to utilize the grill for other items while you have it hot (my famous grilled Greek potatoes were next to the veggies in the foil, and I may make my next post on those!)
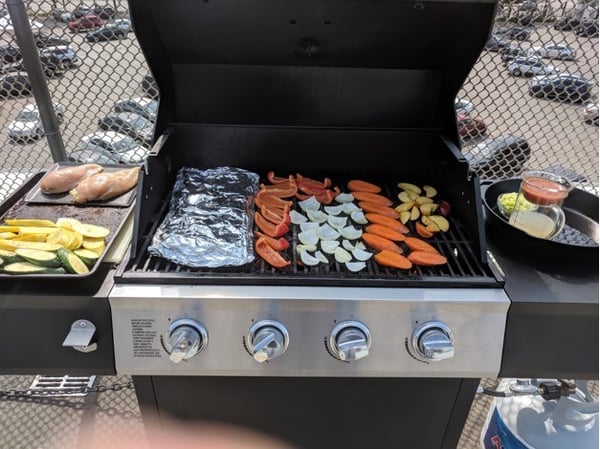
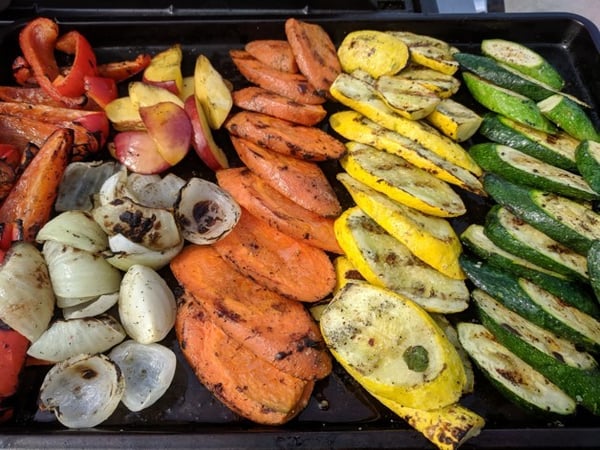
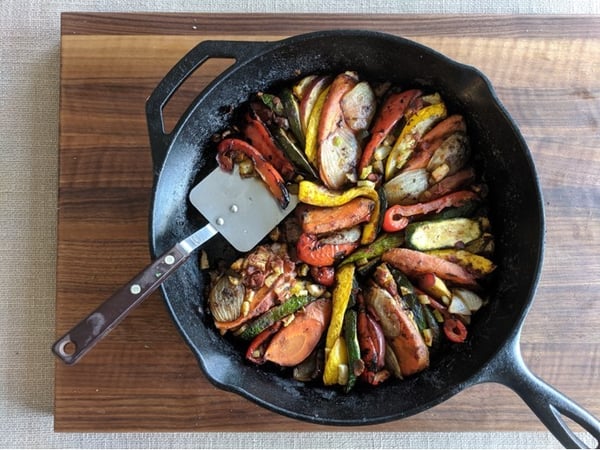
Once you have your veggies par grilled as shown bring out the cast iron and start the layering. Remember this should be pretty, your eyes eat before your mouth and the plethora of colors really makes a beautiful casserole. Once you layer them as shown you can sprinkle the celery on top and pour the salsa and stock over the vegetables.
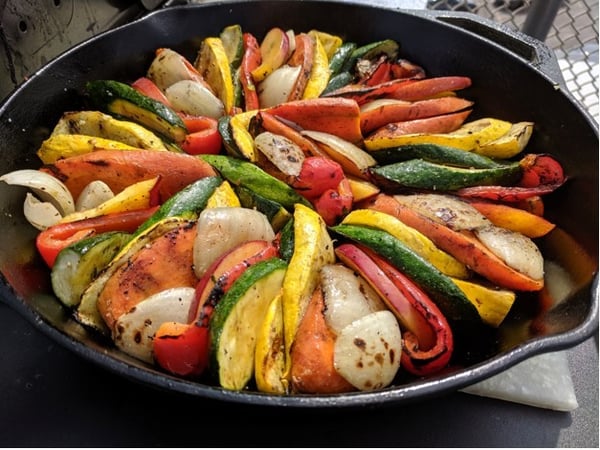
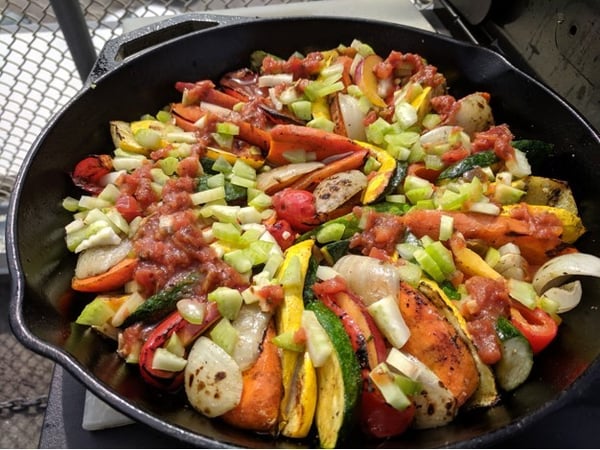
Now lower your grill to medium-high, set the pan on the grill, let it come to a simmer and close the top. Leave it alone! At this point you can let it be for about 15 minutes and then check it. You are looking for the liquid to begin thickening and the veggies to lose a lot of their structure, creating a deeply colored sauce. If you are nervous that the veggies are too firm and the liquid has evaporated, just add another cup of stock or even just water. You are really trying to give the veggies a chance to soften and release more of their natural juices. Once you see your veggies beginning to get darker in color and caramelized on top you can remove the pan from the grill and eat.
If you could use some help mastering your grilling skills, check out a hands-on grilling class at The Chopping Block this summer.

