

I know I’m not alone on this, but for the past several months while on a self-imposed (and at times, a state-imposed) lockdown, I spent a lot of time experimenting with recipes. It all began with no longer being able to eat out at restaurants and being relegated to carry out. After craving Chinese food and ordering carry out and being thoroughly disappointed, I realized I should just cook my own. That led to my experimentation with several recipes involving Asian-inspired food, including Thai, Chinese, Japanese, Korean and South Asian (mostly Indian) dishes. These were the cuisines that I love and used to eat out on a regular basis.
I am fortunate to be surrounded by many incredibly good restaurants in my area. Unfortunately, I noticed that when I ordered carry-out, the dishes would suffer in the transportation to my home. So, I decided to invest in a really good wok as my sauté pans just didn't cut it any longer. That wok has been a great time saver for me in the kitchen when making several of those recipes.
In addition to a deep-dive into Asian cuisine, I also spent a lot of time experimenting with baking recipes. I ended up researching and creating several loaf pan cakes, some Bundt pan cakes, lots of cookies, a few cobblers and my latest obsession: “snacking cakes.” That began when I found a cookbook called "Snacking Cakes" online and immediately knew that I had to add it to my cookbook collection.

Most of us are familiar with what a “snack cake” is. Those are the packaged desserts that we all grew up on, made by brands like Hostess and Little Debbie. They’re pretty compact in size, which makes them the perfect little dessert that can be tossed into a lunch bag, or eaten on the go. Whereas, a “snacking cake” is a dessert that you can easily make with items that are more than likely readily available in your kitchen pantry.
In Yossy Arefi's cookbook, she describes a snacking cake as always being in a single layer, probably square, but the cake can also be round, and covered with a simple icing or nothing at all. And here’s my favorite part, she goes on to say that “it must be truly easy to make.”
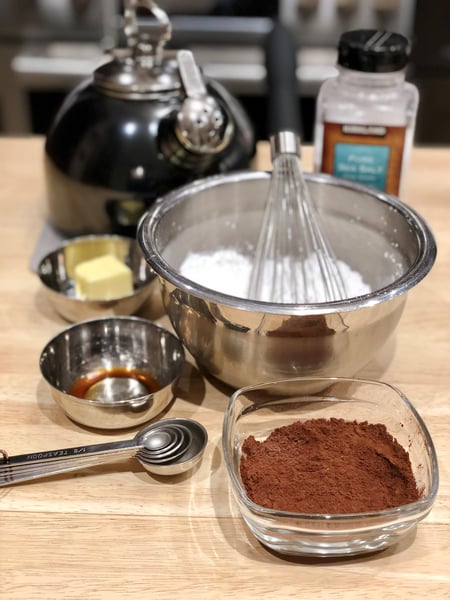
These are cakes that are low stress, and can be made with ingredients that are readily available in your kitchen pantry. The only equipment needed for the most part is a large bowl, a whisk and a baking pan. The cakes aren’t showstoppers and you’ll never see anything like them on The Great British Baking Show. They’re simple, humble, everyday treats that are made to “satisfy your hunger for something sweet, at any time of the day.”
Here’s my absolute favorite thing about the recipes that Yossy Arefi created for the book. There is never a need to lug out the old heavy stand mixer, in order to cream together softened butter and sugar. Most of the recipes involve just vigorously whisking together eggs and sugar together, then whisking in a neutral oil, or melted butter, before adding in the remaining ingredients. There are only a couple of recipes in the book where you might need to use a hand mixer in order to make an icing or a frosting for a cake. But you can always leave the cake plain or simply dust it with a generous sprinkling of powdered sugar in order to dress it up.
Another benefit about baking a snacking cake is that it’s all done in one pan. More than likely that pan will be an 8-inch square pan. But most of the cakes can also be made in a 9-inch round cake pan, a 9 x 5 x 3-inch loaf pan or a 9-inch oven-safe skillet. You can also double most recipes to accommodate a half sheet-pan or a 15 cup Bundt cake pan. Just be sure to butter or coat your pan with non-stick spray. If using an 8-inch square pan or a 9 x 5x 3-inch loaf pan, be sure to line with a strip of parchment that hangs over the sides, after coating your pan. For the 9-inch round cake pan and the 9-inch oven-safe skillet, make sure to line the bottom of the pan with a round of parchment after coating.
I really appreciated how Yossy Arefi wisely broke everything down in her cookbook into very helpful sections that made the simple task of baking a snacking cake even more simple. Since purchasing the cookbook, I’ve researched several other recipes for snacking cakes. And for the most part, they all involve the use of very few utensils, simple ingredients and easy to follow directions.
I’ve tried three recipes so far from Yossy Arefi’s cookbook. Two were from the “chocolatey cakes” section and the other was from the “warm + toasty cakes” section. I’d like to share my thoughts on two of the cakes and then share my adapted recipe for one of them.
The recipe for the Salty Caramel Peanut Butter Cake is so delicious. I have to say that it’s the sprinkling of flaked sea salt on top of the peanut butter glaze that sets it apart. All of the ingredients for the cake were things that most home cooks would readily have available in their kitchens. Both the cake and the fudgy caramel icing were easy to make and assemble.
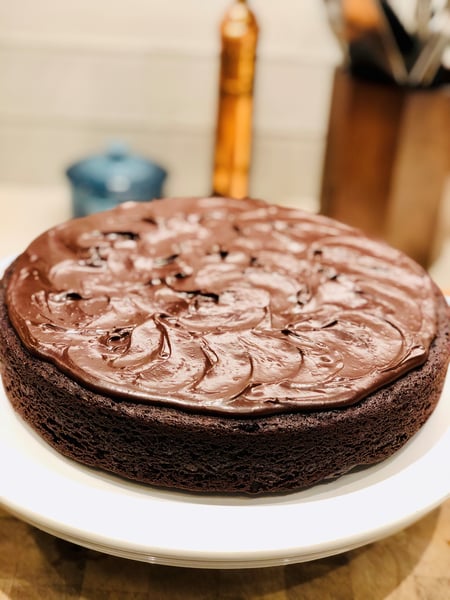
But the recipe that has turned out to be so far a big favorite of mine is the Cocoa Yogurt Cake.

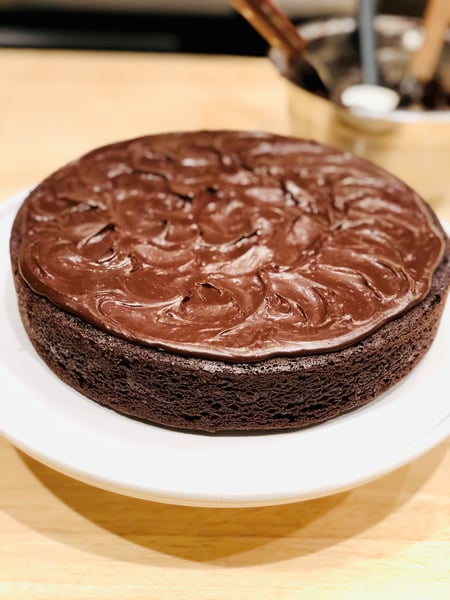
I’ve already made it twice, and it was even better the second time around. By using canola or grapeseed oil, along with yogurt, the cake ends up with an extremely moist texture, along with a bit of tang. It contains a double dose of rich chocolate flavor thanks to the use of Dutch processed Cocoa powder as well as chocolate chips or chopped chocolate. The first time I made the cake, I used bittersweet chocolate chips, and it was delicious, but the chocolate chips didn’t melt into the cake as well as the chopped chocolate did that I used the second time. It has a rich thick chocolate glaze, that’s so easy to make and spread on the cooled cake. It’s just a handful of simple ingredients, and one of those ingredients is a few tablespoons of boiling water. How easy is that! The second cake I made to share with a few neighbors, and they loved it! The cake keeps for up to three days either covered or in the fridge.
I’m thinking that my next snacking cake attempt will include spices, fruits and nuts. I’m really looking forward to that! I'm not going to gussy it up at all - just going to make it very simple, plain, but definitely delicious and ‘snacking worthy’.
In the recipe that follows for the Cocoa Yogurt Cake with Cocoa Glaze, I’m listing the ingredients in measured gram amounts as well as cups. The one other thing that I’ve discovered in past several months of baking while in lockdown is that when you actually weigh your ingredients, you achieve better results.
Cocoa Yogurt Cake, with Cocoa Glaze
Scroll down for a printable version of this recipe
Adapted from the cookbook “Snacking Cakes” by Yossy Arefi
For the cocoa yogurt cake:
1 cup (200g) light brown sugar
2 large eggs (room temperature)
1 cup (220g) plain whole-milk yogurt
1/2 cup neutral oil, like canola or grapeseed (I chose grapeseed)
1 teaspoon vanilla extract
3/4 teaspoon kosher salt
3/4 cup (68g) sifted unsweetened Dutch processed cocoa powder
1 cup (128g) all-purpose flour
1 teaspoon baking powder
1/2 teaspoon baking soda
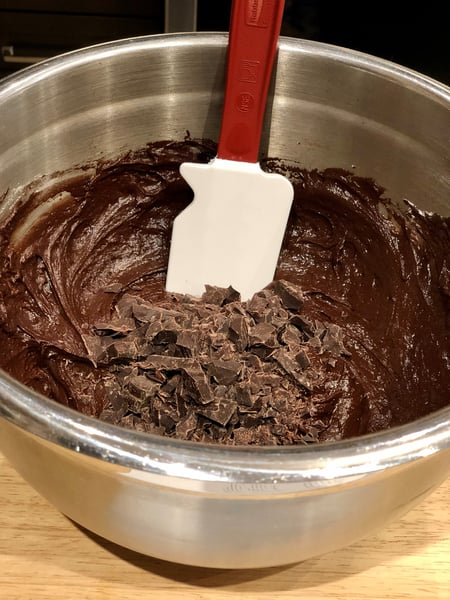
1/2 cup (85g) chopped bittersweet chocolate or chocolate chips (optional)

For the cocoa glaze:
1 cup (100g) sifted confectioners’ sugar
3 tablespoons sifted unsweetened Dutch processed cocoa powder
1 tablespoon unsalted butter, very soft
Pinch of salt
1/4 teaspoon vanilla extract (optional)
3 to 4 tablespoons boiling water
1. Position a rack in the center of your oven and preheat the oven to 350°F. Butter or coat a 9-in round cake pan with nonstick spray. Line the bottom of the pan with a round of parchment paper.
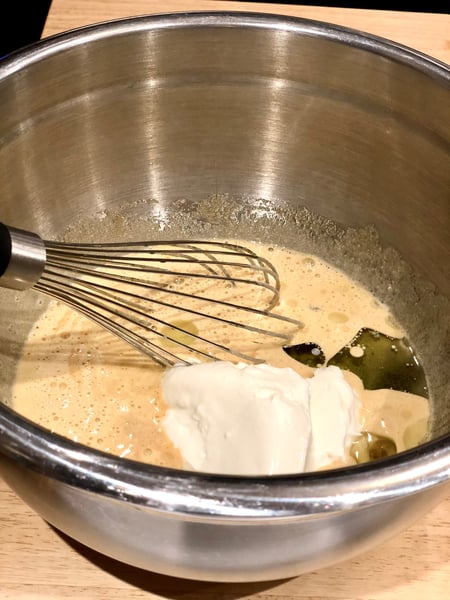
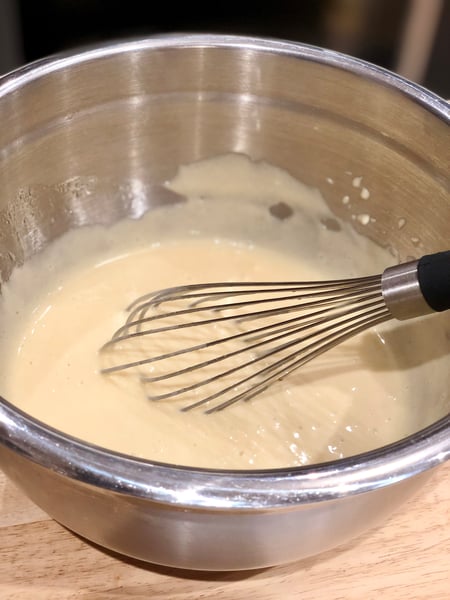
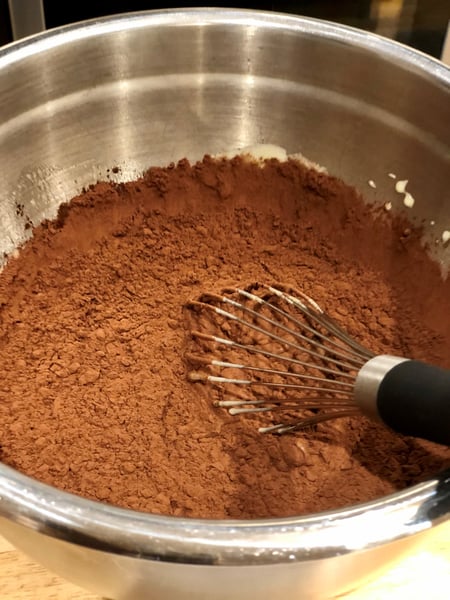
2. In a large bowl, whisk the brown sugar and eggs until pale and foamy, about 1 minute. Add yogurt, oil, vanilla, and salt. Whisk until smooth and emulsified, about 1 minute. Add the cocoa powder and whisk until well-combined, smooth and glossy.
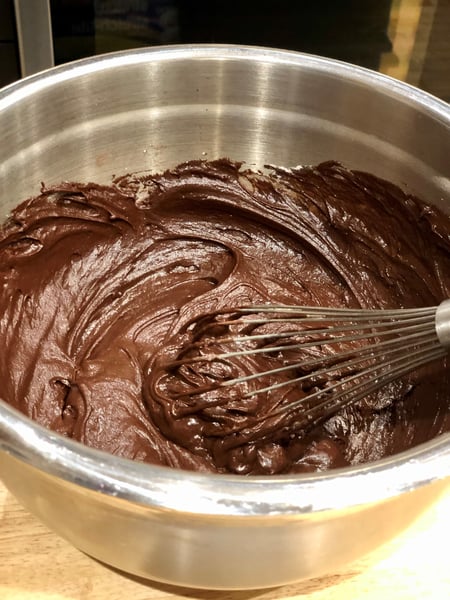
3. Add the flour, baking powder, and baking soda and whisk until well combined and smooth. If using chopped chocolate or chocolate chips, fold in until combined.

4. Pour the batter into the prepared pan, tap the pan gently on the counter to release any air bubbles and smooth the top with an offset spatula.

5. Bake the cake until puffed and a toothpick or tester inserted into the center comes out clean, 35-45 minutes, making sure to check after 35 minutes.
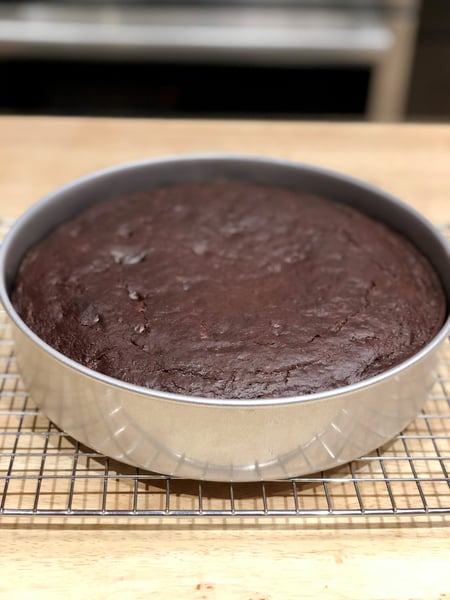
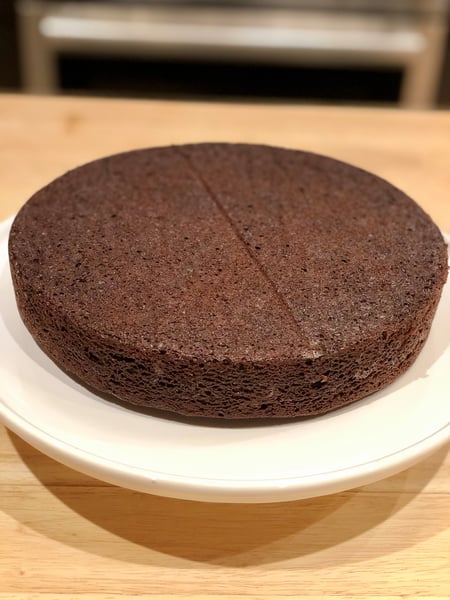
6. After removing the cake from the oven, place the cake on a wire cooling rack to cool for 15 minutes. Gently run a paring knife around the edges of the cake, place the wire rack on the top of the cake and invert onto the cooling rack. Remove the parchment paper and invert the cake right side up once again onto your serving platter in order to cool. (I chose not to invert the cake a second time, I really enjoyed the look of it as it was after removing the parchment round) Let the cake cool completely at least two hours.

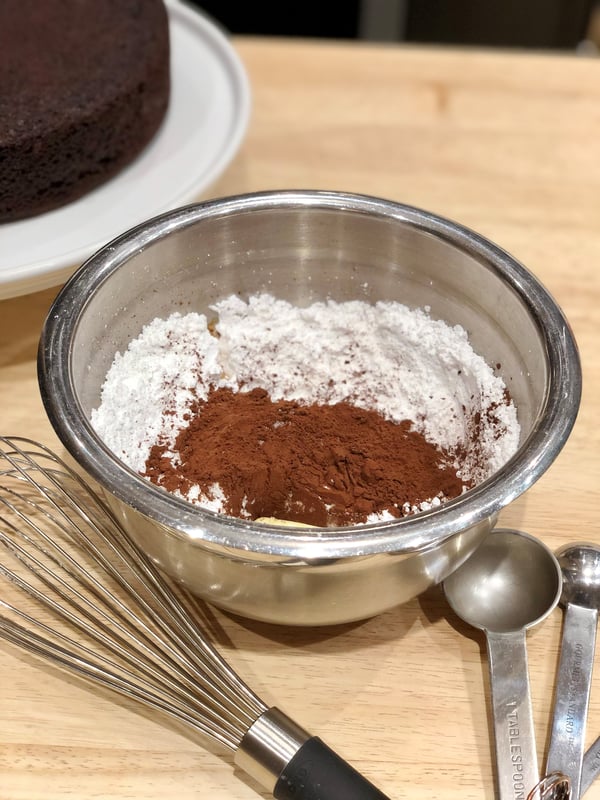
7. MAKE THE GLAZE: Add the confectioners’ sugar and cocoa powder to a medium size bowl. Whisk until combined making sure that any lumps that might have formed in the cocoa powder have been broken up. Add the softened butter, pinch of salt, vanilla extract if using, and 3 tablespoons of boiling water and quickly whisk until smooth. If the glaze is very thick, add a few drops of water until it has a smooth and pourable consistency.
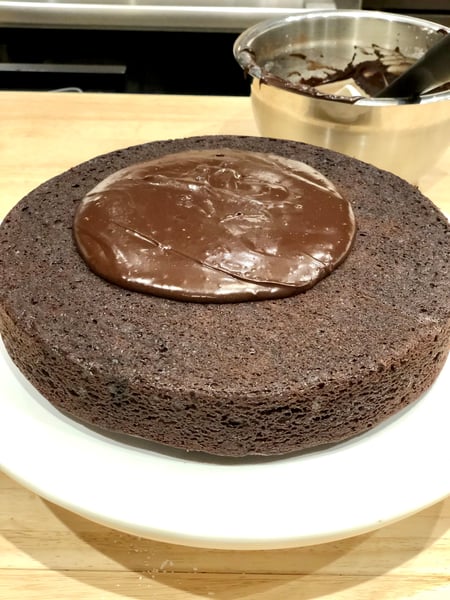
8. Immediately pour the glaze over the cooled cake, (the glaze will begin to harden into a more spreadable rather than pourable consistency if you let it sit). Using an offset spatula spread the glaze to the edges of the cake. Let the glaze set for about 20 minutes before slicing the cake. (Store the cake, covered, at room temperature or in the fridge for up to three days.
This cake is perfect on its own just the way it is. But if you want to dress it up a bit, you can also serve it with a dollop of whipped cream, or a scoop of vanilla ice cream, along with some fresh berries. You can also take the cake up a notch by sprinkling the top of the cocoa glaze with a bit of flaked sea salt. On the cakes’ third day, I took the very last slice and placed it in the microwave oven for 10 seconds. It softened the glaze a bit, and made the cake warm and extra moist.
To get in the spirit of holiday baking, join us for our hands-on Holiday Cookie Boot Camp at Lincoln Square on either:
Not in Chicago? Join us for Virtual Holiday Treats on Sunday, December 20 at 11am CST. You'll learn how to make:
- Peppermint Snowballs
- Gingerbread Cupcakes with Cream Cheese Frosting and Candied Cranberries
- Milk Chocolate-Hazelnut Truffles
We're also offering a Virtual Cookies for Santa class the whole family will love on Thursday, December 24 at 11am CST. You'll learn how to make:
- Gingerbread Cookies with Vanilla Glaze and Sprinkles
- Jam-Filled Thumbprints Cookies
- Red and Green Peppermint Patties


Cocoa Yogurt Cake with Cocoa Glaze
Ingredients
- 1 cup (200g) light brown sugar
- 2 large eggs (room temperature)
- 1 cup (220g) plain whole-milk yogurt
- 1/2 cup neutral oil, like canola or grapeseed (I chose grapeseed)
- 1 teaspoon vanilla extract
- 3/4 teaspoon kosher salt
- 3/4 cup (68g) sifted unsweetened Dutch processed cocoa powder
- 1 cup (128g) all-purpose flour
- 1 teaspoon baking powder
- 1/2 teaspoon baking soda
- 1/2 cup (85g) chopped bittersweet chocolate or chocolate chips (optional)
- 1 cup (100g) sifted confectioners’ sugar
- 3 tablespoons sifted unsweetened Dutch processed cocoa powder
- 1 tablespoon unsalted butter, very soft
- Pinch of Salt
- 1/4 teaspoon vanilla extract (optional)
- 3 to 4 tablespoons boiling water
Instructions
- Position a rack in the center of your oven and preheat the oven to 350°F. Butter or coat a 9-in round cake pan with nonstick spray. Line the bottom of the pan with a round of parchment paper.
- In a large bowl, whisk the brown sugar and eggs until pale and foamy, about 1 minute. Add yogurt, oil, vanilla, and salt. Whisk until smooth and emulsified, about 1 minute. Add the cocoa powder and whisk until well-combined, smooth and glossy.
- Add the flour, baking powder, and baking soda and whisk until well combined and smooth. If using chopped chocolate or chocolate chips, fold in until combined.
- Pour the batter into the prepared pan, tap the pan gently on the counter to release any air bubbles and smooth the top with an offset spatula.
- Bake the cake until puffed and a toothpick or tester inserted into the center comes out clean, 35-45 minutes, making sure to check after 35 minutes.
- After removing the cake from the oven, place the cake on a wire cooling rack to cool for 15 minutes. Gently run a paring knife around the edges of the cake, place the wire rack on the top of the cake and invert onto the cooling rack. Remove the parchment paper and invert the cake right side up once again onto your serving platter in order to cool. (I chose not to invert the cake a second time, I really enjoyed the look of it as it was after removing the parchment round) Let the cake cool completely at least two hours.
- MAKE THE GLAZE: Add the confectioners’ sugar and cocoa powder to a medium size bowl. Whisk until combined making sure that any lumps that might have formed in the cocoa powder have been broken up. Add the softened butter, pinch of salt, vanilla extract if using, and 3 tablespoons of boiling water and quickly whisk until smooth. If the glaze is very thick, add a few drops of water until it has a smooth and pourable consistency.
- Immediately pour the glaze over the cooled cake, (the glaze will begin to harden into a more spreadable rather than pourable consistency if you let it sit). Using an offset spatula spread the glaze to the edges of the cake. Let the glaze set for about 20 minutes before slicing the cake. (Store the cake, covered, at room temperature or in the fridge for up to three days.