
Grilling season has finally arrived! Chicago winters seem to last forever, but that only makes the grilling season that much more special. Cleaning your grill isn’t quite as exciting as firing it up for a cookout, but grills end up dirty just like any other cooking tool, and they need a little TLC in-between barbeques.
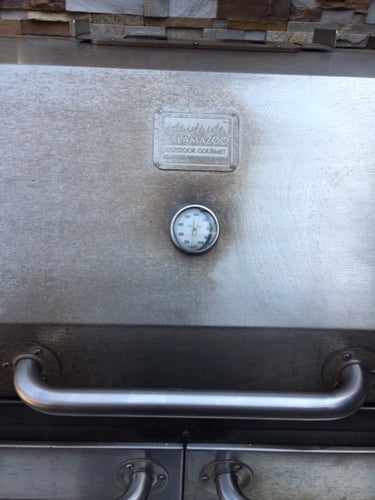
Grills are a lot like ovens, and they’re also a lot like stove-tops. They’ve got surfaces and interiors to clean just like any other cooking range. But unlike your kitchen appliances, grills are often left outside on porches and patios all year long. No matter how snugly you batten down the hatches, your grill is still going to be exposed to seasons through the rain, snow and sun, causing a ton of buildup on the outer surfaces. Then, once you start cooking, the interior gets messy as well. It’s hard to know where to start, but I hope to clear that up through the following steps. I’m going to demo the cleaning process for a gas grill, but the same techniques apply to charcoal grills as well.
- Heat up your grill, then close it. This step will vary widely depending on your make and model of grill. Whether you have a propane or charcoal grill, follow the required steps to get it hot, hot enough to cook on. As I mentioned in my post about cleaning stainless steel pans, it’s often easier to clean hot surfaces. High heat causes surfaces to expand, and that expansion will “open up” or widen the gaps between the microscopic irregularities on the inside surfaces of your grill, giving the built up char less to hang onto. It also works like a self cleaning oven: with the lid closed, the built up heat will burn a lot of food debris and make it easier to scrape off.
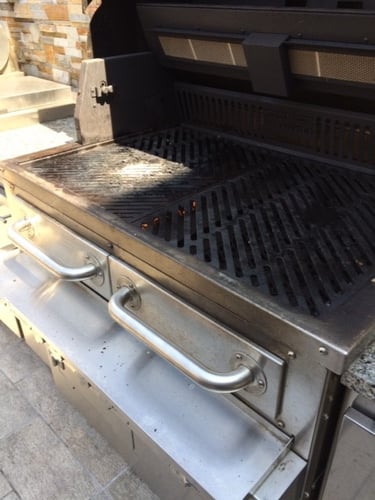
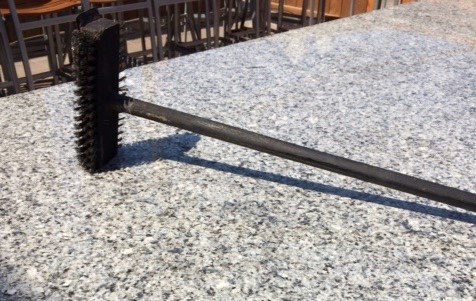
- Scrape any debris off of the cooking grates. A full day on the grill will leave behind a lot of charred debris. Multiply this by a full grilling season, and this debris really starts to become caked on. To remove this old, built up char, select the right tool for the job. If your grill is on the smaller side, you can use a standard one-handed grill brush with a scraper. On our outdoor grilling patio at The Chopping Block Lincoln Square, we use a two-handled grill brush for our larger grills. Scrape away any buildup on the cooking grates: the flat ‘burners’ that actually make contact with your food.
- Season your grill. Once you’ve scraped away all of the old, charred leftovers, you’ll want to season your cooking grates. This process is almost identical to the steps you’d take with a cast iron skillet, for good reason. Skillets and cooking grates both have a tendency to rust, especially when exposed to water. Because ribs, vegetables, brats and rain are all quite wet, you’ll see a rusty buildup if you don’t season your grill often.
To season your grill, choose a cooking oil with a high smoke point. Then grab a bowl, a set of tongs, and an old rag you don’t mind ruining. At The Chopping Block, our go-to cooking oil is Grapeseed Oil, but you can use Canola or Vegetable oil.
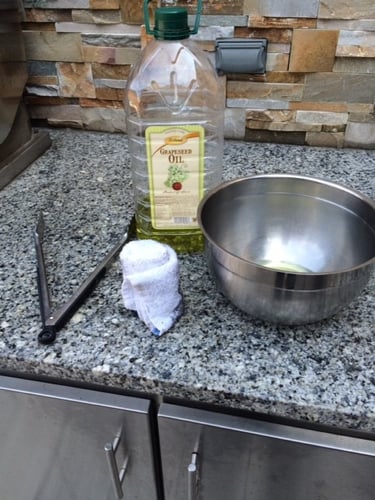
Pour your oil into a bowl, then roll up your towel. Using the tongs, apply oil to the hot cooking grates, making sure to coat every surface that comes into contact with food. You can see the difference between the seasoned and unseasoned areas below:
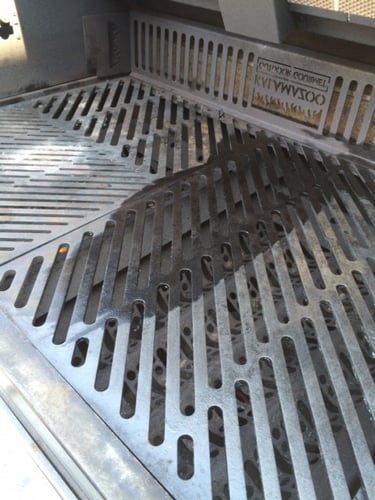
- Scrub the outside of your grill. Now that the interior of your grill is cleaned and seasoned, you can pay a little attention to the exterior. The exterior of your grill, depending on its finish, will tend to become discolored and dirty after long periods out in the sun and rain: no matter how well you cover it. On our grilling patio at Lincoln Square, we have stainless steel grills on our patio, and they end up very discolored after a winter outside. Luckily there are a few techniques to take some of that off.
At The Chopping Block, we use an all-natural cleaner called Universal Stone to polish and shine many surfaces. It comes packed as a compressed block of powder, and all it takes is a little water and a sponge to apply.
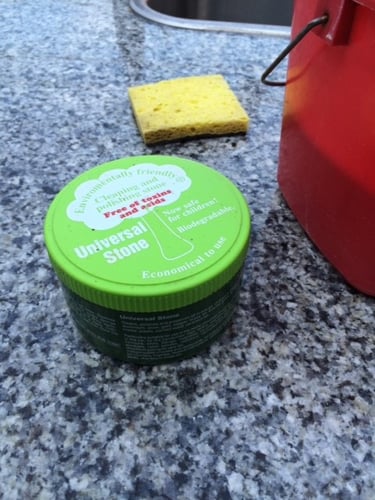
Of course, if you don’t have this product around the house, you can definitely use dish soap or any other product that takes off heavy stains and dirt. Take a little bit of your product on a sponge, then begin to scrub the exterior of your grill. You may need to scrub pretty hard, but make sure not to scrub so hard that you scratch your grill’s exterior! Check occasionally to make sure that you’re not causing any damage. For stainless steel grills, make sure that you scrub along the grain of the stainless, because it can scratch quite easily. Here’s the before and after of a little heavy scrub with Universal Stone:

- Rinse and dry the exterior. Once you’re done scrubbing the outside of your grill, rinse away any of the cleaning product that might still be on the surface. Next, dry it with an old towel that you don’t mind getting dirty. Finally, if you really want to put on a nice finishing touch, polish the exterior with a microfiber cloth, especially if you end up with water spots like the picture above. For a stainless steel grill, a little stainless steel polish helps too.
- Turn off your grill, let it cool, then sweep out old char and ash. Once you’re all finished with the exterior, go ahead and turn off your grill (for a charcoal grill, follow your normal extinguishing procedures). Next, let it cool. This may take some time, but check it occasionally until the interior surfaces are safe to the touch.
Once the interior is cool, you’ll want to sweep out the old ash and char that has fallen through the cooking surface. This will be easier to access depending on your make and model of grill, but you’ll probably be able to get to it by taking off the cooking grates. Using a broom and dustpan, get rid of all of the ash and charred particles, then dispose of them.
Not so bad, right? Cleaning a grill can seem intimidating, but once you get started, you’ll be surprised how quickly your cleaning session goes by.
Want more tips on improving your grilling game this summer? Our new free downloadable Guide to Grilling is full of grilling tips, videos and recipes to try on your now very clean grill. And if you want to check out our clean grills, sign up for one of our popular grilling classes.

