

When we were kids, my brother, sister and I used to joke that my mom had a Ziploc bag for literally anything. We had snack bags, sandwich bags, quart bags and gallon bags (both freezer and regular storage) in the pantry at all times. She even bought those extra large ones for storing pillows and blankets in closets. Of course, that was all before we knew how bad single-use plastic was for the environment (yes, I'm old). Since then, we've all tried to reduce the amount of plastic bags we use in our lives.
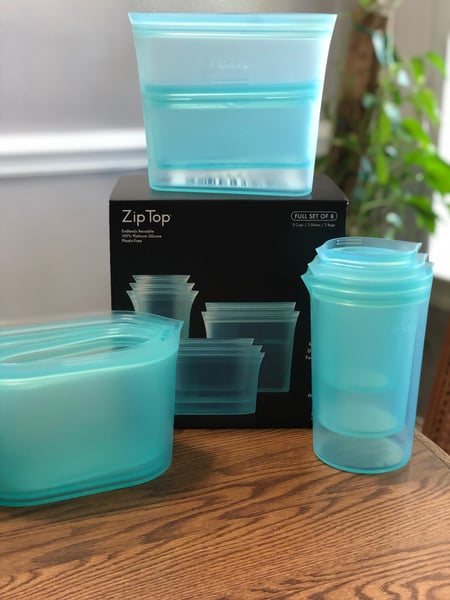 So when I heard about Zip Top silicone food storage bags, I was interested. Of course, I have plenty of plastic containers for food storage I've collected over the years but like many of you, I have a hard time keeping them organized in my kitchen cabinet (hello lost lids!). This was my first foray into the world of reusable bags, and I can tell you, I'm a big fan of these!
Zip Top containers are pure platinum-cured silicone ("platinum silicone" for short), the highest grade available that passes U.S. safety standards. It is food safe, microwave safe, freezer safe and the best kind of "safe" in my opinion - dishwasher safe. They are fork-friendly too, so you can heat up your lunch and eat it right from the bag.
These silicone bags stand upright which make them very easy to fill, and those wide bases prevent them from tipping over. Plus, they can be propped open on the top rack of the dishwasher, and they get clean easily. There are no hard-to-clean corners and they dry very quickly.
But how about the zip top? I find them super easy to press together to close, and they stay closed. You are supposed to store them upright so I wouldn't fill one with soup and just throw it in my purse, but you can line them up in your fridge or freezer without any concern.
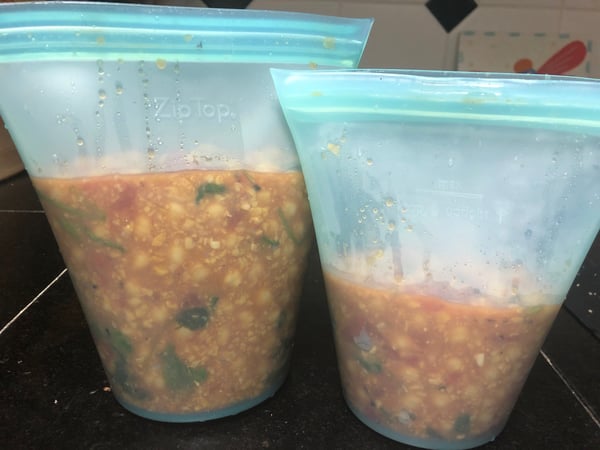
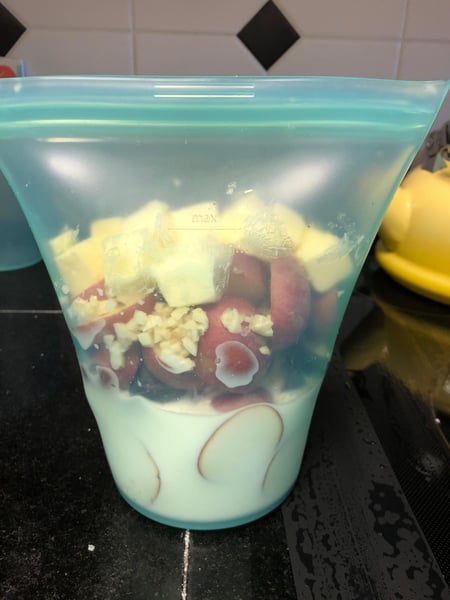
I have a full set, but you can also buy them a la carte based on your needs. My only complaint is that there needs to be bigger sizes available. There is a max line on each bag so you know exactly how far to fill it, but it would be great to have some larger options so I could store all of this chickpea stew in the same container.
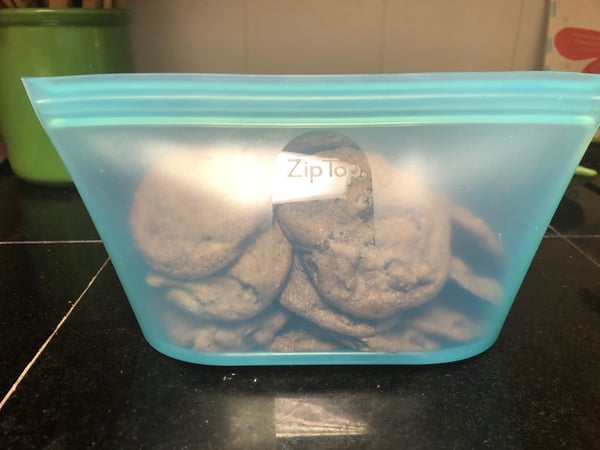
I've used these bags to store everything from cookies to cut fruit to leftovers of all kinds, but when I read they were also sous vide-friendly, I knew I had to put them to the test!
While I'm a huge fan of most kitchen gadgets (I'm looking at you Instant Pot and Mealthy CrispLid), I'll admit I've been slow to jump on the bandwagon of sous vide cooking. My friends gave me a sous vide machine a couple of years ago, and I've only broken it out of its box a few times to play around with it. In my opinion, it's just a lot of time, equipment and work when you can achieve comparable results with much quicker cooking methods.
Another reason I haven't cooked using sous vide very often is because I don't have a vacuum sealer and using regular Ziploc bags didn't seem that safe to me. Cooking food in a thin piece of plastic in warm water for hours? No thanks. But since the Zip Top bags can withstand the microwave and dishwasher and are a much thicker grade of silcone, I figured this would be an easy solution.
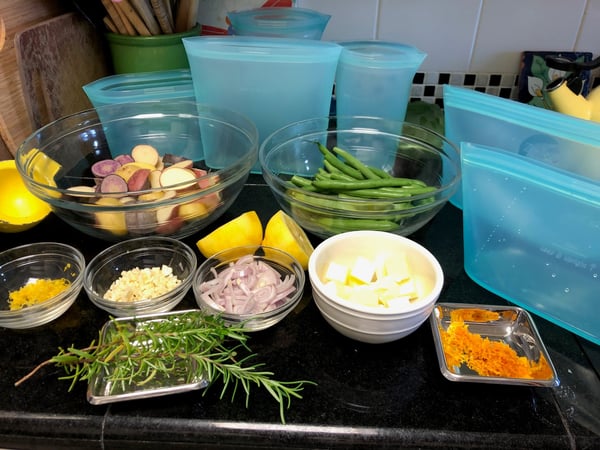
The company's FAQ on its website specifically says not to completely submerge the bags in water for sous vide, but I wasn't deterred. Of course, I consulted The Chopping Block's resident sous vide expert Executive Chef Lisa Counts on how to approach my experiment. We decided it would be best to replicate the recipes she taught in a recent virtual sous vide class: steak, mashed potatoes and green beans (she actually used asparagus in the class, but I wanted a different vegetable and they have similar prep and cooking times).
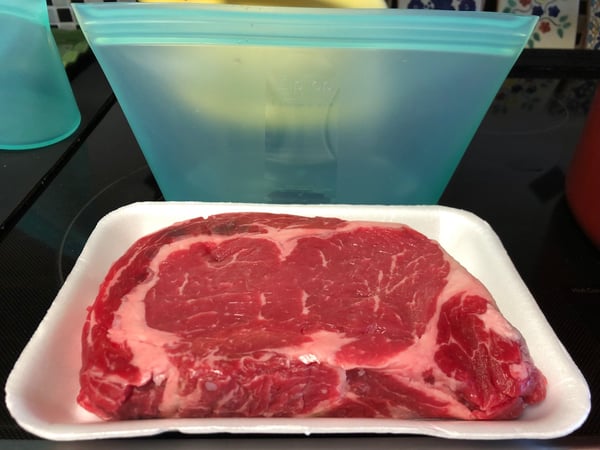
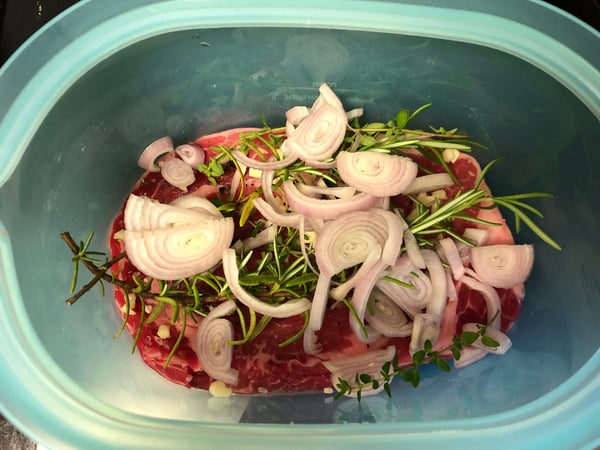
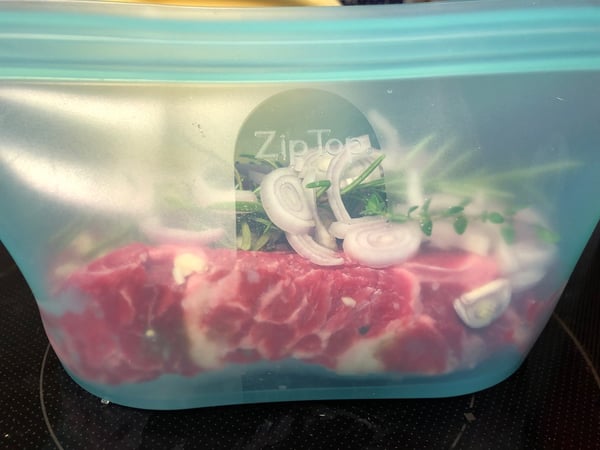
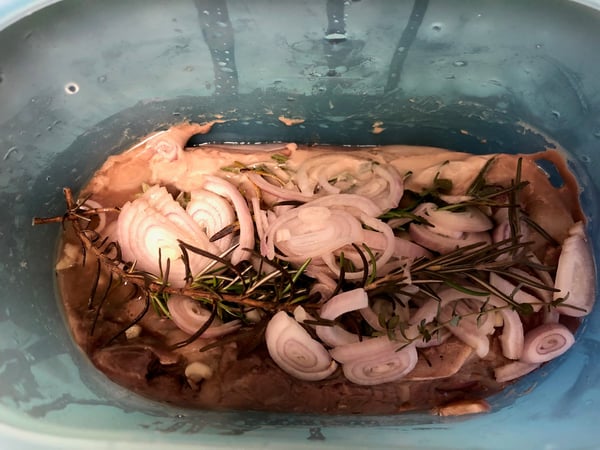
First, I prepped all of the aromatics to go in the bags with the food and decided which bags were the right size for each dish. The steak was a perfect fit!
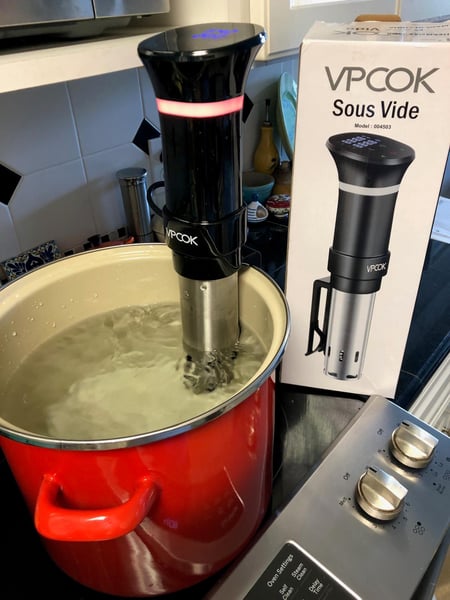
 Next, I set up my sous vide machine. I don't have a cambro (the big plastic containers restaurants use for sous vide) so I used the biggest pot I had, filled it with water, set the machine to a temp of 140 degrees.
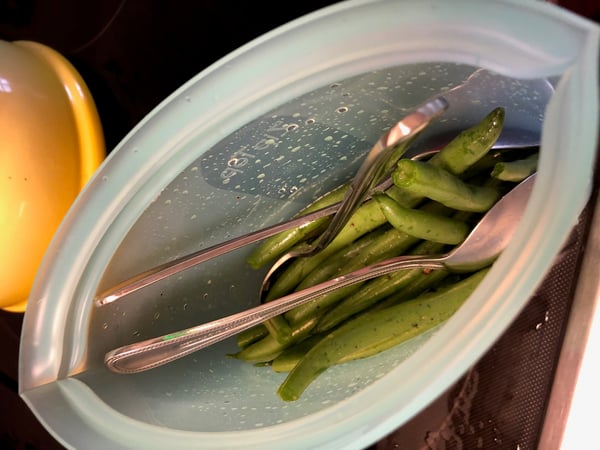
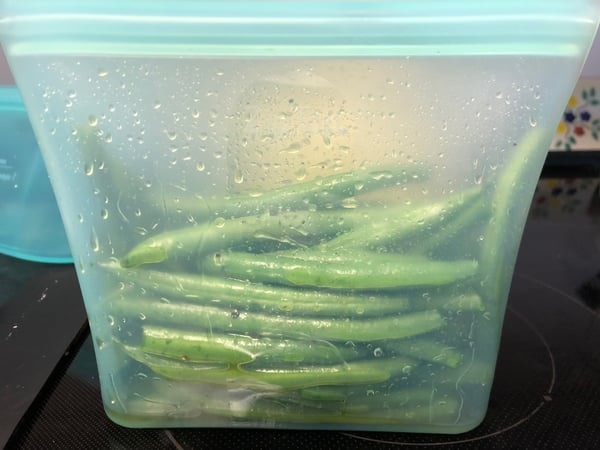
 I finished up the bags with the potatoes and green beans, using Lisa's trick of adding heavy spoons to the bag with the green beans to help weigh it down.
 I tried to remove the air from the bags with a straw like you would if you used a Ziploc bag but that wasn't very effective, so I accepted the fact that the bags would have air in them as they cooked. I placed them into the pot upright and was pleased to see they all fit and because of the upright design there was no chance of the seal tipping over and being submerged in the water. I used plastic wrap on the top of the pot to seal it and help keep all of the food in the bags well under the water level. So the seals were above the water, but all of the food was completely submerged.
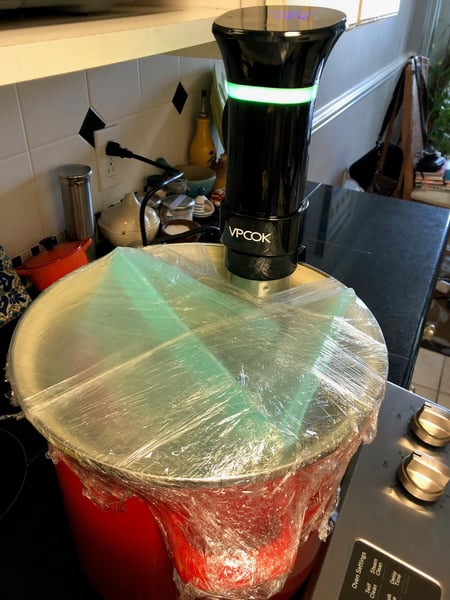 As you can see the bags were touching which isn't ideal, but again, I just went with it. Lisa also advised me that because these bags were thicker than vacuum seal bags, I should increase the cooking time.
Here's the recipe I used for the steak:
Sous Vide Steaks
Scroll down for a printable version of this recipe
Yield: 2 servings
Active time: 10 minutes
Total cook time: 1- 2 hours
2 (1 1/2– to 2-inch-thick) ribeye, strip, porterhouse, or T-bone steaks (about 1 pound)
Kosher salt and freshly ground black pepper
4 sprigs thyme or rosemary (optional)
2 garlic cloves (optional)
2 shallots, thinly sliced (optional)
2 tablespoons vegetable oil (if pan-searing)
1. Preheat a sous vide cooker to desired final temperature. See chart below for reference.
2. Season steaks generously with salt and pepper. Place in sous vide bags along with herbs, garlic, and shallots (if using) and distribute evenly. Seal bags and place in water bath for desired time according to the chart.
3. Remove steak from water bath and bag and carefully pat dry with paper towels. Add vegetable oil to a heavy cast iron or stainless-steel skillet, then place over the hottest burner you have and preheat skillet until it starts to smoke.
4. Gently lay steak in skillet, using your fingers or a set of tongs. After about 30 seconds, flip steak so that the second side comes into contact with the pan. Sear the second side for 30 seconds
5. Alternatively, you may torch or broil your steak to help with the browning.
6. Take steak out of the pan and let rest for a few minutes.

When it was time to remove the food from the pot, I let the steak rest in the bag for about 15 minutes while I bumped up the temp of the water to finish cooking the beans and potatoes. This is what the steak looked like when I opened the bag.
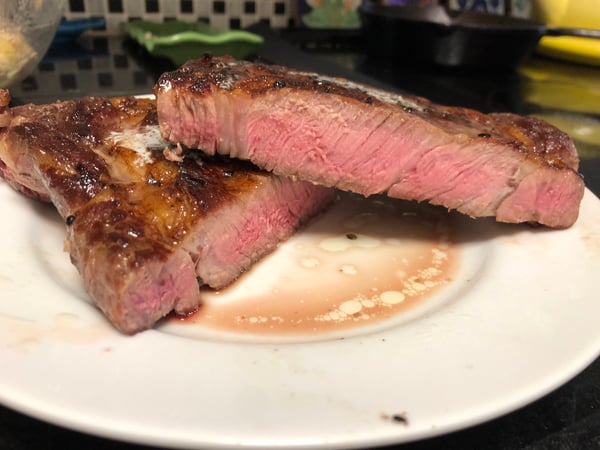
 I removed it from the bag, discarded the aromatics and patted it dry with a paper towel. I then seared it in a super hot cast iron pan with a little butter and grapeseed oil for about 30 seconds on each side to give it a crust, let it rest again with a dollop of herb compound butter melting over the top and then sliced into it. It was cooked perfectly to my liking!
 The rest of the meal was equally delicious.
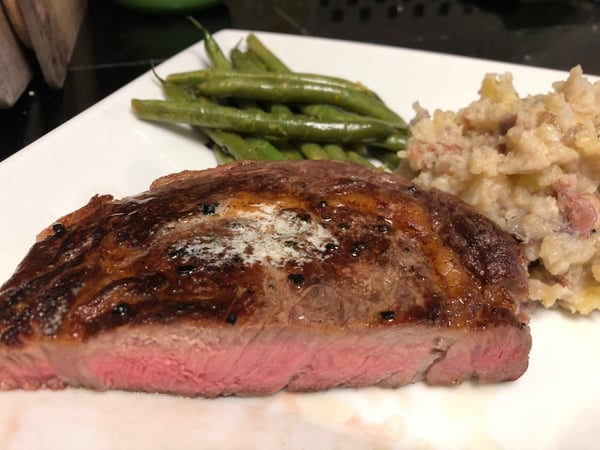 This meal took about 2.5 hours to make from start to finish, which is my issue with sous vide. While this steak was cooked perfectly and super tender with a caramelized crust, I know I can achieve a similar result on a grill or simply in a cast iron pan in just a matter of minutes. And I certainly wouldn't spend over two hours making side dishes like vegetables and mashed potatoes. So while the Zip Top bags worked well in the sous vide environment I created for them, I'll stick to using them as the awesome storage containers they are. Back in the pantry goes the sous vide machine, behind my beloved Instant Pot, of course.
We don't have another sous vide class on the calendar right now, but if you are a gadget geek like me and you happen to have an Instant Pot, you won't want to miss our virtual Intro to the Instant Pot class which is coming up on Saturday, July 17 at 10am CST. This class will demystify this machine and unlock its potential in your kitchen!


Sous Vide Steaks
Ingredients
- 2 (1 1/2– to 2-inch-thick) ribeye, strip, porterhouse, or T-bone steaks (about 1 pound)
- Kosher salt and freshly ground black pepper
- 4 sprigs thyme or rosemary (optional)
- 2 garlic cloves (optional)
- 2 shallots, thinly sliced (optional)
- 2 tablespoons vegetable oil (if pan-searing)
Instructions
- Preheat a sous vide cooker to desired final temperature. See chart below for reference.
- Season steaks generously with salt and pepper. Place in sous vide bags along with herbs, garlic, and shallots (if using) and distribute evenly. Seal bags and place in water bath for desired time according to the chart.
- Remove steak from water bath and bag and carefully pat dry with paper towels. Add vegetable oil to a heavy cast iron or stainless-steel skillet, then place over the hottest burner you have and preheat skillet until it starts to smoke.
- Gently lay steak in skillet, using your fingers or a set of tongs. After about 30 seconds, flip steak so that the second side comes into contact with the pan. Sear the second side for 30 seconds
- Alternatively, you may torch or broil your steak to help with the browning.
- Take steak out of the pan and let rest for a few minutes.