It's no secret that I love a useful kitchen gadget. I heartily embraced the Instant Pot when it came out and still use it regularly for any dish with dried beans, to make yogurt, pulled pork, hard boiled eggs, Indian Butter Chicken and any kind of soup. I'm a big fan of the air fryer too, so when mine recently started making a very scary noise that sounded like it was about to blow up, I realized I was in the market for a new air fryer.
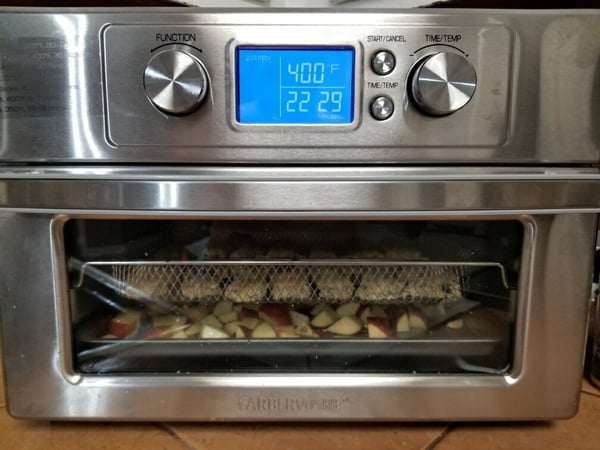
But while I love gadgets, I hate the room they take up in my kitchen. Anyone who owns an Instant Pot knows it's a behemoth of a machine. I already have a perfectly good toaster oven, so I wasn't thrilled about the idea of replacing that with yet another larger oven that also functions as an air fryer like this one.
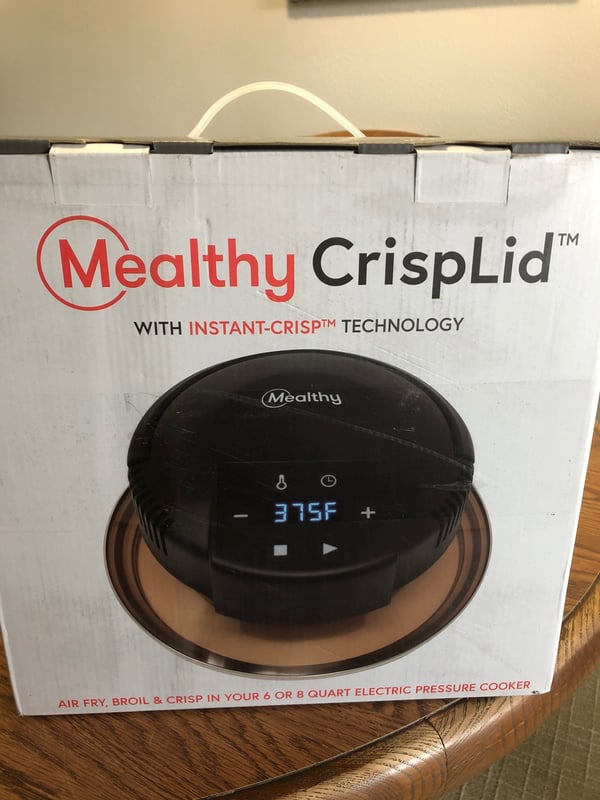
Then I found the Mealthy CrispLid online. This tool essentially transforms any 6- or 8-quart electric pressure cooker (Instant Pot or not) into a veritable air fryer. It seemed to be the best of both worlds! The reviews on Amazon were pretty impressive and the price point was right, so I decided to give it a try.
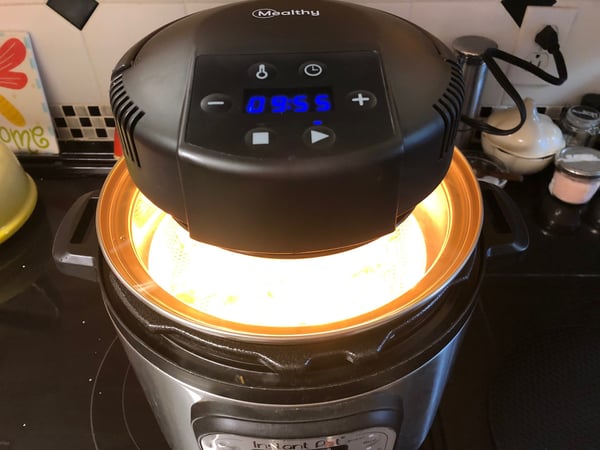
This space-saving extension literally just sits on top of your pressure cooker. Make sure the pressure cooker is off, set the time and temperature on the CrispLid then watch the magic happen through the transparent tempered glass lid. If you remember from my air fryer blog, my biggest beef with my old fryer is that I couldn't see what was happening to the food, so setting the timer was a bit of a guessing game. Not so with the CrispLid! If you see something getting a little too brown before the time is up, simply pop up the handle to stop the cooking.
The Mealthy CrispLid also comes with a raised trivet, fryer basket, stainless steel tongs and heat-resistant silicone mat for resting the lid on- all of which are dishwasher safe and 100% BPA-free. There's even a recipe booklet to get you started!
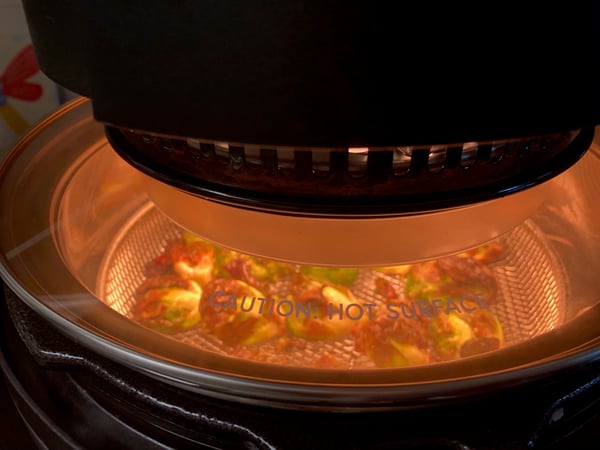
The instructions are filled with danger warnings about burning yourself so you need to be very careful when using the CrispLid. As indicated by its fiery red glow that kind of looks like something from outer space, this sucker gets hot! That's why they include a silicone mat to set the lid on when you take it off of the pressure cooker. If the handle is not locked into place, the unit will also not turn on. While air frying is a great activity for kids since they love to bread food, I'd suggest letting the adults handle the CrispLid.
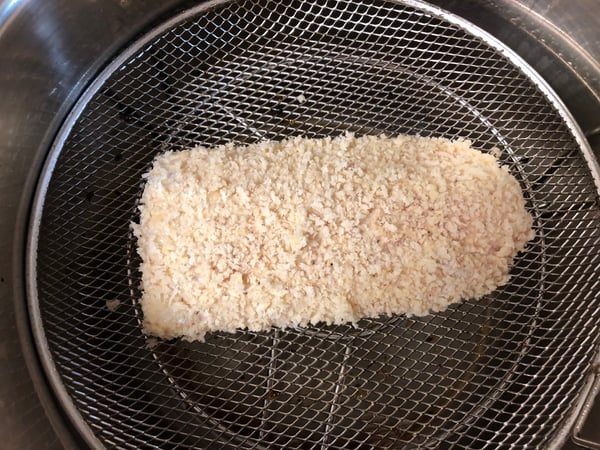
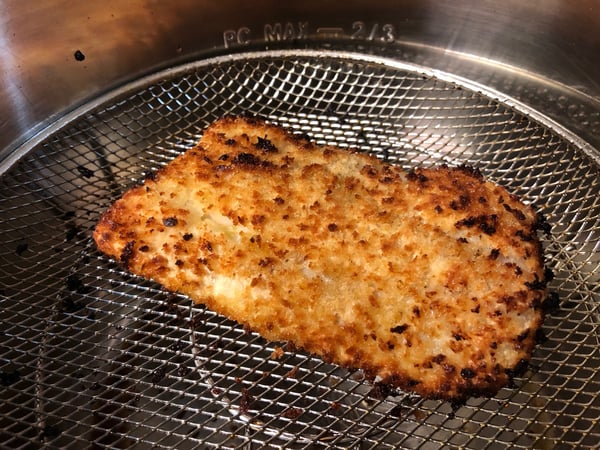
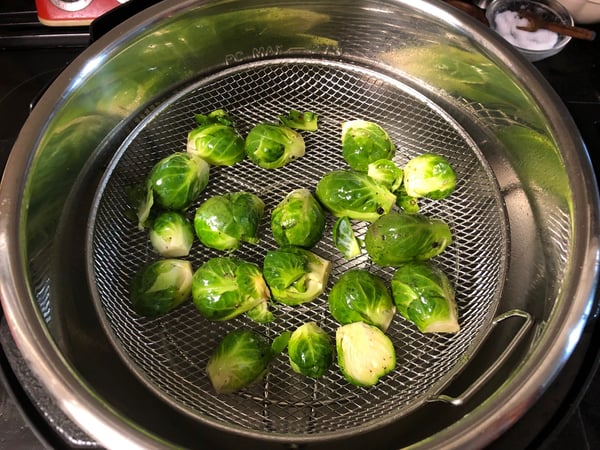
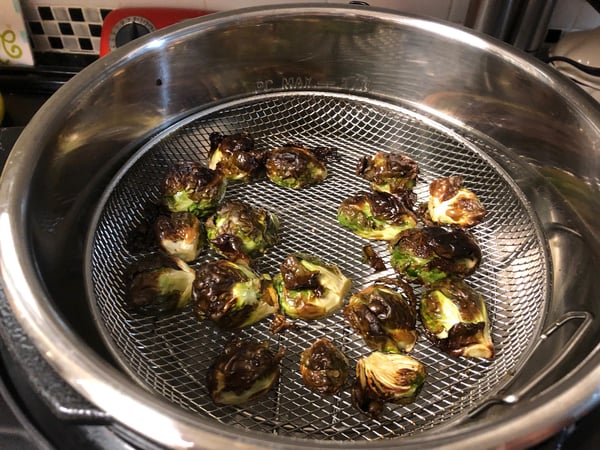
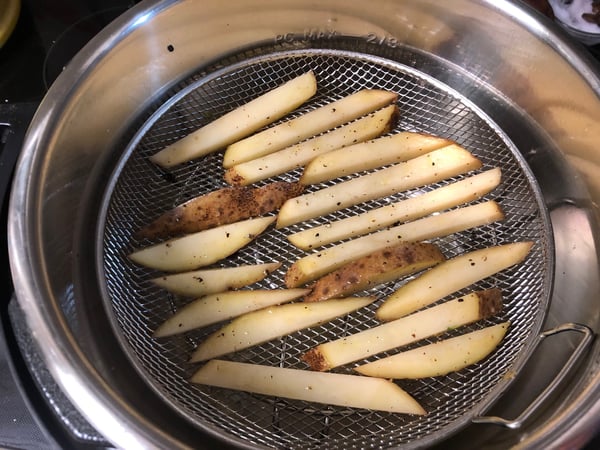
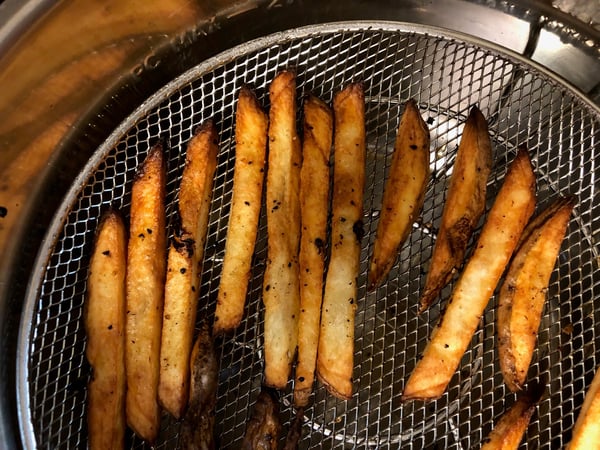
I started with some basic items I had cooked in my old air fryer a bunch of times so that I could compare the results: a piece of breaded cod, Brussels sprouts and French fries. The process is the same as with any air fryer: you spray the food with oil on both sides, air fry, then flip and respray halfway through the cooking process. All of the food came out crispy and delicious with about the same cook time as the old air fryer. In fact, the French fries are the best I've ever had in an air fryer. You couldn't tell they weren't deep fried!
The only downside is that the tray is pretty small, so cooking for one or two people is fine, but I wouldn't want to cook for a family of four with this size basket. I see from Mealthy's website that the latest version of their CrispLid is also a dehydrater and includes a deeper basket which could solve this problem. You can also purchase the deep basket on its own, and it's double the height of the original basket. If I feel the need to air fry for a crowd, that will definitely be worth the $14.95 investment.
The CrispLid worked well as an air fryer, but what about using it in conjunction with the Instant Pot? This to me, seemed to be another big perk of this tool so to test, I made a lasagna in my 7-inch springform pan (which is a must for any Instant Pot user) and crisped up the top layer of cheese with the CrispLid. Here's the recipe from Mealthy's recipe book (it's also online) which will give you slightly more meat sauce and cheese sauce than you need. But overall, it's a solid recipe.
Pressure Cooker Lasagna with Meat Sauce using CrispLid
Click here for a printable version of the recipe.
Serves 6
Cheese Sauce
- 2 cups cottage cheese
- 1/2 cup shredded mozzarella cheese
- 1/2 cup grated Parmesan cheese
- 1 egg
- 2 tablespoons thinly sliced fresh basil
- salt and freshly ground black pepper to taste
Meat Sauce
- 1 pound ground beef
- 1 onion, diced
- 1 clove garlic, minced
- 1 (28 ounce) can tomato puree
- 1/3 cup water
- 2 teaspoons Italian seasoning, or more to taste
- 1 pinch cayenne pepper, or more to taste
- salt and ground black pepper to taste
Lasagna Components
- 6 no-boil lasagna noodles, or more as needed
- 1/4 cup shredded mozzarella cheese
- 1/4 cup grated Parmesan cheese
- cooking spray
- 2 cups water
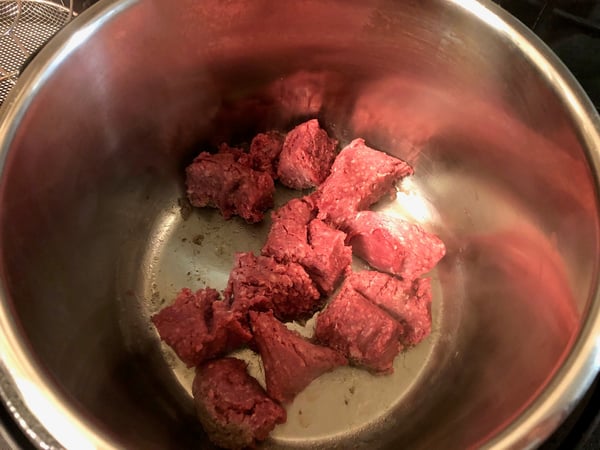
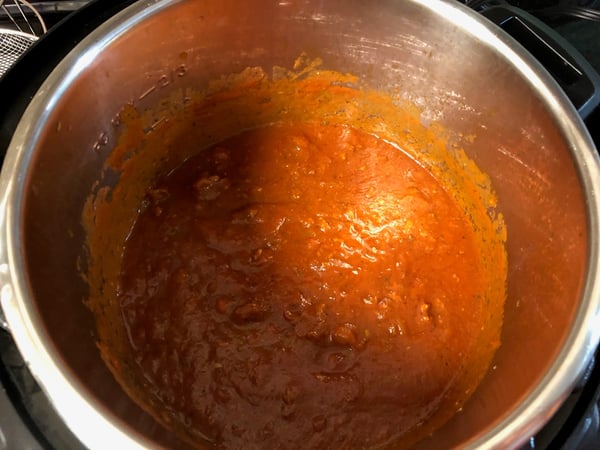
1. Cook and stir ground beef in inner steel pot of pressure cooker set to Sauté. Sauté until meat is browned and broken up into uniformly small pieces, 5 to 10 minutes.
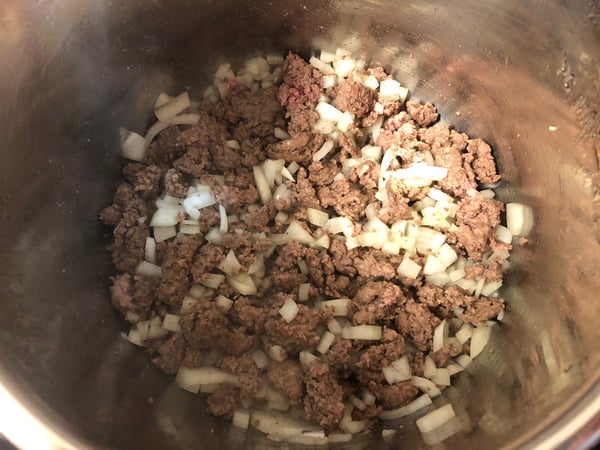
2. Add onion to beef; sauté until onion is soft and translucent, 3 to 5 minutes. Stir garlic into beef and onions; sauté until fragrant; about 30 seconds more.
3. Mix tomato puree, 1/3 cup water, Italian seasoning, cayenne pepper, salt, and black pepper into beef. Bring mixture to a boil, then select Cancel to stop Sauté.
4. Lock pressure cooker lid in place and set steam vent handle to Sealing. Select Pressure Cook (Manual) and cook on High Pressure for 22 minutes. Let pressure release naturally for 10 minutes before turning steam vent handle to Venting to quick-release remaining pressure.
5. Transfer meat sauce to a large bowl. Rinse out inner steel pot, dry, and return to pressure cooker base.
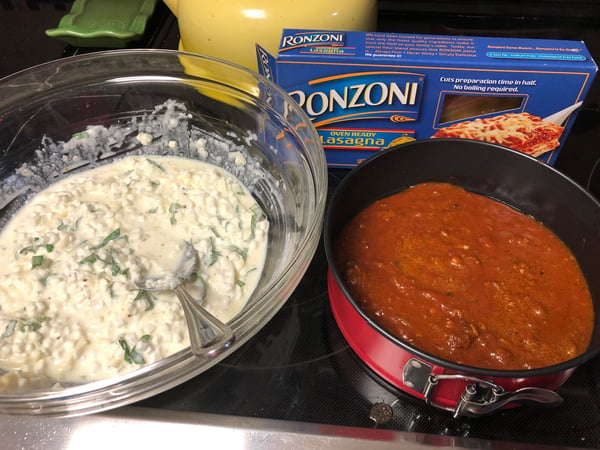
6. Stir cottage cheese, 1/2 cup mozzarella cheese, 1/2 cup Parmesan cheese, egg, basil, salt, and black pepper together in a large bowl.

7. Spread 1/2 cup meat sauce into the bottom of a 7-inch springform pan. Place lasagna noodles (enough for a single layer, about 1½ to 2 noodles per layer) in a single layer over meat sauce, breaking noodles as necessary to fit the round pan.
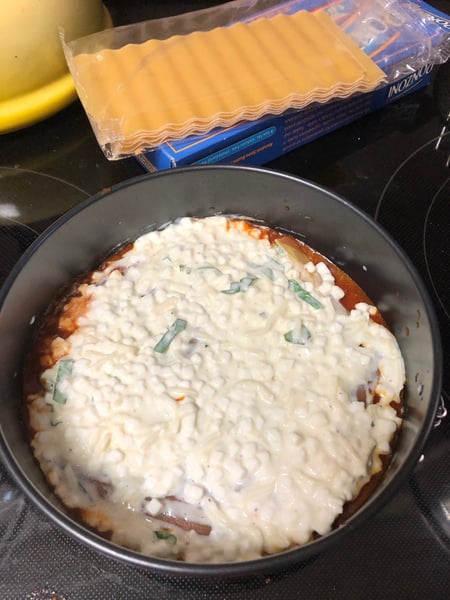
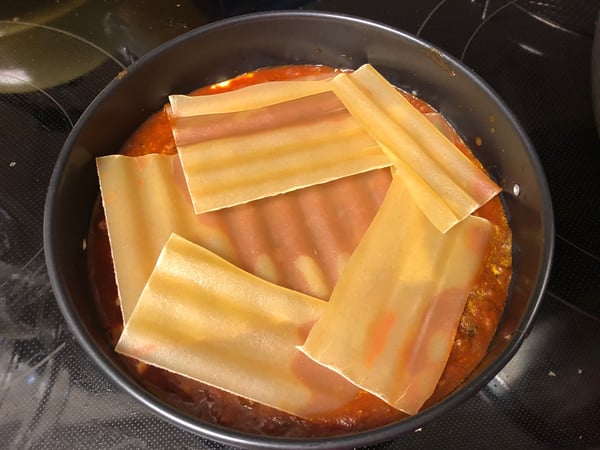
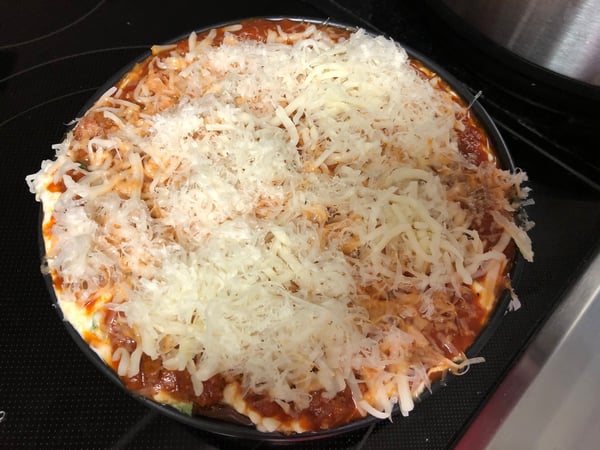
8. Top noodles with another 1/2 cup of meat sauce. Spread 1/2 cup cheese sauce over meat sauce, then top with another single layer of lasagna noodles. Repeat this pattern (noodles, meat sauce, cheese sauce) until pan is almost full, ending on a layer of meat sauce. Sprinkle 1/4 cup mozzarella cheese and 1/4 cup Parmesan cheese over the top.
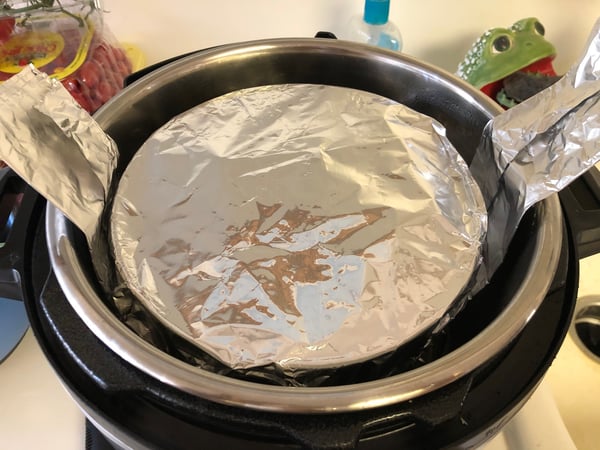
9. Spray a piece of aluminum foil with cooking spray. Place aluminum foil over lasagna and wrap tightly over top of pan.
10. Pour 2 cups water into inner steel pot of pressure cooker and place trivet in pot. Fold another sheet of aluminum foil to make a sling and use the sling to lower the springform pan onto trivet.
11. Lock pressure cooker lid in place and set steam vent handle to sealing. Select Pressure Cook and cook on High Pressure for 24 minutes. Let pressure release naturally for 5 minutes before turning steam vent handle to Venting to quick-release remaining pressure.
12. Remove cooked lasagna from inner pot and pour out water from bottom of pot. Remove aluminum foil from springform pan, being careful not to spill any water onto lasagna.
13. Return trivet to inner steel pot of pressure cooker and gently place springform pan with lasagna onto trivet.
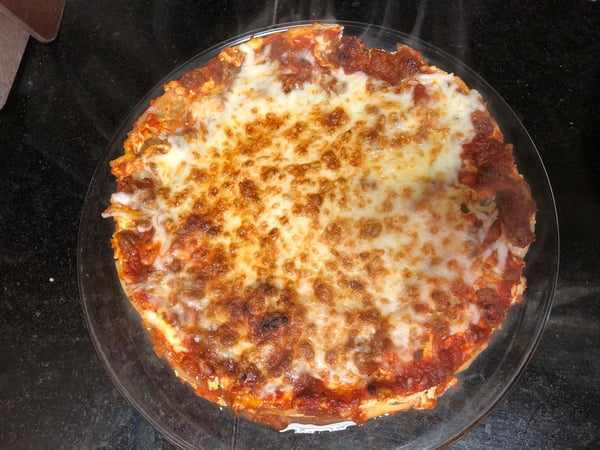
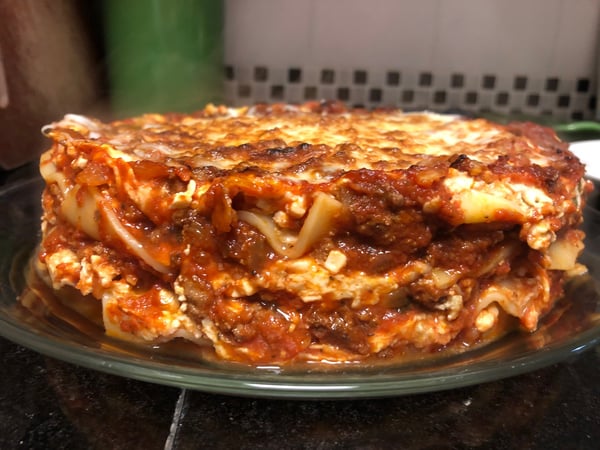
14. Set CrispLid on top of inner steel pot and plug in. Set to 500°F (260°C) and cook lasagna until cheese is bubbling and browned, about 3-5 minutes. Lift the lid using the handle and set it on the silicone trivet. Let lasagna cool for about 15 minutes before removing from springform pan and transferring to a plate.
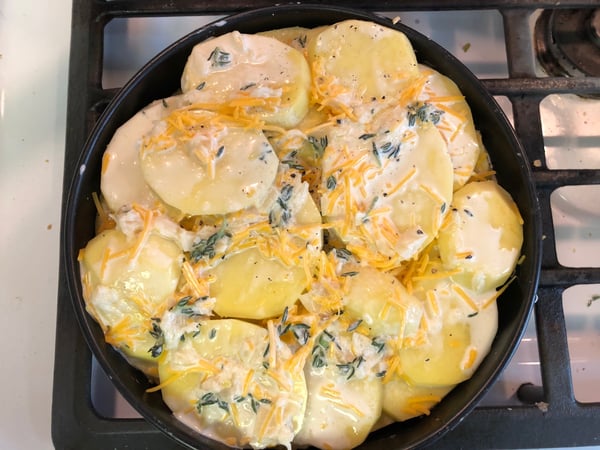
The next test of the team Instant Pot + CrispLid was a potato gratin. After slicing and layering the potatoes with fresh herbs, roasted garlic-infused heavy cream and fresh time, the gratin was covered in foil and cooked in the Instant Pot. I once again used my trusty 7-inch springform pan and my aluminum foil sling trick I wrote about in my first Instant Pot blog. Of course, now they sell all kind of handy accessories to achieve this goal.
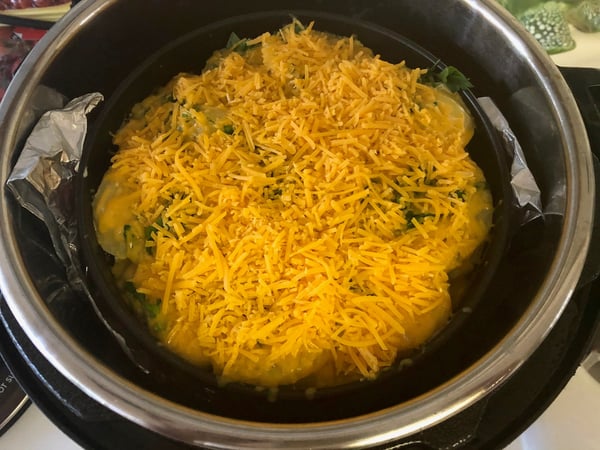
Once the potatoes were cooked through, I added another layer of cheese to the top and put on the CrispLid to crisp up the top layer of cheese for a few minutes.
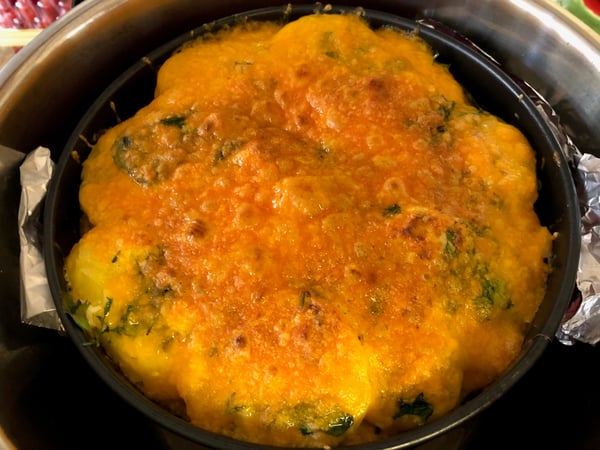
This gratin had a nice crunchy layer of cheese on top and soft flavorful potatoes underneath. It was the perfect side dish to a lovely meal.
If you’re an Instant Pot owner contemplating an air fryer, but can’t justify the extra countertop space, the CrispLid is truly the perfect solution for you like it has been for me.
Despite my begging for an Instant Pot cooking class, there's not one on the road map for The Chopping Block's class calendar (comment below if you'd like to see one!). In the meantime, learn how to make the most of your Crock Pot and cast iron during this winter in our Cast Iron and Crock Pot Cookery class coming up on Saturday, February 1 at 12pm at Lincoln Square.
If you could use a quality piece of cast iron in your kitchen, all cookware goes on sale January 2nd. Lodge Cast Iron, Le Creuset and All Clad is all 20% off through the month!