
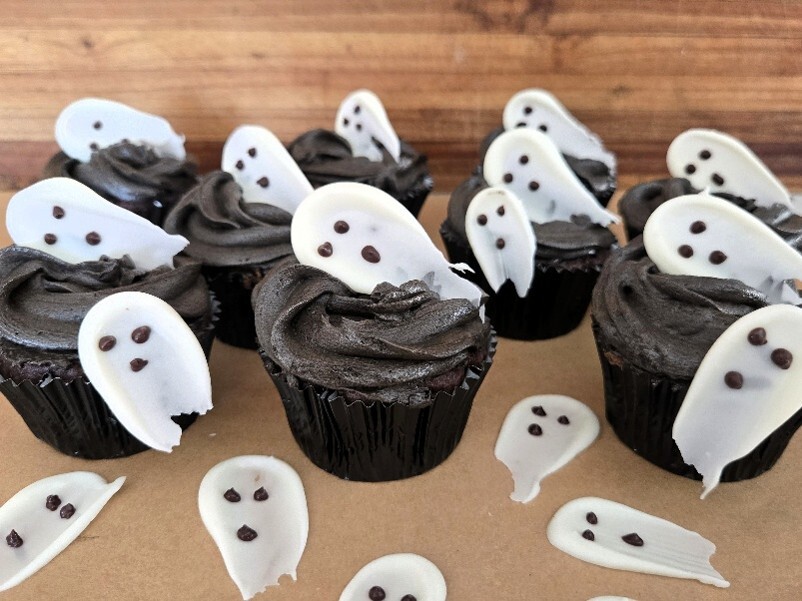
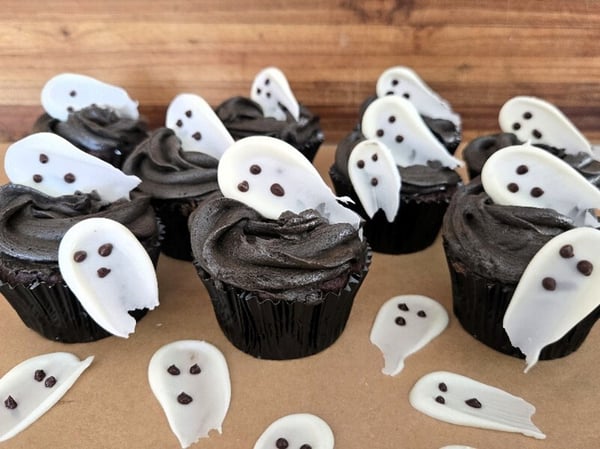
Halloween is just around the corner, so bring on the treats! These little ghost cupcake toppers are super-easy and just the right touch when you don’t want to show up empty-handed at your next Halloween party. To quote the original “Ghostbusters” theme song, “I ain’t afraid of no ghosts!”
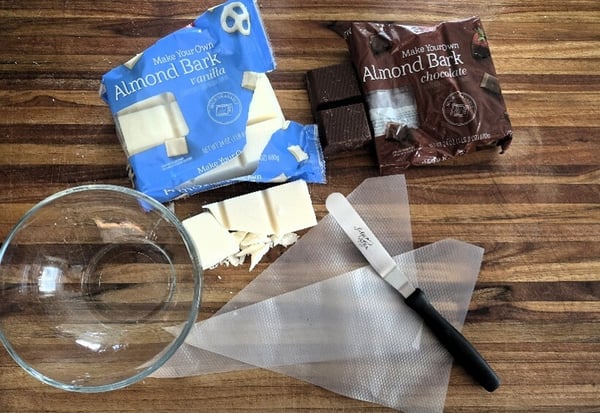
You’ll only need two ingredients to make these little guys: white coating chocolate and dark chocolate coating chocolate. You will see this type of chocolate marketed in different ways, but you’ll almost always find it in the baking section of your grocery store. You may see it packaged as “Make your own Almond Bark” as shown here; you may also see it as “coating chocolate”, “dipping chocolate”, or “melting chocolate”. It will also come in blocks (as shown here) or wafers.
This type of chocolate uses vegetable fats instead of cocoa butter, which allows it to be melted and hardened into shapes without “tempering.” It has a bit of a waxier texture than true cocoa butter-based chocolate and isn’t as “melt-in-your-mouth” as your favorite candy bar, but it’s absolutely perfect for creating decorative accents like these.
Equipment is also minimal: a glass bowl, a couple of piping bags (plastic sandwich bags work, too) and an offset spatula (or spoon) are really all you’ll need. Don’t fear the piping! Even if you’re new to piping, these little ghosts are “perfectly imperfect” – which makes them great shapes to practice with and build your piping confidence.
First, you’ll need to melt the chocolate. Instructions can vary a bit brand to brand, so follow the instructions on the packaging. While you can melt it on the stovetop, I find the microwave makes the job easier. We’ll start with the white chocolate. The instructions on my package said to microwave it on full power for 1 minute, 30 seconds, stir, and then microwave as needed in 15-30 second intervals. For today, I cut off 3 squares of white chocolate which was way more than I actually needed, but I’ll show you what to do with the leftovers later.
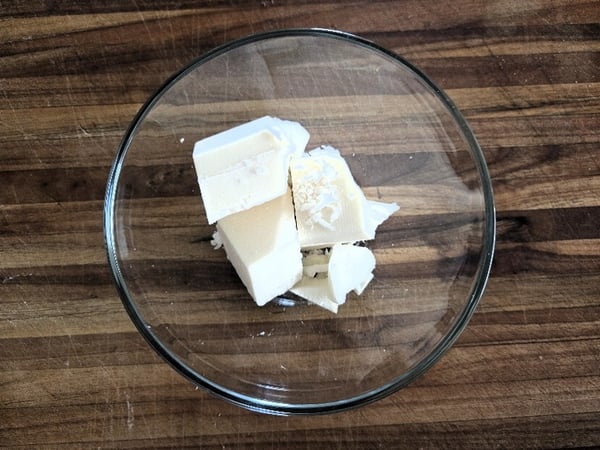
Take care when removing the bowl from the microwave as it may be quite hot. After the initial time in the microwave, the chocolate did not change shape very much.
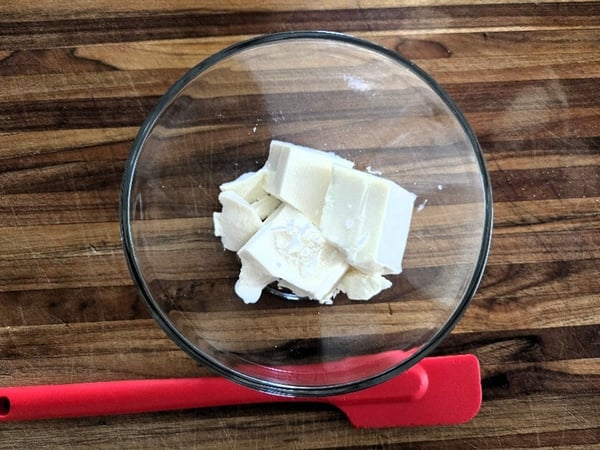
However, once I put my spatula into the chocolate, it was very soft and blended quite easily. Whatever bits may not have initially melted did so almost immediately upon stirring, just by the heat of the parts that were already melted. Here’s a little video of how easily it came together:
The final mixture was creamy and didn’t even need to go back into the microwave.
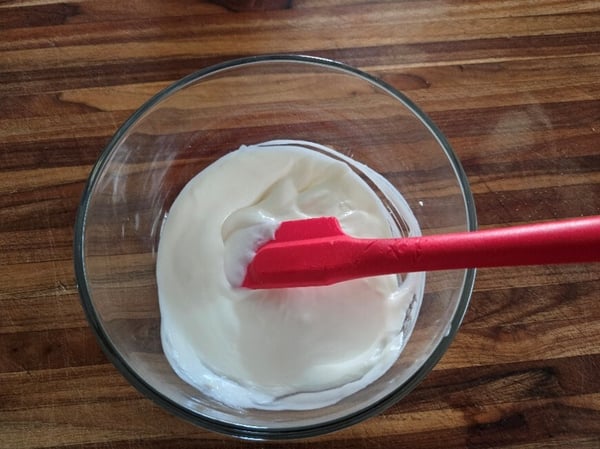
Note, however, that everyone’s microwave is different. If it’s not completely melted, then put it back in. If the instructions give you a range of how long, I would start with the lower end. My instructions said, “15-30 second intervals.” If it needed to go back in, I would start with 10 or 15 seconds, depending on how much had not melted, not 30 seconds.
Now you’ll pour the mixture into your piping bag (or sandwich bag). I used a 12” piping bag and placed it into a tall drinking glass with the ends draped over the top to help keep it steady when I pour the chocolate in.
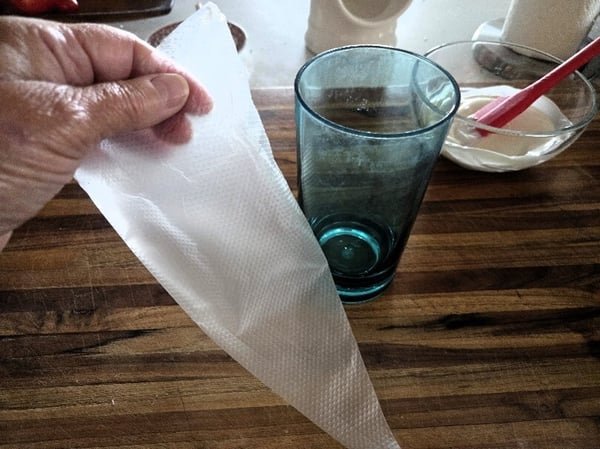
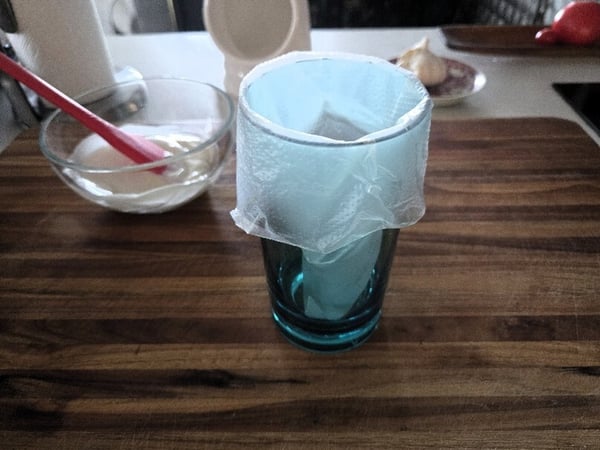
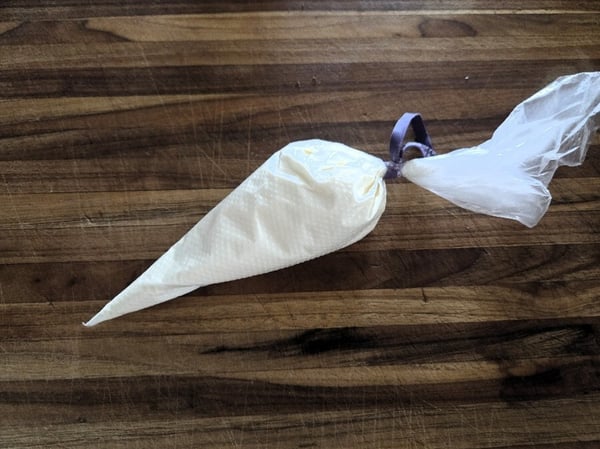
Now simply pour the melted chocolate into the bag. Then remove the bag and twist the top closed:
There are any number of gadgets you can use to close the top of the bag. And, certainly, you can knot it if you have enough room at the top of your bag. But I thought I’d show you my favorite, easiest way to close it off – with a rubber band.
And your melted chocolate is ready to go!
Now place a piece of parchment on a sheet pan and you’re ready to pipe. As you’ll see in the next video, there isn’t a lot of technique here! You’re just going to pipe little round “blobs” (very technical). If you keep the tip of your piping bag embedded in the blob as you pipe, it will naturally grow to the diameter you want. I made mine about 1/2” in diameter. Once you have the size you want, just stop pressing on the bag, lift it out, and move on to the next one.
This next video illustrates how to pipe the chocolate and also how to use your offset spatula (or the back of a spoon) to “swipe” the blobs into ghost shapes:
Here is what my tray of ghost shapes looked like.
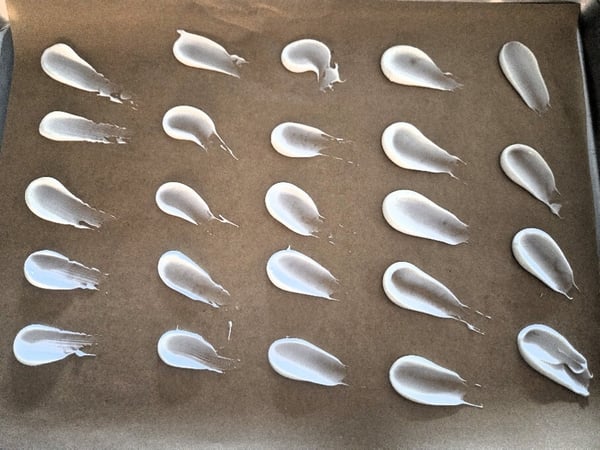
Pop them in the fridge to harden for about 10 minutes. They would also harden outside of the fridge, but they would take a little longer.
While your ghosts are setting, follow the same process to melt your dark chocolate and fill your piping bag. I just washed and re-used the same bowl I used for the white chocolate – just make sure your bowl is absolutely dry. Again, I melted more than I needed to.
Take your ghosts out of the fridge and gently lift them off the parchment. You can use your fingers or a slide a small spatula (you can clean off and reuse your offset spatula, if you wish). This will allow you to remove any that may not have turned out the quite the way you wanted, so you don’t waste time piping little eyes and mouths on those you don’t want to keep. Here’s what I did and how I decided I didn’t want to keep one of mine:
Now cut the absolute tiniest opening at the point of your dark chocolate piping bag.
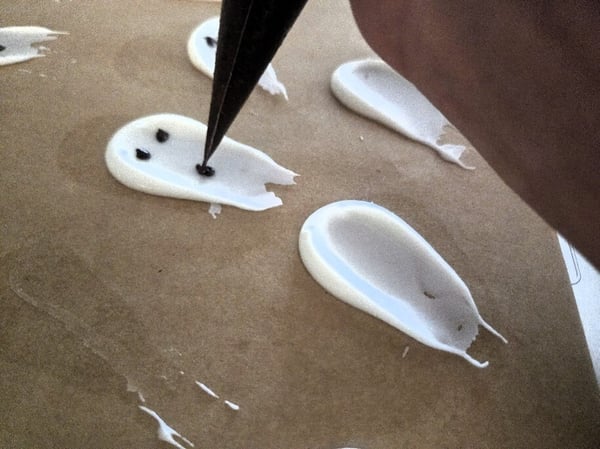
You will pipe the little eyes and mouths on the ghosts the same way you piped the white “blobs.” Keep your piping tip inside the chocolate as it comes out until you have the size you want. When I piped the blobs, I was able to just pipe with one hand. However, piping these tinier details, I needed my other hand just to touch and keep the bag steady. By the way, if you’re not in the mood to pipe eyes and mouths, just do the eyes – they’ll be perfect and no one will be the wiser! To let these little piped details dry, just pop the sheet pan back in the fridge for a few minutes, or let them dry at room temperature.
Earlier I mentioned I would show you what to do with your leftover melted and bagged melting chocolate. I purposely melted more than I needed so that I would have it to use when Halloween gets a bit closer.
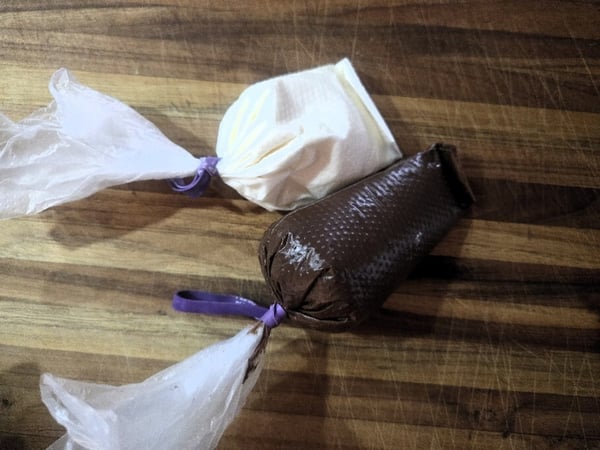
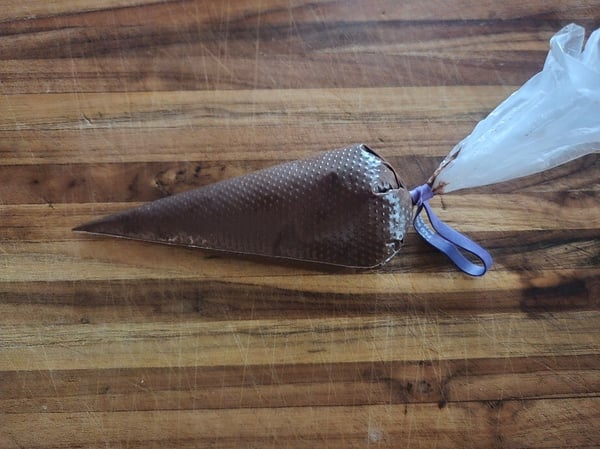
I simply push the melted chocolate up away from the tip toward the top of the bag. Then I fold the tip end onto itself until it reaches the chocolate. I just let the bags sit until they harden, then store them in a Zip-loc bag. When I’m ready to use the chocolate, I remelt it by placing the solid chocolate in a glass bowl (one bag at a time) and melt it right in the bags. Instead of stirring it, I just hold the tip closed & “massage” the chocolate inside until it’s completely melted and I’m good to go!
Once all your chocolate details are set, insert your ghosts into the soft icing of your cupcakes. As you can see, some ghosts swooped in and even attached themselves on to the sides of the cupcakes! And what about extra ghosts or if you don’t use them right away? Just store them in a container until you’re ready. There’s no need to refrigerate them, and they’ll last a good long time.
Love cupcakes? Check out The Chopping Block’s Cupcake Boot Camp class on Saturday, October 24 at 10am and take those skills home to make the perfect cupcakes for your little Halloween ghosts. Happy Halloween!
