Homemade Pierogi: No Special Equipment Needed

I love any kind of dumpling. If there’s filling inside dough, I’m in.
But making your own shouldn’t be an intimidating process! It gives you complete control over your fillings, flavors, making it completely customizable. It’s also a wonderful way to get your kids involved in the kitchen. What’s dough but edible play dough, anyway? This recipe for a homemade Polish Pierogi is a wonderful way to try your hand at dumpling make without having to buy any special equipment. If you have a rolling pin, you can make this dough!
Pierogi
For the dough:
3 cups all-purpose flour
1 egg
2 tablespoons butter, melted
3/4 cup lukewarm water
1 teaspoon fine sea salt
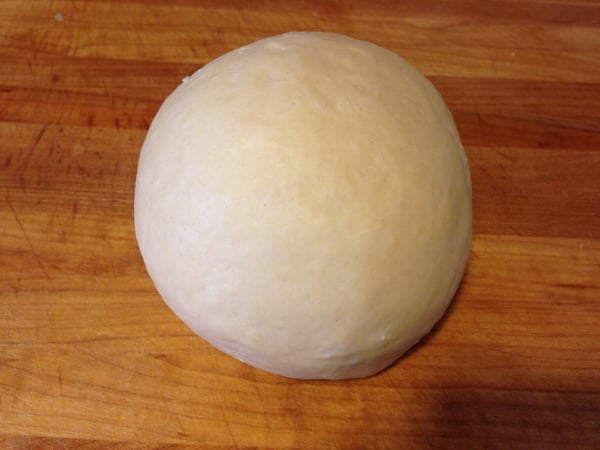 This dough comes together quickly in a food processor, but it’s not required. If you want to make your dough by hand, place all of your flour in a pile on a clean work surface and make a well in the center. Fill your well with the wet ingredients and slowly whisk with a fork, introducing the flour to the wet ingredients slowly until the ingredients are mixed together. Knead the dough ball until smooth and elastic.
After allowing the dough to rest for about 30 minutes, cut your dough into quarters.
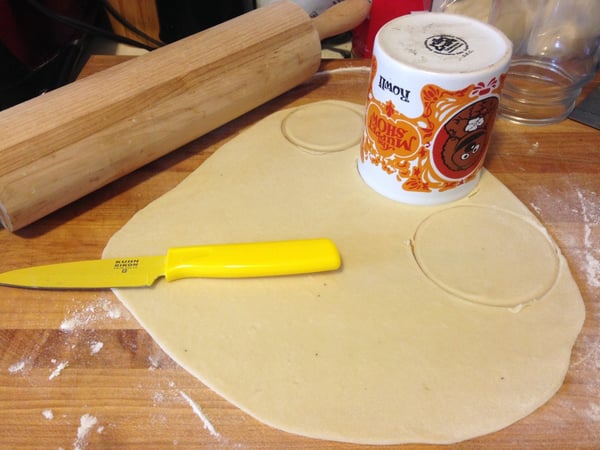
Roll out each quarter one at a time, it’s much more manageable that way, until it’s about 1/8 of an inch thick. Remember that these dumplings get folded over, so your dough thickness will double for your final product.
I simply used a mug to cut out the shape and a paring knife so I could cleanly separate the disc from the rest of the dough.
 Once you have all your disks cut out, fill them with a small amount of your desired filling. Your filling possibilities are endless! I used caramelized onions and some leftover mashed potatoes for these pierogis, but any type of cheese or vegetable would be a welcomed addition. Sauerkraut or shredded Brussels sprouts would be a lovely compliment.
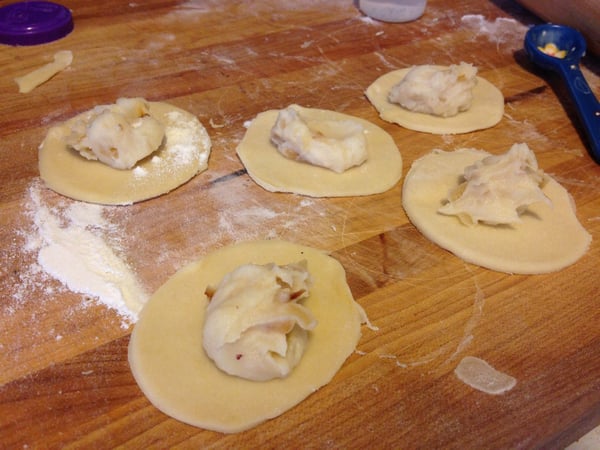 Use a little water on one half of your disc before folding it over into a half moon shape, this will help the dough to adhere to itself. It’s important when you’re sealing your pierogi, that you push any air bubbles out to the side of the dumpling and that there is no filling in the seam, this will keep the dumpling from exploding in the boiling water. Use to fork to crimp the edges.
At this point, you can lay all of your pierogi on a sheet tray and freeze them in an even layer before transferring them into a plastic bag. This way, they’re ready to be plunged into boiling water and eaten whenever the mood strikes you!
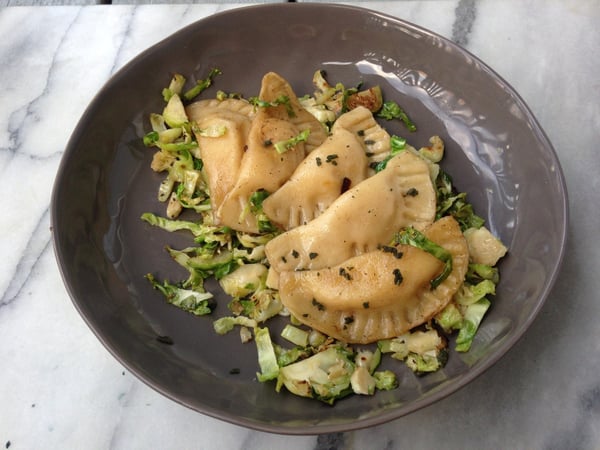
I decided to make some brown butter with a few sage leaves for my pierogi, which gave the dumplings a lovely autumnal flavor.
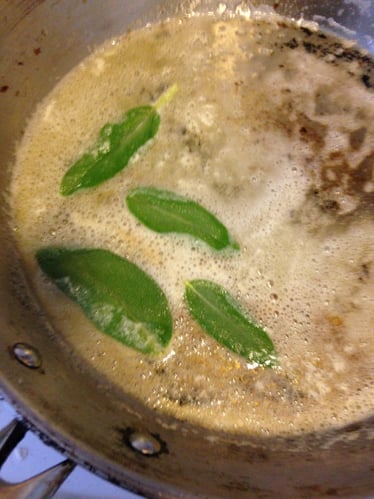 I served them with some sautéed garlicky Brussels sprouts, the sage brown butter, and topped it with the crumbled crispy butter-fried sage!
 Try making your own pierogi and experiment with whatever seasonal fillings are available to you! If you love filled dough as much as I do, try our Empanadas recipe from our hands-on Tapas Party cooking class and you must take Dim Sum and Then Some for the potstickers. If dumplings sound like fun to make with your friends and family, consider booking a private party at The Chopping Block for the holiday season. You can choose from hundreds of our menus, or create your own!

