
I have a rare day with absolutely nothing on my schedule. It’s a beautiful morning outside, and I’ve already gone for a long bike ride and played a few games of pickup basketball. I’m feeling energized and ready to keep this momentum going.
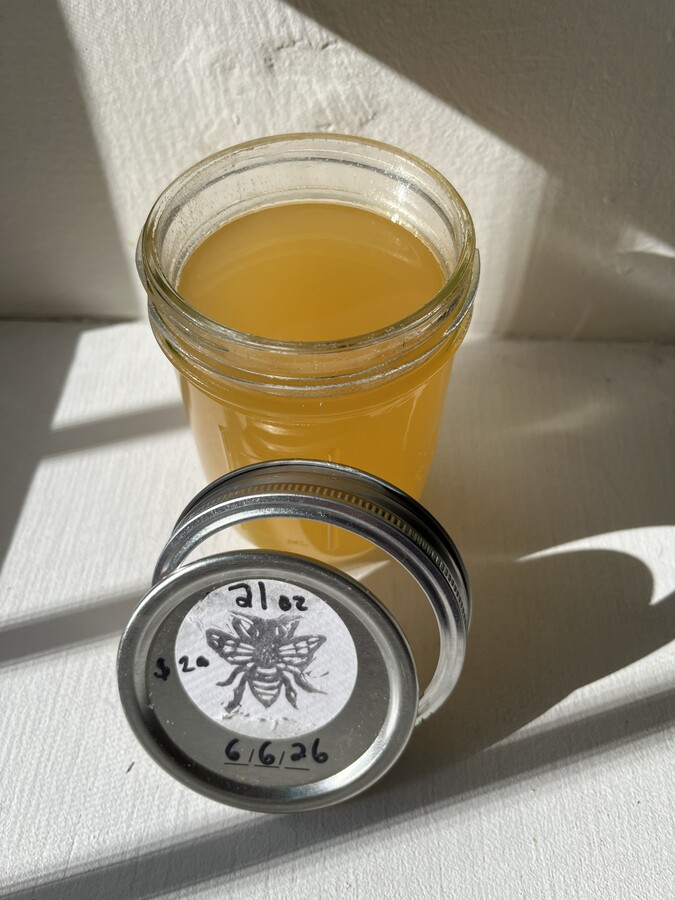
I want to cook something delicious today, and my creative juices are flowing. I have a beautiful jar of local honey that I picked up from Global Gardens Chicago this past summer. It feels like the perfect opportunity to challenge myself in the kitchen.
My goal is to create three distinct meals today that highlight honey as the star ingredient: breakfast, lunch, and dinner.
Breakfast
I like to set the tone for my day with something healthy and substantial. Usually a smoothie or a bowl of oatmeal alongside some fresh fruit.
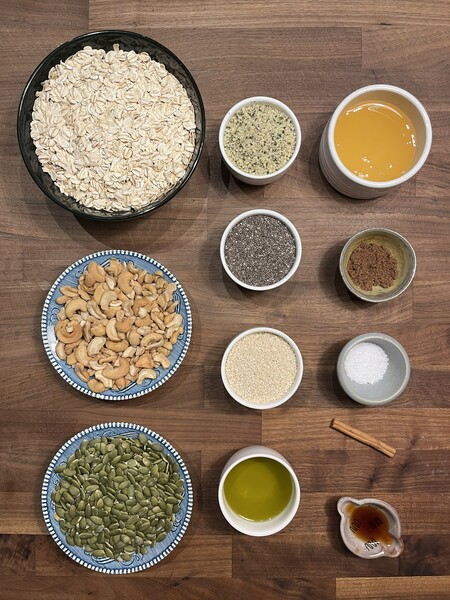
Some homemade granola makes perfect sense to have on hand. I have everything that I need. Oats are always stocked, I recently picked up some cashews, and I have an assortment of seeds in my pantry. Time to make a big batch of wholesome granola.
Honey Cashew & Seed Granola
Yield: 3 quarts
Prep time: 5 minutes
Cook time: 45 minutes
Inactive time: 20 minutes
Total Time: 1 hour 10 minutes
4 cups rolled oats
1 cup cashews
1 cup pumpkin seeds
1/2 cup hemp hearts
1/2 cup chia seeds
1/2 cup sesame seeds
1/2 cup extra virgin olive oil
3/4 cup honey
2 tablespoons brown sugar
1 tablespoon cinnamon, ground
1 teaspoon vanilla extract
2 teaspoons salt
1. Preheat the oven to 300F degrees.
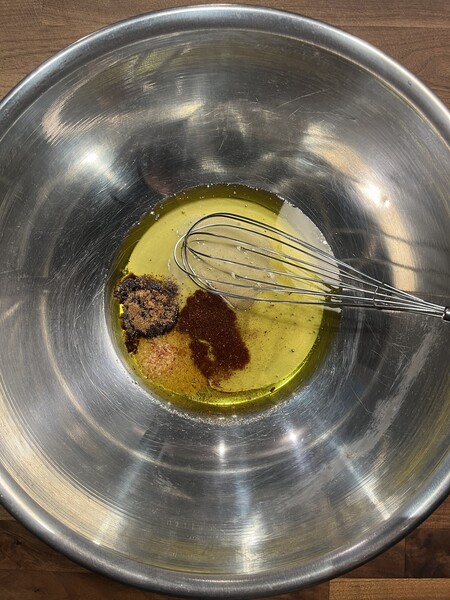
2. In a large bowl, whisk together the olive oil, honey, brown sugar, cinnamon, vanilla, and salt.
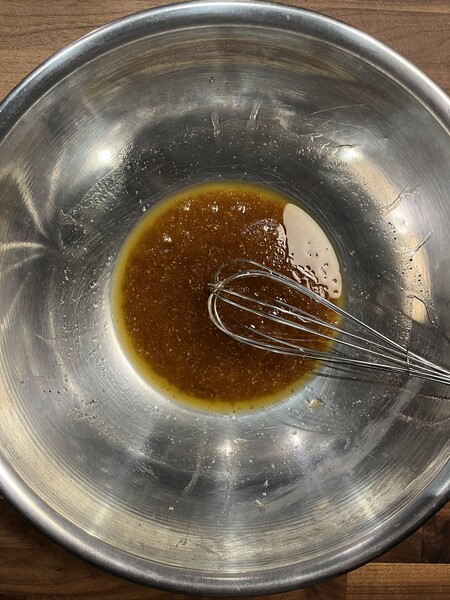
3. Fold in the oats, cashews, and seeds.
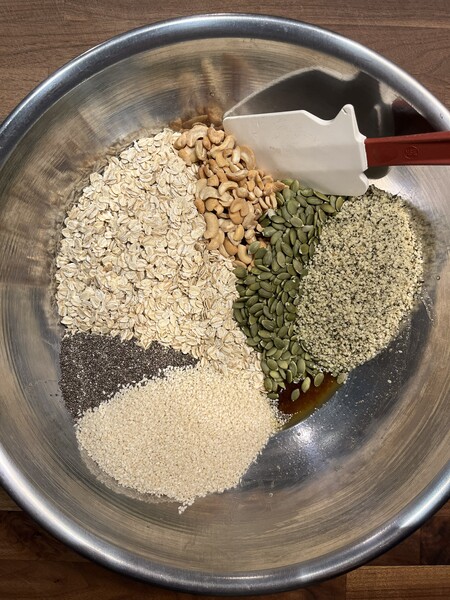
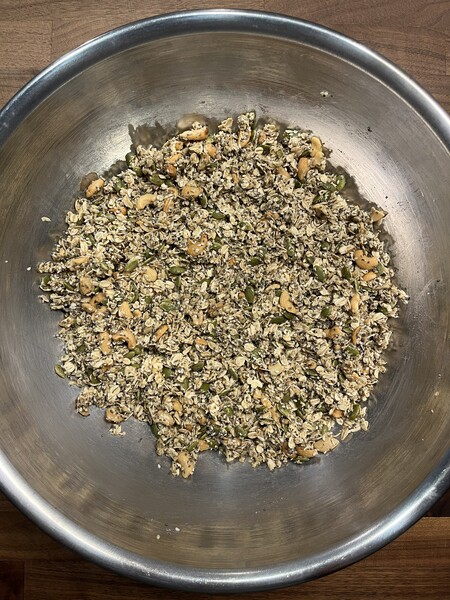
4. Line two sheet trays with parchment paper and spread out the mixture evenly.
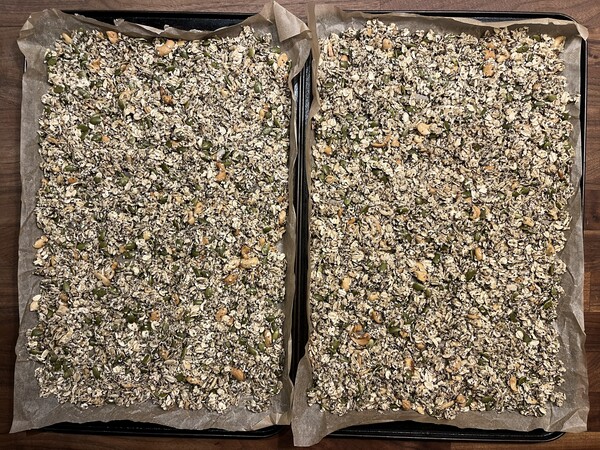
5. Bake for 15 minutes then stir. Bake for an additional 15 minutes then stir again. Bake for 15 more minutes, for a total of 45 minutes or until golden, but do not stir after the final bake.
6. Let cool on the trays completely, then break into clusters.
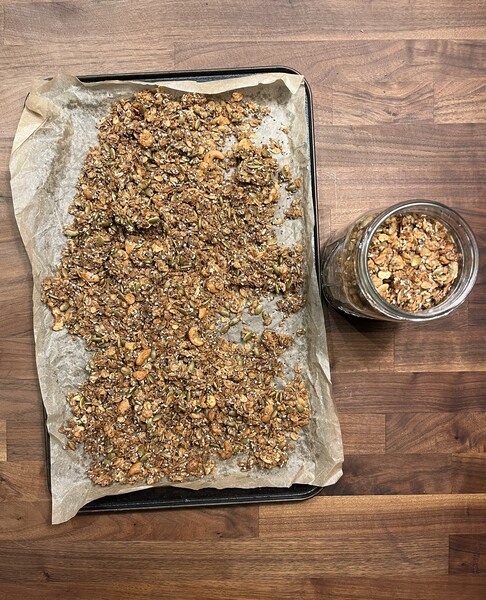
7. Store in airtight containers for up to three weeks.
This is a variation of a recipe that I have been doing for years. The best part is you can use whatever nuts and seeds that you have in your cupboard.
This granola strikes the ideal balance between sweet and salty, with incredible crunch. While I could happily eat it by the handful as an energizing snack, today I’m building a proper breakfast bowl: a generous sprinkle over tangy yogurt, topped with a handful of fresh, juicy blueberries.
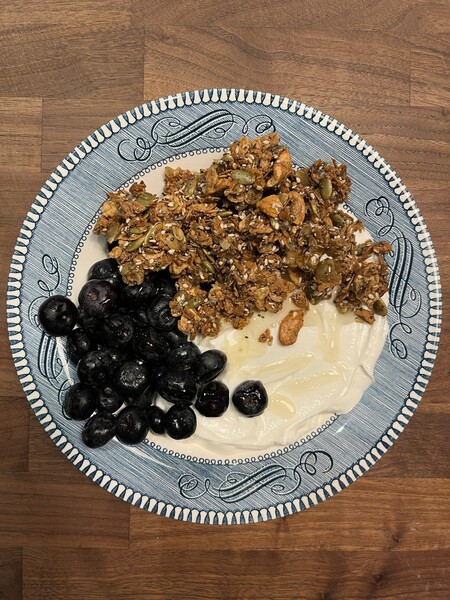
With a final drizzle of fresh honey on top, it’s the exact kind of breakfast I could wake up craving every morning. And I made enough to keep me stocked for weeks.
Meal one was an absolute success.
Lunch
For lunch, I typically reach for soup, salad, or a sandwich. Today is definitely a sandwich day. I strolled down the street to my local bakery and picked up a gorgeous, fresh loaf of sesame sourdough.
With the crisp fall air outside, a grilled cheese is all I can think about. To incorporate honey, I could simply drizzle it inside or over the top after cooking, but I want to push myself further and experiment.
What if I whip up a compound honey butter and slather it onto the outside of the bread before searing? My hope is that it caramelizes in the pan to create a crunchy, candy-like crust. Let’s see what happens.
Salted Honey Butter
Yield: 3/4 cup
Prep time: 3 minutes
Total time: 3 minutes
8 tablespoons unsalted butter, softened
1/4 cup honey
1/2 teaspoon flaky sea salt
-
In a bowl, stir the softened butter until smooth.
-
Mix in the honey and salt until well incorporated.
-
Store in the refrigerator for up to two weeks.
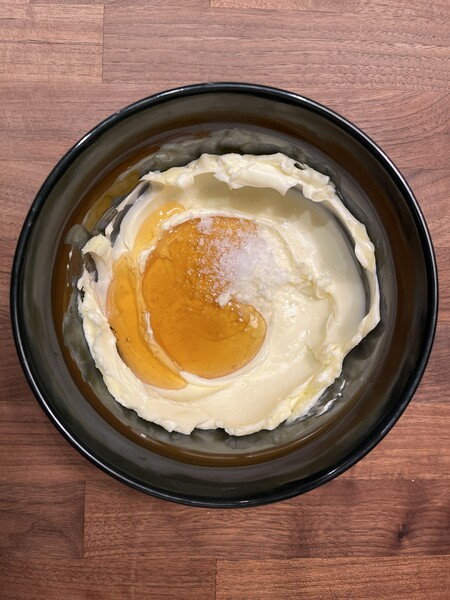
This salted honey butter is delightful on its own, and would be fantastic simply spread over warm toast. But today it’s going to take our grilled cheese to a unique new level.
Honey Butter Grilled Cheese with Chili Crunch
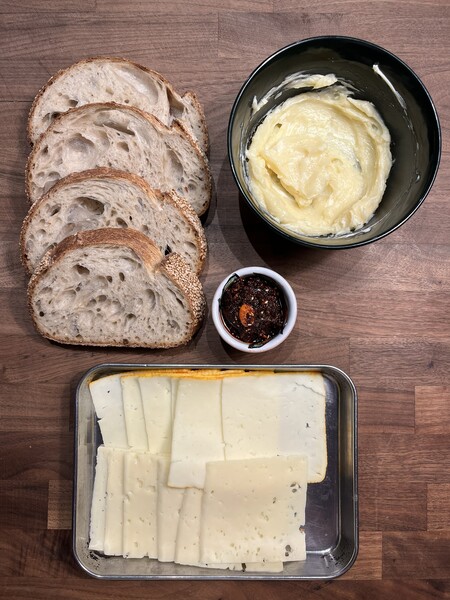
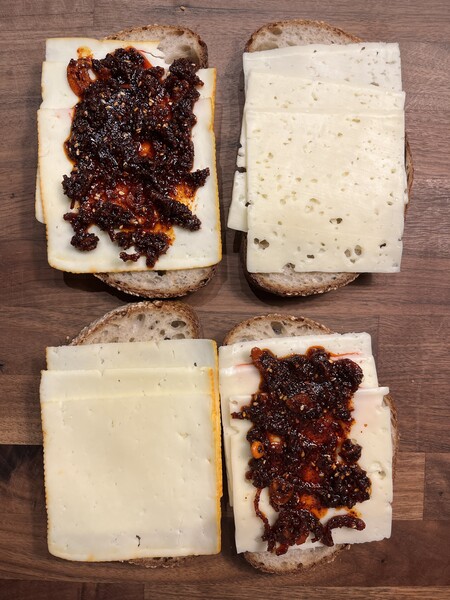
I grabbed some Havarti and Muenster, two of my absolute favorite cheeses for melting. I also pulled out a jar of homemade chili crunch to add a savory punch to the filling.
I layered three slices of each cheese onto thick cuts of crusty sourdough, slathered on the spicy, savory chili crunch, and closed the sandwich. Then, I generously coated the outside of the bread with our freshly whipped honey butter.
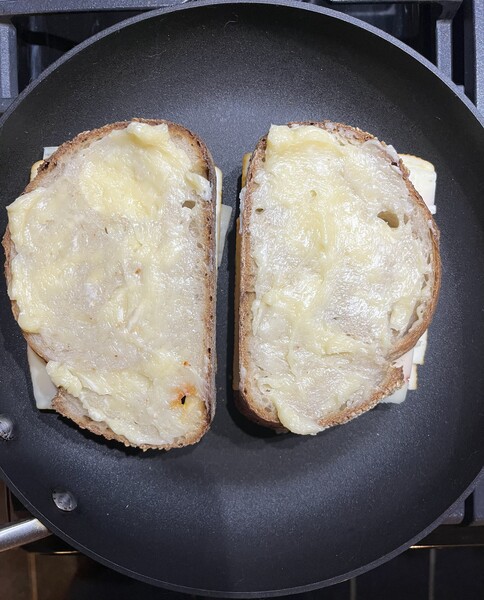
I gently preheated my nonstick skillet over medium-low heat. Cooking slowly at a lower temperature ensures the cheese melts completely and the bread gets extra crispy without burning the natural sugars in the honey butter.
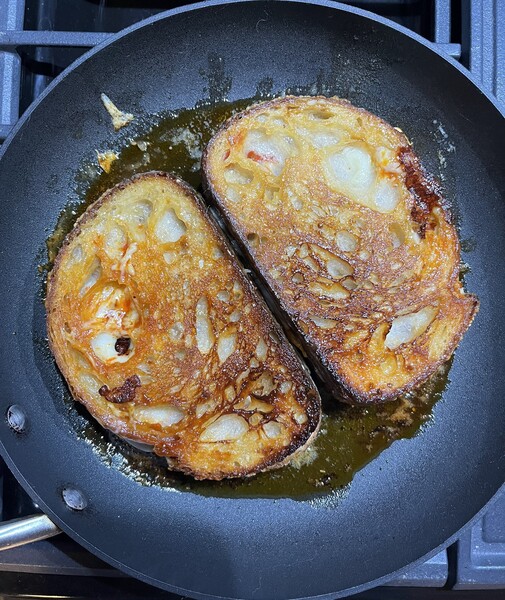
Once it achieved a rich, golden-brown color, I transferred the sandwich to a wire rack so the caramelized crust could cool and harden into a crispy shell.
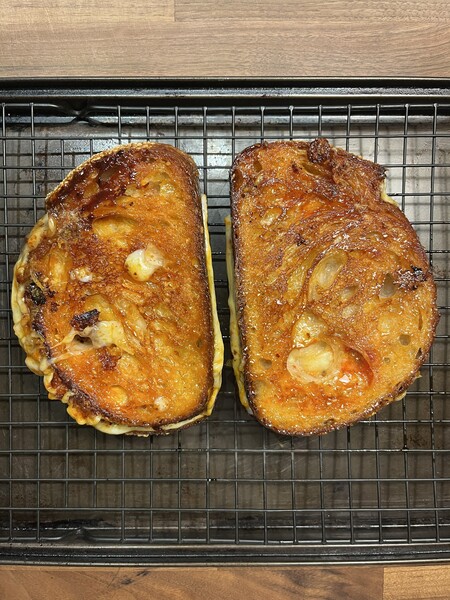
The final result is just what I hoped for. The exterior delivers a shattering, sweet crackle, the melted cheeses are gloriously gooey, and the chili crunch provides the perfect subtle heat to balance the sweetness.
This is one of the best grilled cheese sandwiches I’ve ever made.
Lunch is another clear winner for honey.
Dinner
After a wonderfully rich lunch, I wanted to keep dinner light and fresh with a vibrant entree salad.
To add lean protein, I reached for fresh shrimp. A quick honey mustard marinade, followed by a high-heat sauté, gives the shrimp a bright, sweet, and tangy flavor profile. Best of all, that same marinade base easily transforms into a rich salad dressing.
Honey Mustard Marinade
Yield: 1 1/2 cups
Prep Time: 5 minutes
Total Time: 5 minutes
1/2 cup honey
1/2 cup Dijon mustard
1/4 cup extra virgin olive oil
Zest of 1 lemon
3-4 tablespoons lemon juice (about 1 lemon)
3 cloves garlic confit, smashed
Salt and pepper to taste
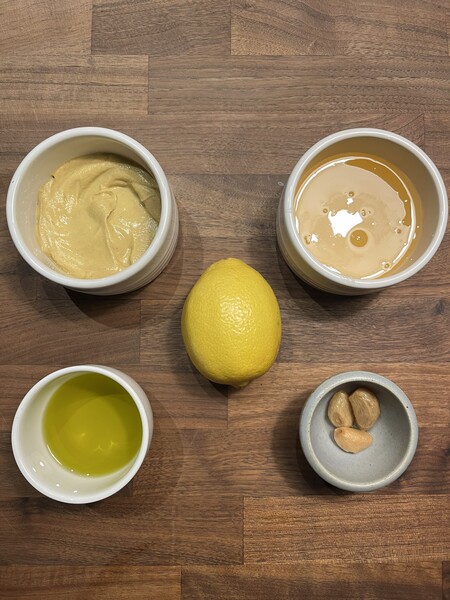
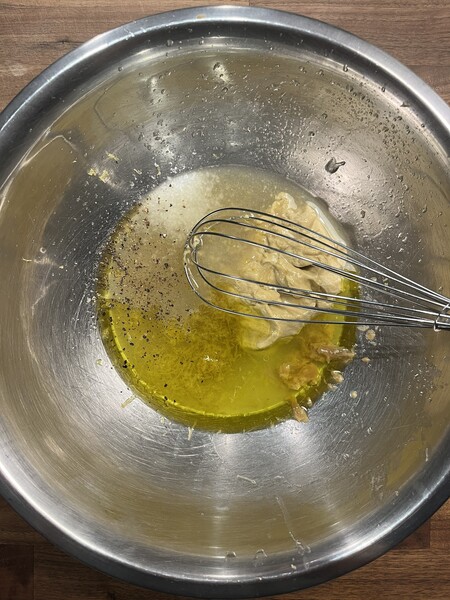
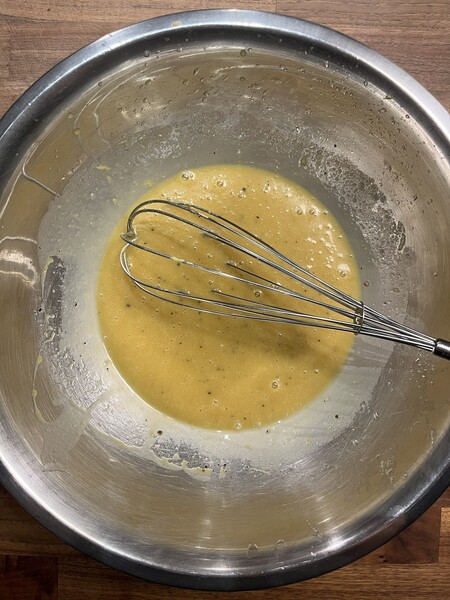
- In a mixing bowl, whisk together all of the ingredients until well mixed. Adjust seasoning with salt and pepper.
Honey Mustard Salad Dressing
Yield: 3/4 cup
Prep Time: 2 minutes
Total Time: 2 minutes
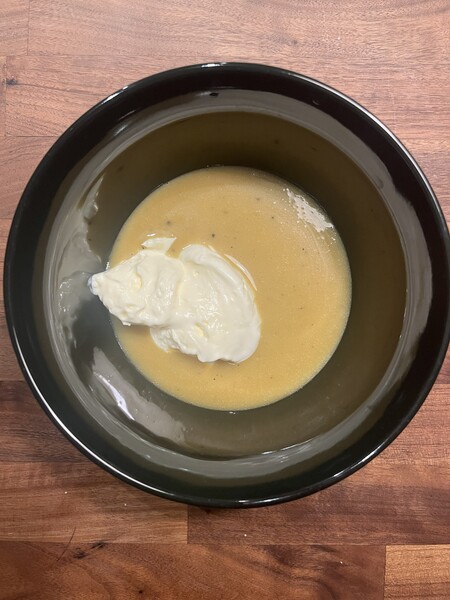
1/2 cup Honey Mustard Marinade
1/4 cup mayonnaise
Salt and pepper to taste
- In a mixing bowl, whisk together honey mustard marinade (untouched by raw shrimp, obviously) and mayonnaise. Season to taste with salt and pepper.
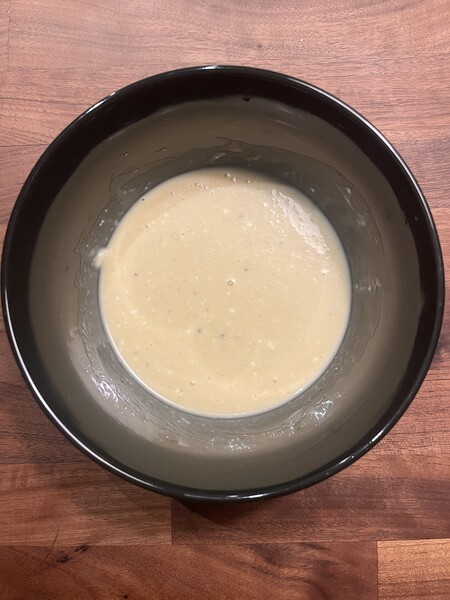
With just a few pantry staples, this simple marinade delivers bold, complex flavor in minutes. The sharp Dijon cuts through the honey’s sweetness. The lemon and garlic keep the marinade bright and savory.
And by whisking in a bit of mayonnaise, the marinade seamlessly evolves into a creamy, perfectly balanced dressing that would work equally well as a dipping sauce.
Honey Mustard Shrimp with Crunchy Cabbage Salad
To prepare dinner, I tossed a pound of peeled, deveined shrimp with 1/4 cup of the marinade and let the flavors meld for about 15 minutes. Just long enough to absorb the flavor without breaking down the tender seafood.
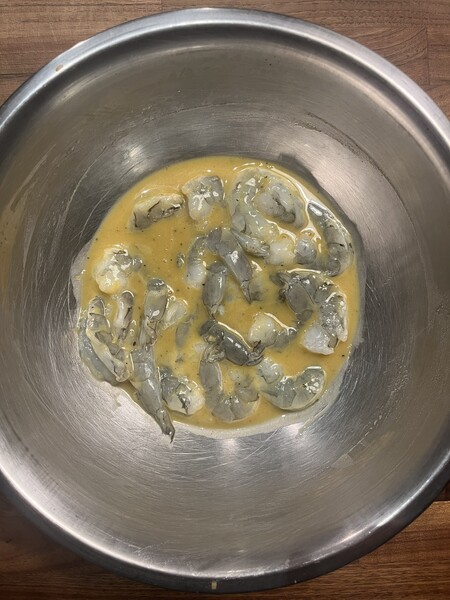
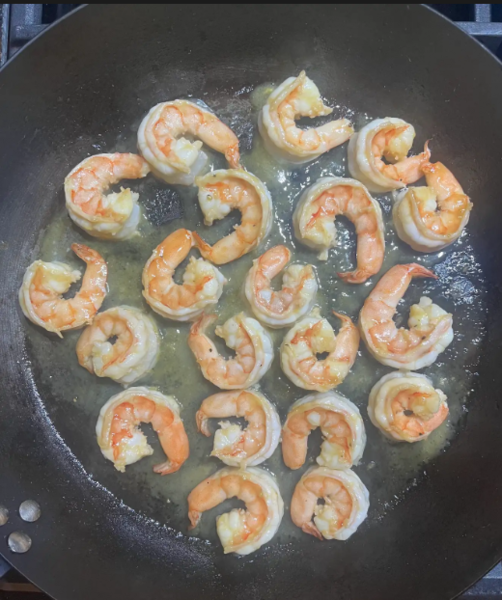
I gave the marinated shrimp a quick sauté until pink, tender, and caramelized. About 3 minutes per side. The result was sweet, tangy, and succulent.
For the salad base, I thinly shredded crisp cabbage, carrots, radishes, and green onions. After tossing the vegetables in the creamy dressing, I transferred them to a bowl and topped the salad with the sauteed shrimp and an extra drizzle of dressing.
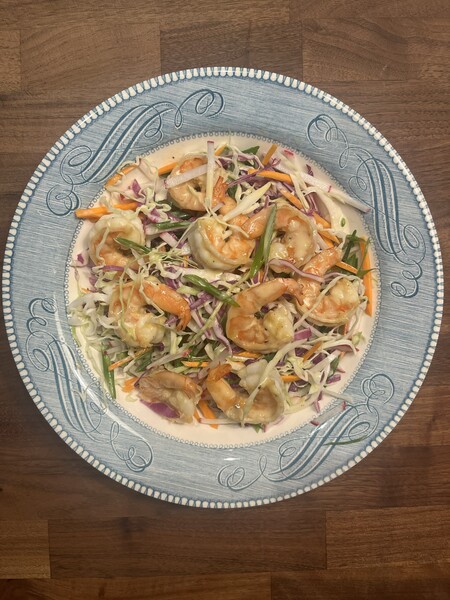
This vibrant dish would feel right at home on any cafe lunch menu for $25. It’s light, wonderfully balanced, and packed with satisfying crunch.
Three meals, three total triumphs for honey.
Bonus Dessert
Honey & Thyme Olive Oil Cake with Whipped Honey Yogurt
Servings: 8-10
Prep time: 20 minutes
Cook time: 45-50 minutes
Inactive time: 30 minutes
Total time: 1 hour 35-40 minutes
For the cake:
1 cup honey
1 cup extra virgin olive oil, plus 1 tablespoon for the cake pan
1 1/2 cups whole milk
1 tablespoon lemon zest
1/4 cup lemon juice
2 tablespoons fresh thyme, finely chopped
3 eggs
1 cup all-purpose flour
1 cup semolina flour
1/2 teaspoon baking soda
1/2 teaspoon baking powder
1/2 teaspoon salt
For the whip:
2 cups Greek yogurt
1/4 cup heavy cream
2 tablespoons Global Gardens honey
1 teaspoon vanilla extract
1/8 teaspoon salt
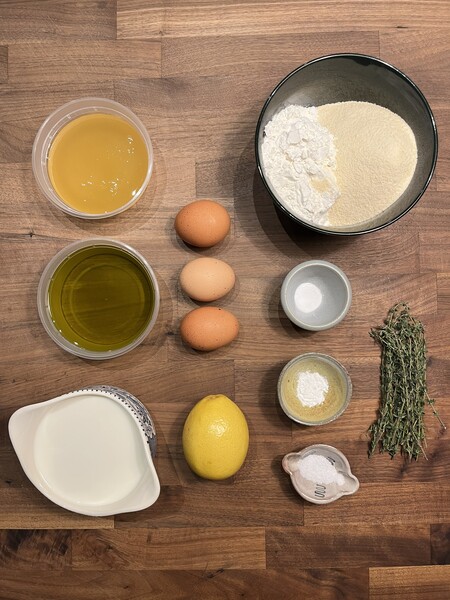
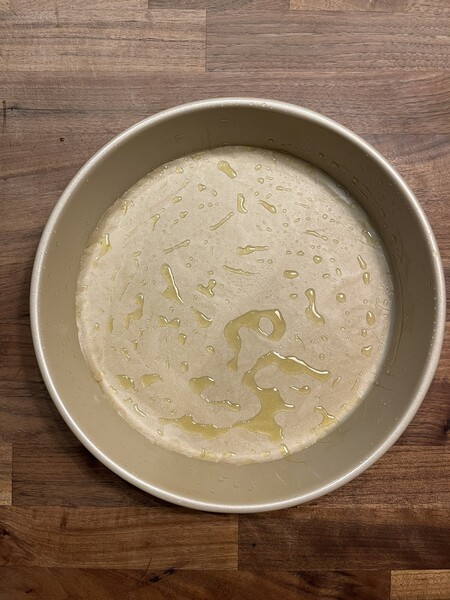
1. Preheat the oven to 325F degrees, and prepare a 9” round cake pan with parchment paper and olive oil.
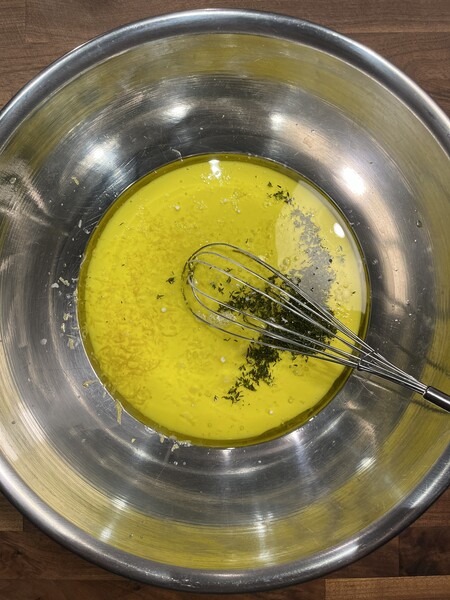
2. In a large bowl, whisk together the honey, olive oil, milk, lemon zest, lemon juice, and thyme.
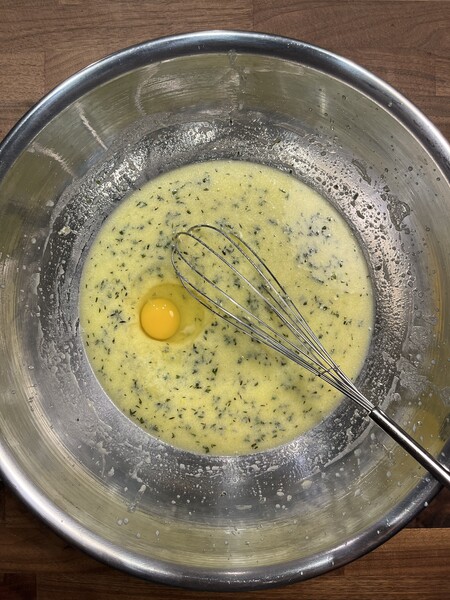
3. Whisk in the eggs, one at a time until well incorporated.
4. With a rubber spatula, mix in the dry ingredients being careful not to overmix. Some lumps are okay.
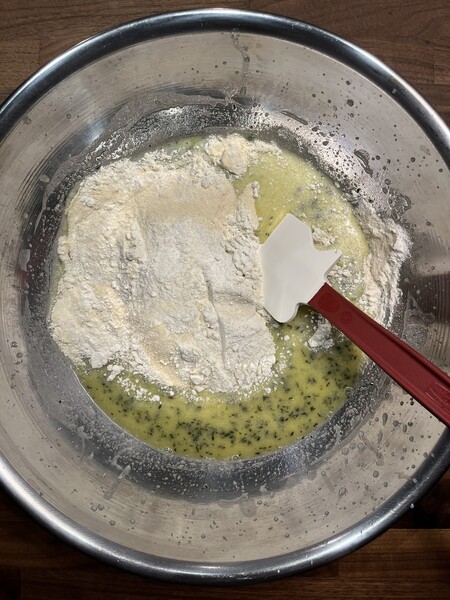
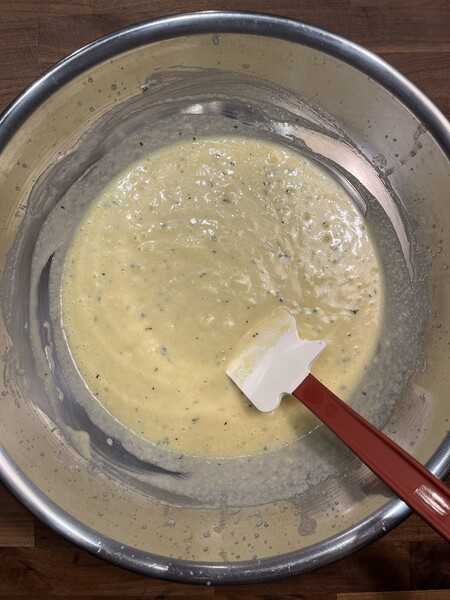
5. Pour the batter into the prepared cake pan, and place the pan on a sheet tray.
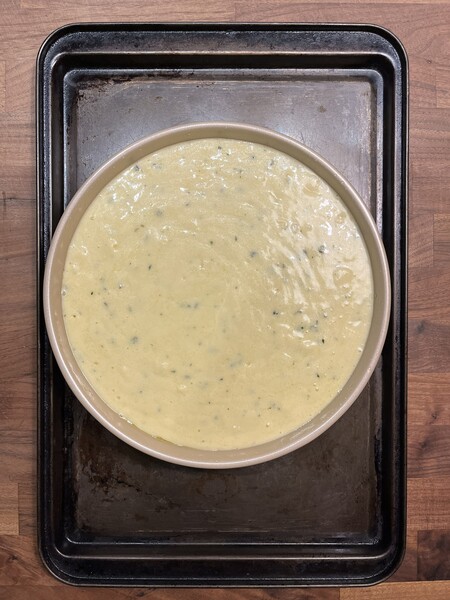
6. Bake the cake until the top is golden brown and a tester comes out clean, about 45-50 minutes.
7. Let the cake cool for about 10 minutes in the pan, then transfer to a rack to cool.
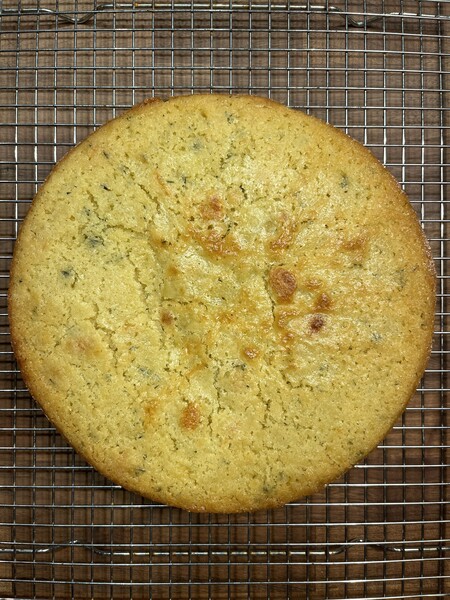
8. While the cake cools, prepare the whipped honey yogurt: In the bowl of a stand mixer, combine the yogurt, cream, honey, vanilla, and salt. Whip until light and creamy, scraping down the sides as needed. (A hand mixer or a whisk would also work.)
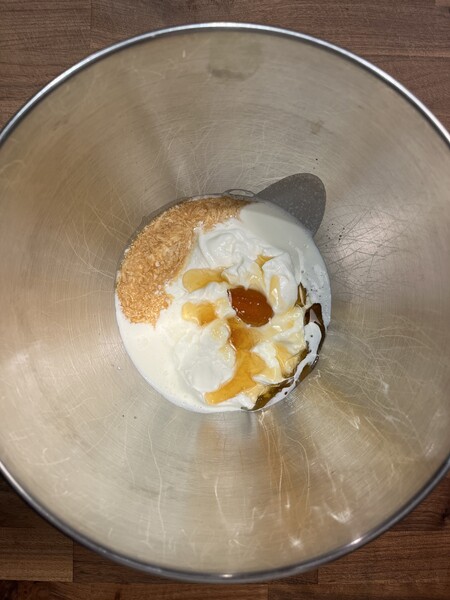
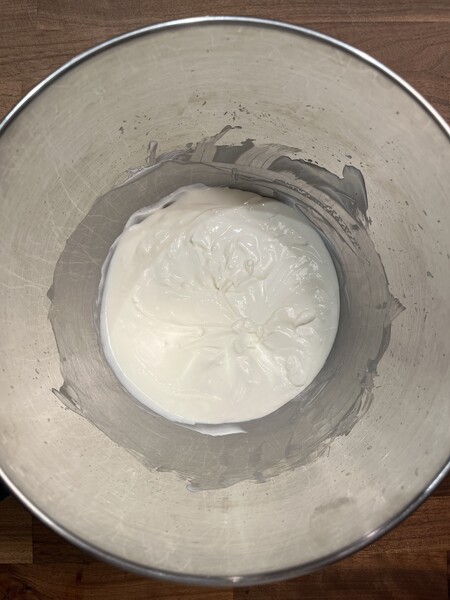
9. Slice the cooled cake into 8-10 slices, and serve with a healthy scoop of whipped honey yogurt. Garnish with an additional drizzle of honey and fresh thyme leaves.
10. Store the cake at room temperature and the whip in the refrigerator for up to three days.
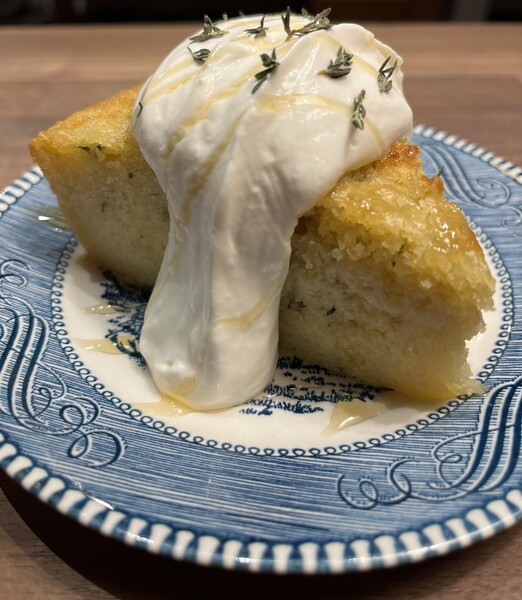
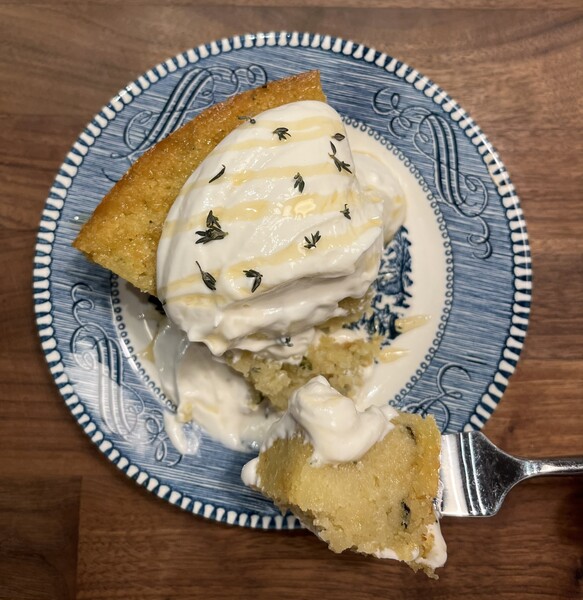
Of course, I couldn’t resist adding a sweet ending to the day.
This Honey and Thyme Olive Oil Cake is a spin on a classic recipe from The Chopping Block. The pairing of fresh thyme with the honey adds an unexpected earthy nuance. The creamy Whipped Honey Yogurt topping makes this an elegant dessert with just the right amount of sweetness.
This challenge that I presented to myself was an absolute blast. It was a gratifying day of cooking and eating inspired by a jar of honey. Thanks to Global Gardens for the floral foundation for today’s dishes!
I challenge you to find your joy in cooking and sign up for a class at The Chopping Block today. Culinary Boot Camp might just be the challenge that you need to spark your creativity.
