
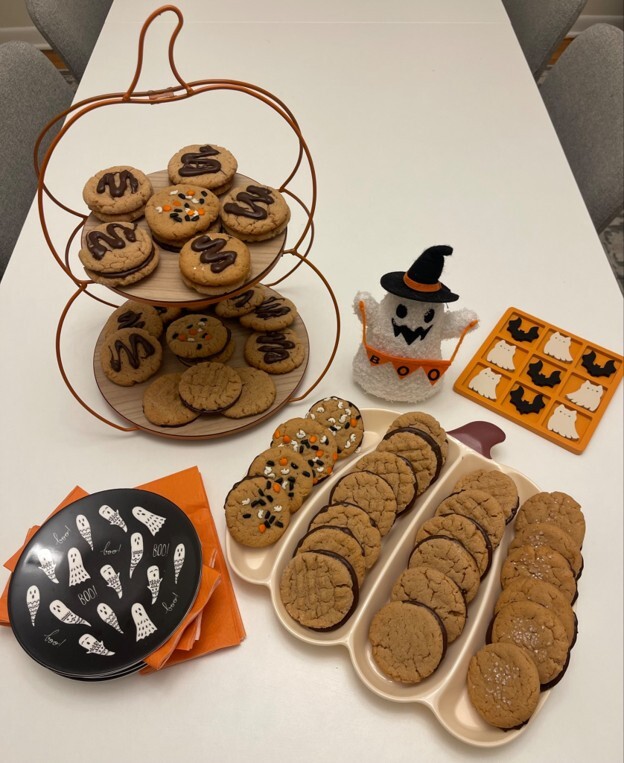
Peanut butter cookies have been a staple in my family for as long as I can remember. My mom packed them in my school lunches, and it wasn’t too often that I’d trade them for anybody else’s snack. When I had children of my own, we made them together, and now my grandkids enjoy them too. It’s one of those recipes that has come full circle.
My friend Jan recently gifted me some peanut butter cookies she had dipped and decorated with chocolate. I loved the idea and couldn’t wait to see how I could adapt it into a kid-friendly project for family baking night.
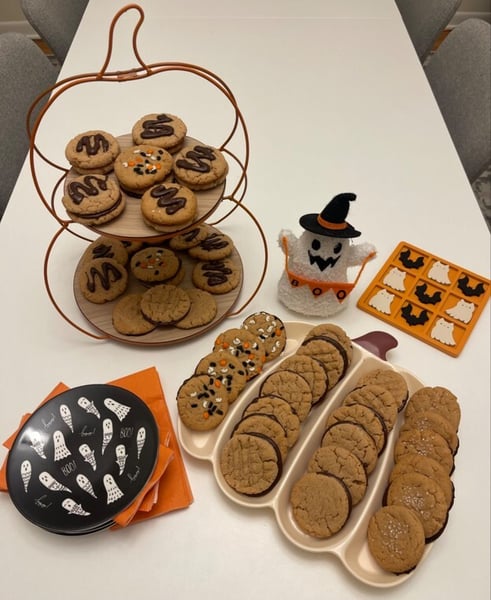
The best part is that you only need one basic cookie dough. From there, everyone can make the cookies their own. We rolled some in sugar for a crackly top, gave others the classic peanut butter cookie crosshatch with a fork, added Halloween sprinkles to some and topped others with sanding sugar.
It’s an easy way to let kids get creative without making several different batches of dough.
Classic Peanut Butter Cookies
Yield: 4 dozen cookies
Prep time: 20 minutes
Bake time: 10 to 12 minutes
Total time for cookies: 30 to 35 minutes
Decorating time: Approximately 15 minutes
Total time for decorated cookies: 45 to 50 minutes
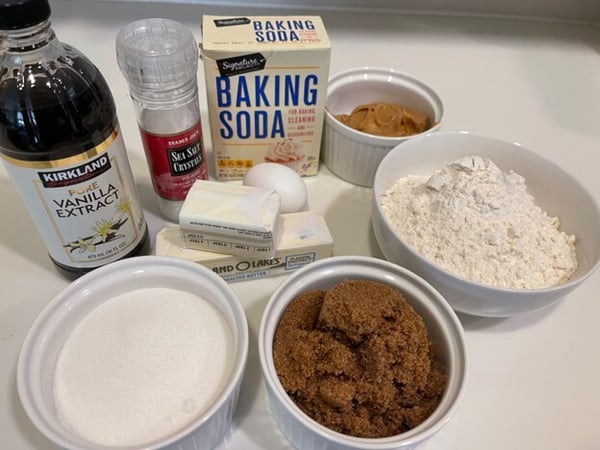
3/4 cup butter, at room temperature
3/4 cup granulated sugar
3/4 cup brown sugar
3/4 cup creamy peanut butter
1 egg
1 teaspoon vanilla extract
1 3/4 cups all-purpose flour
1/2 teaspoon baking soda
1/2 teaspoon salt
Additional granulated sugar, sanding sugar or sprinkles for decorating, optional
- Preheat the oven to 375°F.
- Using a stand mixer or hand mixer, cream the butter, granulated sugar and brown sugar until smooth and aerated.
- Mix in the peanut butter, egg and vanilla.
- Add the flour, baking soda and salt, and mix until combined.
- Scoop the dough and roll it into balls.
- For a crackly sugar coating, roll the dough balls in additional granulated sugar. Or leave them plain and add your choice of toppings.
- Place the cookies on an ungreased cookie sheet. For the classic peanut butter cookie look, gently press a crosshatch pattern into the dough with a fork.
- Bake for 10 to 12 minutes. Don’t overbake!
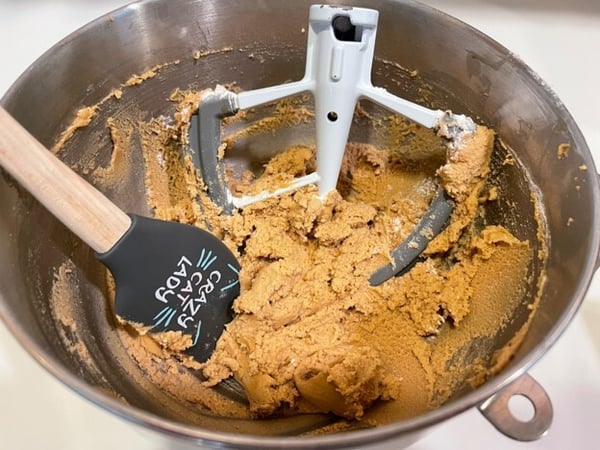
Nice, scoopable consistency
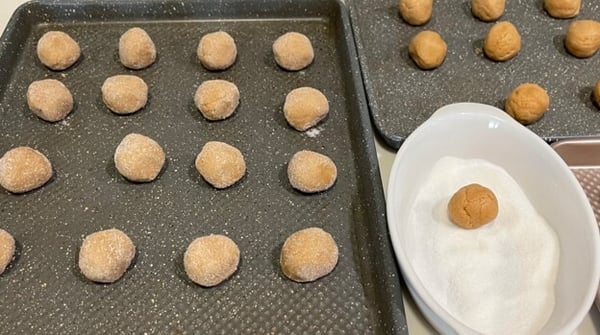
Roll the dough balls in a little extra sugar for a crackly finish.
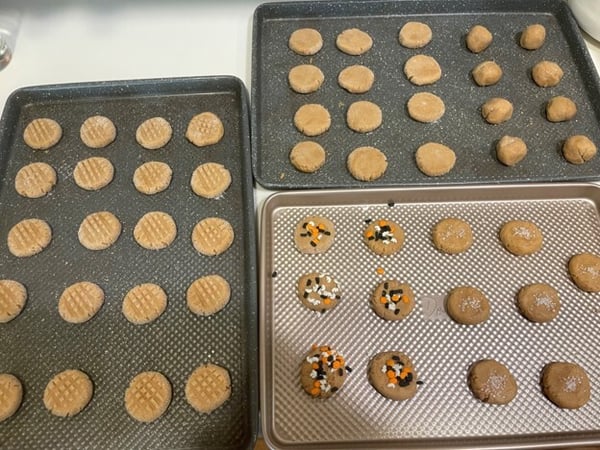
We made some with the classic crosshatch, left some plain, added Halloween sprinkles to others and finished a few with sanding sugar. Have fun experimenting!
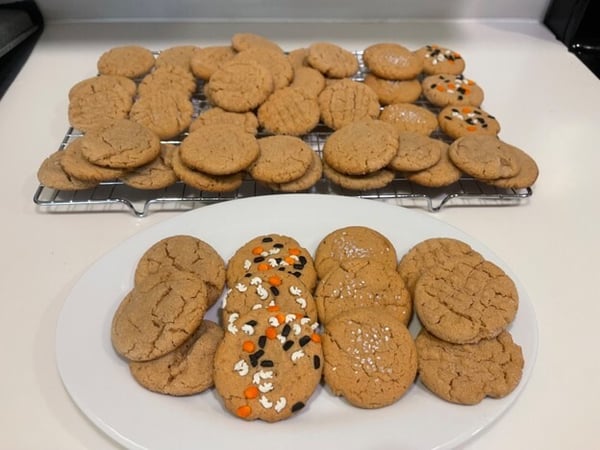
At this point, we could have stopped. But why stop when you can add chocolate?
Add Some Chocolate
Melt one package of chocolate melting discs according to the manufacturer’s instructions. Be careful not to overheat the chocolate. I melted mine in a 2-cup Pyrex measuring cup so it was easy to transfer to a piping bag.
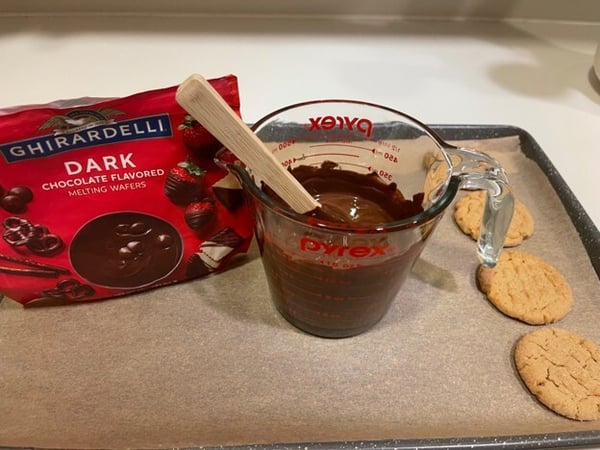
Once you’ve filled the piping bag, cut just a tiny opening in the tip. Smaller is better because you can always make the opening larger if you need to.
For chocolate-bottomed cookies, pipe a quarter-sized dollop of melted chocolate onto parchment paper, leaving enough room between each one for the chocolate to spread. Gently press a cookie onto each dollop and allow the chocolate to harden for about 15 minutes.
This is a particularly fun job for the kids. They can press the cookies into the chocolate and use their own piping bags to make free-form squiggles and designs on top. Giving everyone their own piping bag also helps contain some of the mess while letting each person get creative.
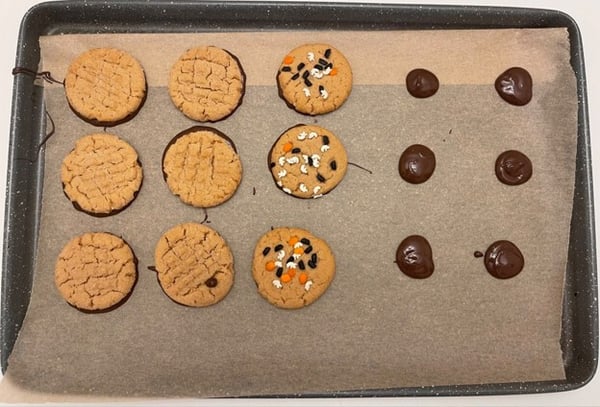
We also experimented with using the chocolate as a filling between two cookies and simply drizzling chocolate over the tops.
There’s really no wrong way to do it. Put out some toppings, hand over the piping bags and see what everyone creates.
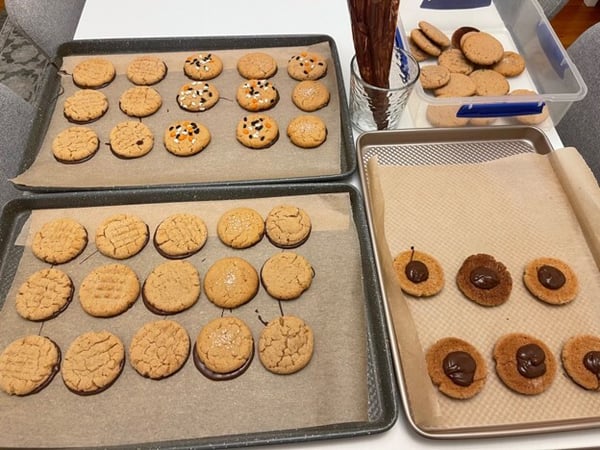
The finished cookies are easy enough for bakers of all ages and especially good with a cold glass of milk!
Keep Baking With Us
If this recipe has you looking for more reasons to bake this fall, join us in the kitchen at The Chopping Block.
Families can keep the fun going in our Hands-On Family Spooky Snacks and Sweet Treats class on Halloween, where the whole family can get into the kitchen together. The best part for parents? We handle the cleanup!

Adults who want to take their baking skills further can join us for Hands-On Cupcake Boot Camp on Saturday, October 24 at 10am or Hands-On Pie and Tart Boot Camp: Mastering Flaky Crusts on Saturday, November 14 at 10am.
Whether you’re baking with the kids or working on your own pastry skills, we hope to see you in the kitchen!
