

Baking bread can be an intimidating undertaking for even an experienced home cook. There are so many new variables to consider, and vocabulary to master, not to mention all the different types of bread and styles of baking. For a first time baker it can be hard to know where to start. Thankfully some breads are easier starting points than others, and I think focaccia is an ideal first loaf for anyone looking to expand their skill set into bread making.
 Focaccia is great for beginners for a handful of reasons: The dough is fairly simple (not much in there other than flour, water, and yeast), and if you have a stand mixer (which I highly recommend) the kneading process for this dough is simple. No stretch and folds or Rubaud method to worry about here - it's a useful bread, great for sandwiches and delicious, and probably best of all for the beginner bread maker, it requires basically no shaping, just tray up and bake.
So considering all this, lets take a look at the recipe:
Goat Cheese Artichoke Focaccia
Scroll down for a printable version of this recipe
Yield: 8-10 servings as an appetizer (1/4 sheet tray)
Active time: 15 minutes
Start to finish: 1 hour, 10 minutes
For the dough:
1 tablespoon active dry yeast
1 1/4 cups lukewarm water (110–115º)
2 tablespoons extra virgin olive oil
1 1/3 cup bread flour
1 1/3 cup all-purpose flour
1 teaspoon fine sea salt
4 tablespoons extra virgin olive oil (divided use)
2 cups marinated artichokes, quartered
Coarse sea salt to taste
1 cup goat cheese, crumbled
1/2 cup basil leaves, torn
- Sprinkle the yeast on top of water in the bowl of a stand mixer and stir gently until dissolved. Allow to proof until creamy and aromatic to ensure yeast is alive, about 5 minutes.
- Add oil, 1/2 of each flour and salt. Mix on medium low speed with a dough hook until incorporated, scraping down sides as necessary.
- Add the remaining flour, and knead on low speed until the dough is smooth and elastic, about 5 minutes. The dough will be very sticky.
- Place dough in an oiled bowl and cover the bowl with plastic wrap.
- Let dough rise at room temperature until doubled, about an hour. Dough can also be proofed in the refrigerator overnight.
- Pour 2 tablespoons of the olive oil onto a sheet tray, and use your hands to spread the oil evenly.
- With your oiled hands, gently punch down the dough to deflate. Scrape the dough from the bowl onto the sheet tray, and use your fingertips to gently spread the dough to the edges of the pan.
- Allow to proof for 20 to 30 minutes at room temperature.
- Preheat the oven to 400º.
- Dimple the dough with your fingertips. Drizzle on the remaining extra virgin olive oil followed by the artichokes, coarse sea salt and goat cheese.
- Bake until light golden brown, about 25 minutes.
- Top with the torn basil, cut and serve immediately.
As great as written instructions are, I always feel most prepared with a step-by-step breakdown of any new skill I'm trying to learn. To that end, what follows is a mostly visual guide to executing the method described above.
First, make sure your water for the dough is at the right temperature.
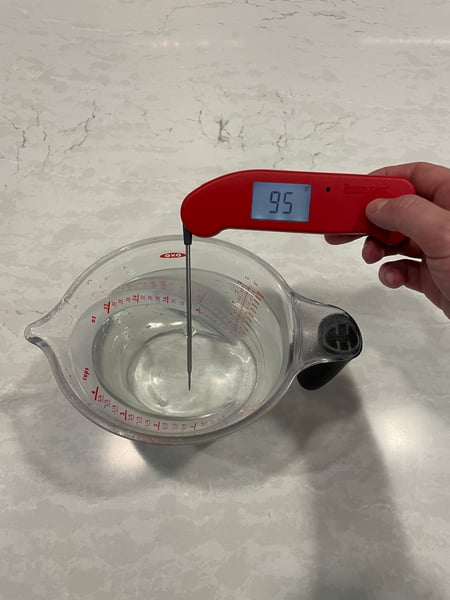 The temperature shown here is a little cooler than ideal, but will still work just fine.
Next sprinkle your yeast on top, mix in to dissolve, then wait about 5-10 minutes. You should see foam start to accumulate on top of the water. If you don’t see any foam it means your yeast is inactive, and won’t work to raise your bread.
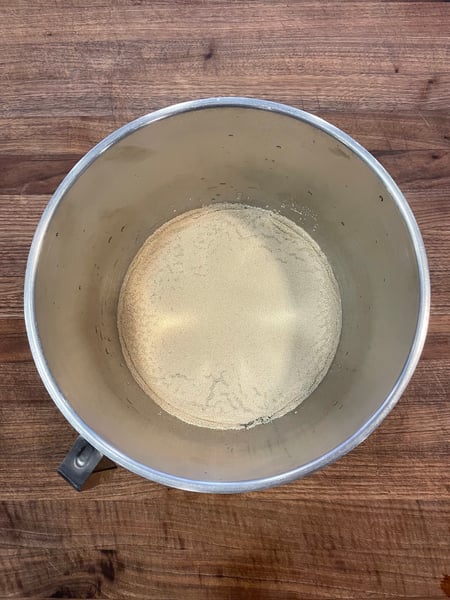
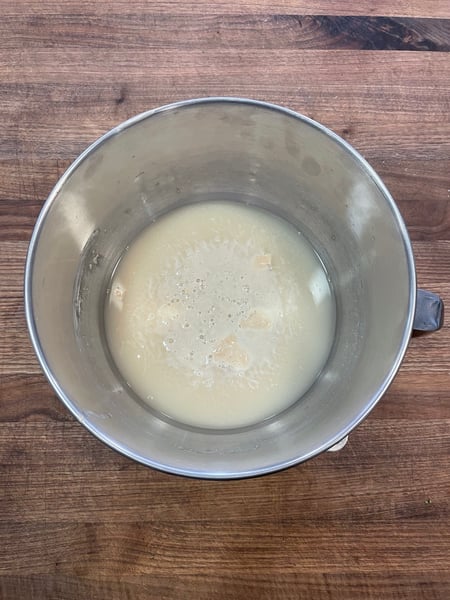 The foam on this bowl could be a little more vigorous, but it will do.
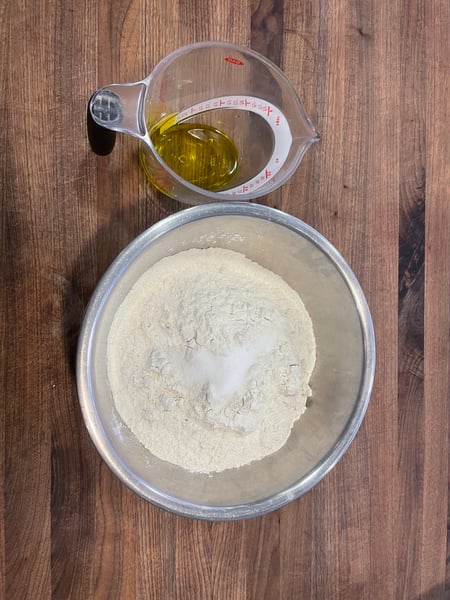
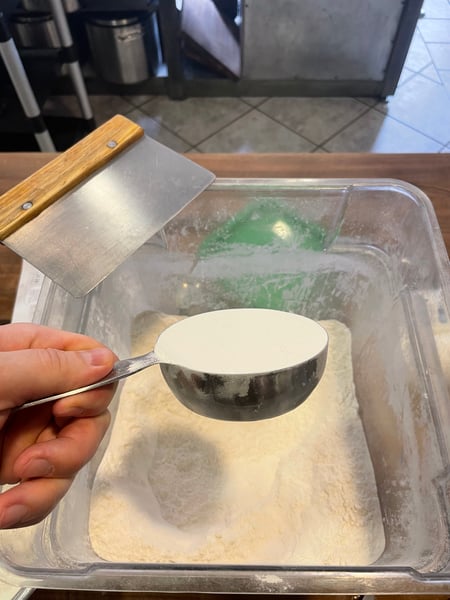
While you’re waiting for your yeast to bloom go ahead and measure out everything else you’ll need to make the dough (all-purpose flour, bread flour, salt, and olive oil).
 Brief aside: when measuring for baking with measuring cups, it's important to be consistent with how you measure. We recommend scraping the top flat like this to ensure consistent results.
 Next, add the olive oil.
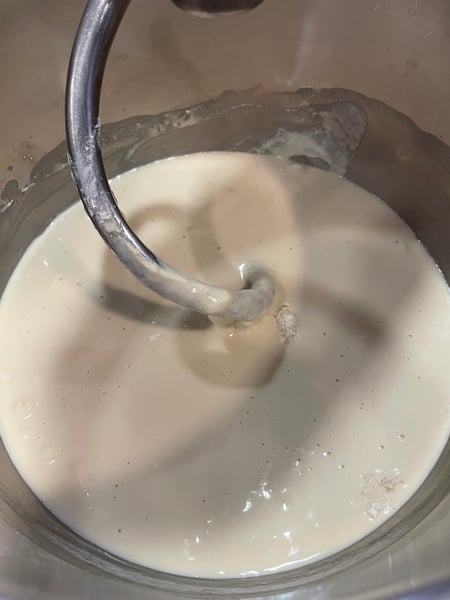
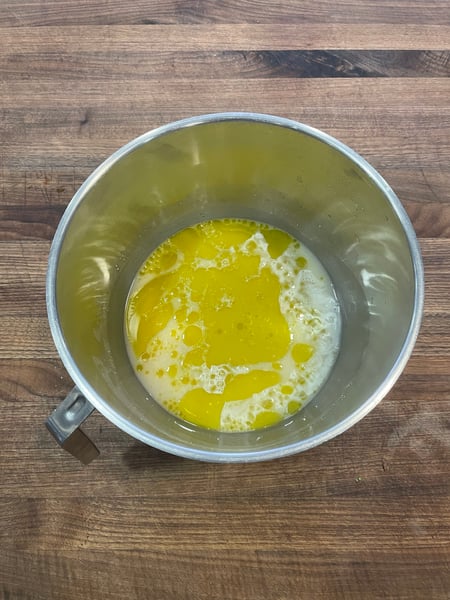 Mix in roughly half of your flours and salt. You should have something like a runny batter at this point.
 Then mix in the remainder.
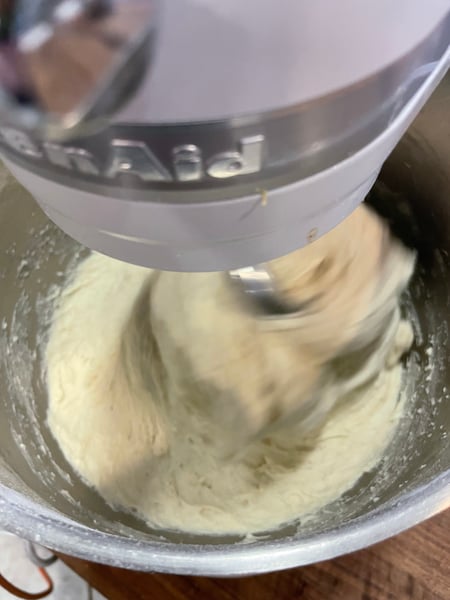
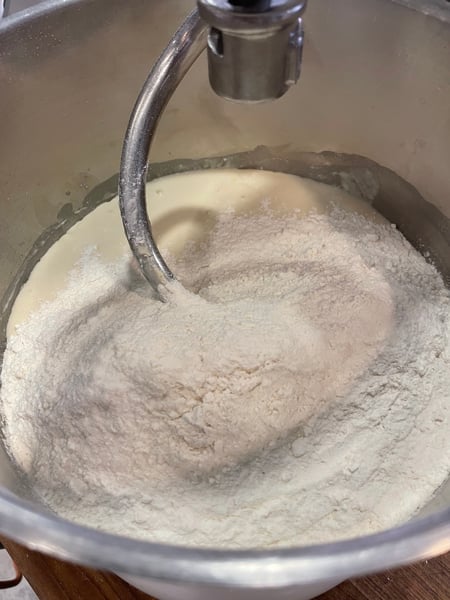 Now we knead. Mix in your stand mixer until the dough is slightly elastic, but has started to come away from the walls of the bowl.
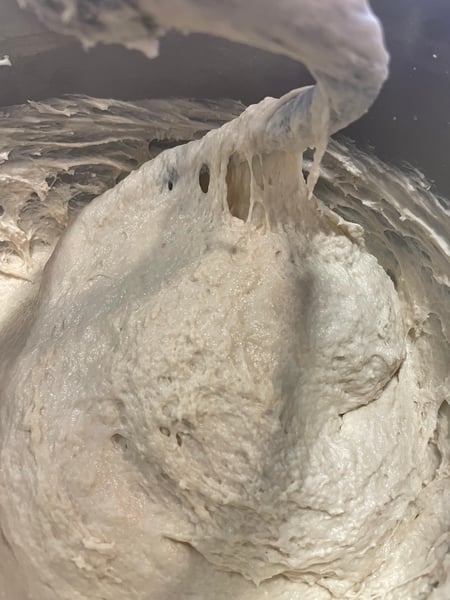
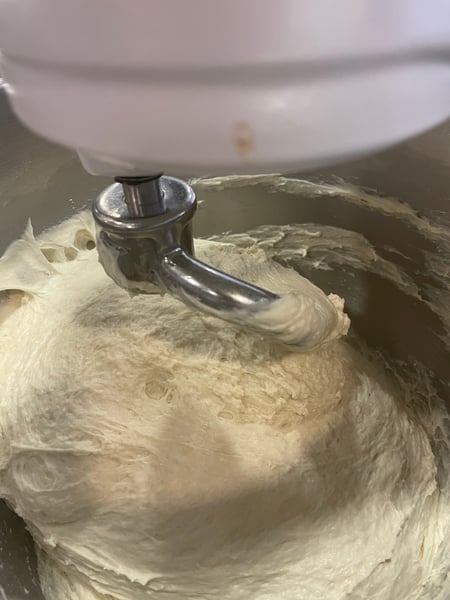 The dough will probably still seem quite sticky when you’re finished.
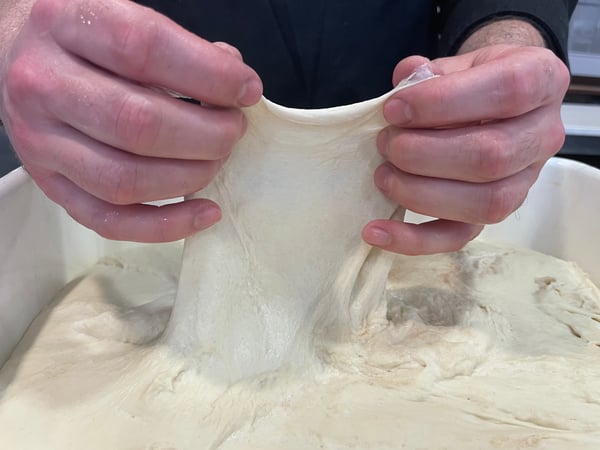
 To test if your dough is finished kneading you can give it what’s called a “windowpane” test. Gently lift up a bit of dough from the main mass, and slowly stretch it thin until you can see light coming through the membrane. If your dough can do this without tearing, then you know you’ve done a good job kneading.
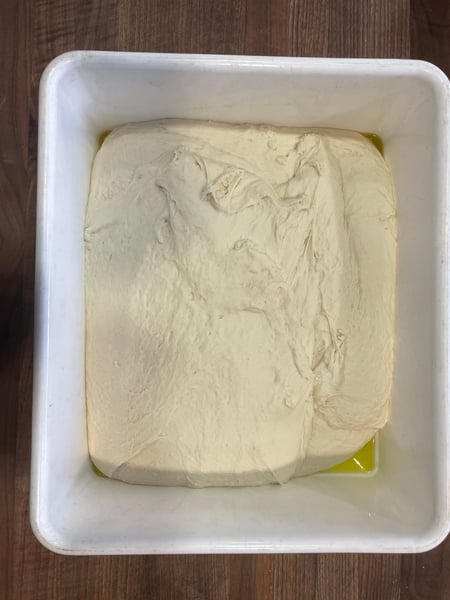
 Next transfer your dough to an oiled container for the first rise (AKA bulk fermentation). Cover your container with a lid or plastic wrap to prevent the dough from drying out.
 Though not something you’ll really need to worry about for this bread, something to keep in mind is a concept called desired dough temperature or DDT. Some more advanced bread baking recipes will specify a temperature at with the dough ferments best.
 This temperature is a little higher than ideal, but will be fine. Most breads do best with a DDT in the low 80s (ºF).
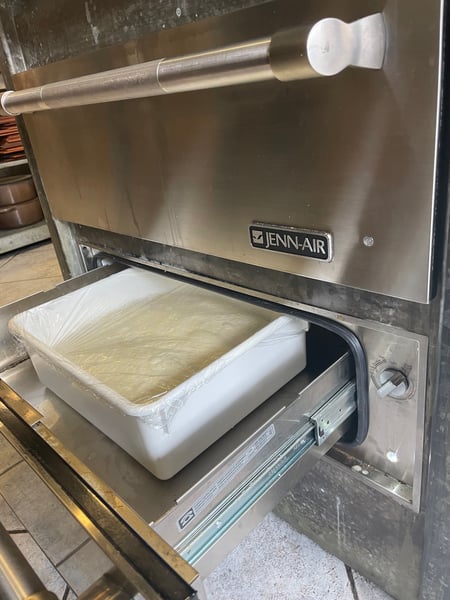
If your kitchen is particularly cold or drafty, it may be beneficial to find a warm spot in which to raise your bread. At The Chopping Block, we use these low temperature warming drawers, but at home you can use an oven (turned off!) with a small pot of just-boiled water in the bottom to achieve the same effect.
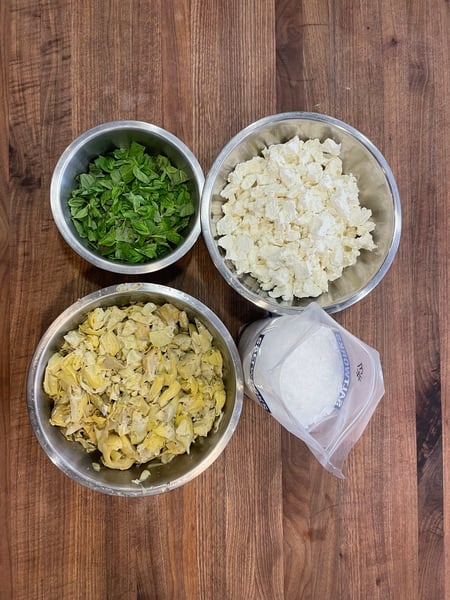
 While you’re waiting for your dough to double in size (which shouldn’t take too long because this dough has a lot of yeast in it), you can preheat your oven and get your toppings ready. I'm using crumbled goat cheese, artichoke hearts, torn basil, and flaky salt here, but you can change up the toppings however you’d like. That one of the nice things about focaccia, it really takes well to whatever flavor combination you prefer. It’s also the perfect showcase for fresh and tender spring vegetables.
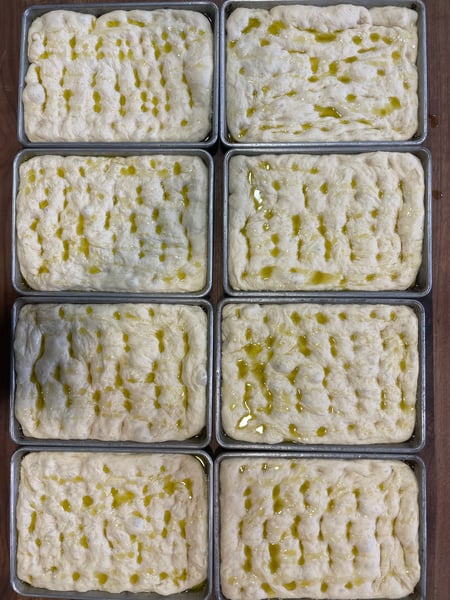
 Once our dough has doubled in size and completed bulk fermentation, we need to punch it down (which is just what it sounds like), and get our dough in our oiled pan. If you’re making more than a single batch (like I am) then this is the time when you would divide your dough into individual portions.
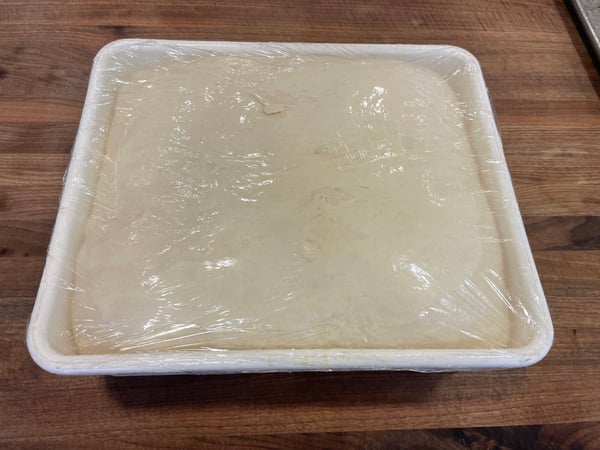
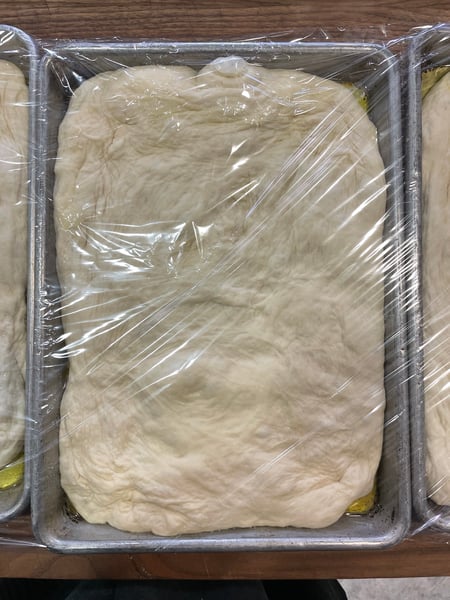
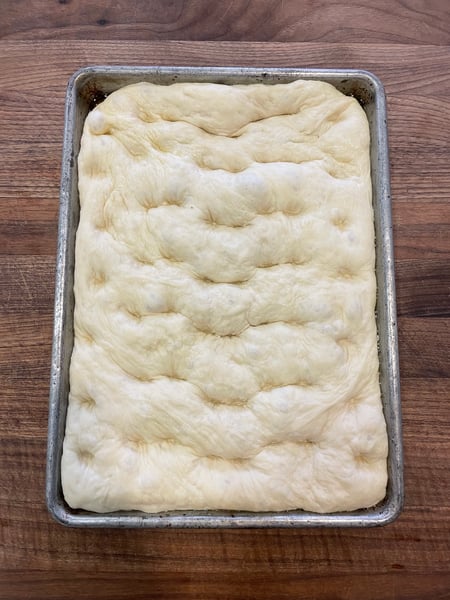
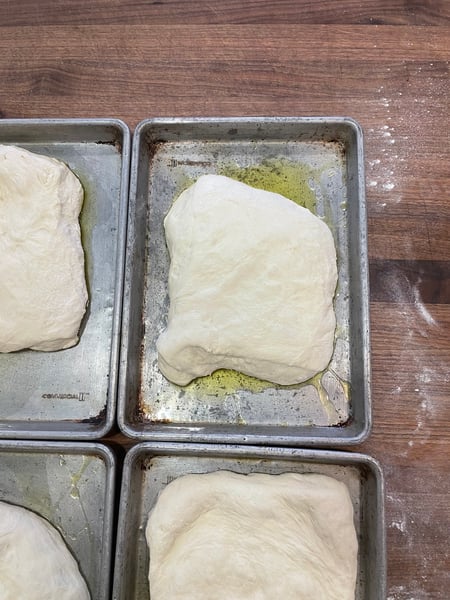 Once your dough is in the pan, spread it out all the way to the edges. If it won’t stretch all the way right off the bat let it rest for 10 minutes then give it another go. Once your dough fills the pan cover it loosely with plastic wrap and let it sit for the final rise (or “proof”).
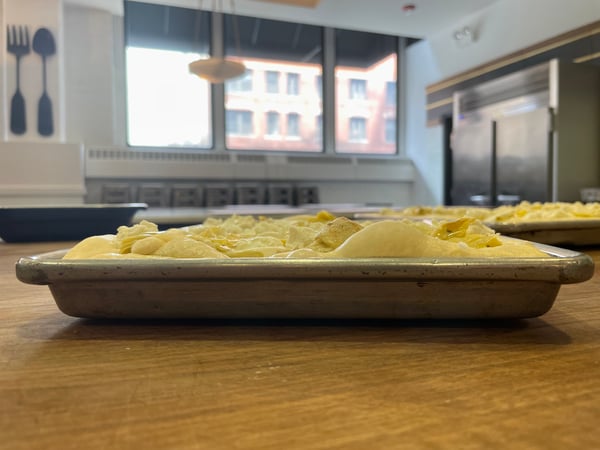
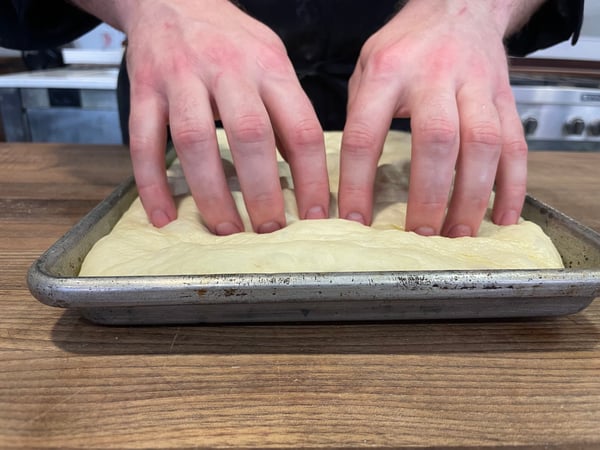
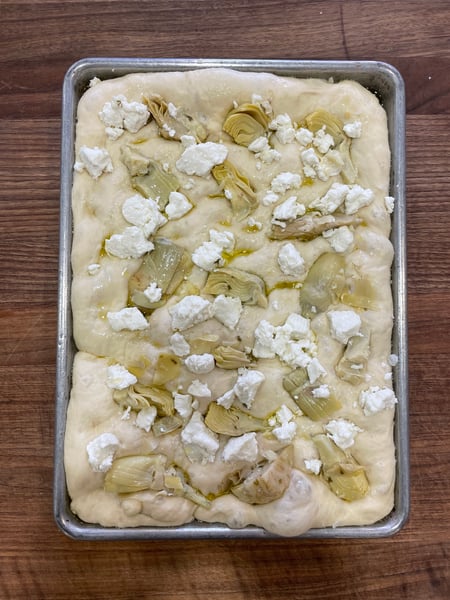
Once your dough has roughly double in size again use your finger tips to dimple the top of the dough. Now we can add a bit more olive oil (you can use less than I’m using here if you want), as well as all our toppings.
Now we can bake.
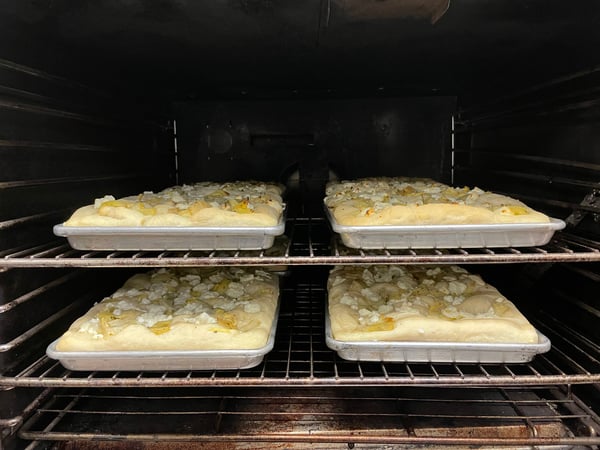
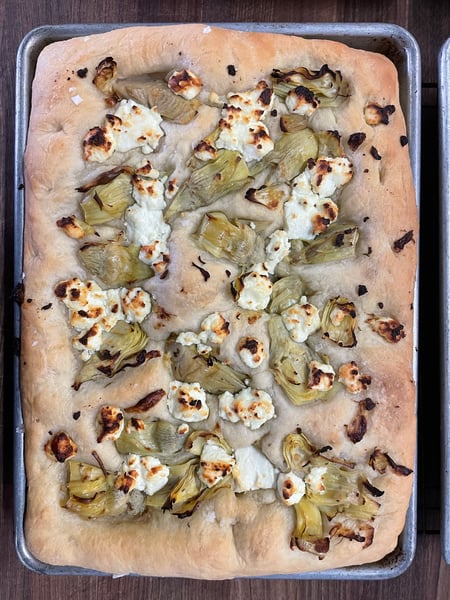
Bake to a light golden brown, then cool for at least 20 minutes before cutting and serving.

I hope this tutorial was useful for you, and now you feel a bit more confident about taking your skills in the kitchen to the next level. For another great first baking recipe, this time in the realm of quick breads, check out our virtual scones class coming up on Saturday, May 14 at 2pm CST. Happy baking!


Goat Cheese Artichoke Focaccia
Ingredients
- 1 tablespoon active dry yeast
- 1 1/4 cups lukewarm water (110–115º)
- 2 tablespoons extra virgin olive oil
- 1 1/3 cup bread flour
- 1 1/3 cup all-purpose flour
- 1 teaspoon fine sea salt
- 4 tablespoons extra virgin olive oil (divided use)
- 2 cups marinated artichokes, quartered
- Coarse sea salt to taste
- 1 cup goat cheese, crumbled
- 1/2 cup basil leaves, torn
Instructions
- Sprinkle the yeast on top of water in the bowl of a stand mixer and stir gently until dissolved. Allow to proof until creamy and aromatic to ensure yeast is alive, about 5 minutes.
- Add oil, 1/2 of each flour and salt. Mix on medium low speed with a dough hook until incorporated, scraping down sides as necessary.
- Add the remaining flour, and knead on low speed until the dough is smooth and elastic, about 5 minutes. The dough will be very sticky.
- Place dough in an oiled bowl and cover the bowl with plastic wrap.
- Let dough rise at room temperature until doubled, about an hour. Dough can also be proofed in the refrigerator overnight.
- Pour 2 tablespoons of the olive oil onto a sheet tray, and use your hands to spread the oil evenly.
- With your oiled hands, gently punch down the dough to deflate. Scrape the dough from the bowl onto the sheet tray, and use your fingertips to gently spread the dough to the edges of the pan.
- Allow to proof for 20 to 30 minutes at room temperature.
- Preheat the oven to 400º.
- Dimple the dough with your fingertips. Drizzle on the remaining extra virgin olive oil followed by the artichokes, coarse sea salt and goat cheese.
- Bake until light golden brown, about 25 minutes.
- Top with the torn basil, cut and serve immediately.