
After the last few weeks of baking everything from cookies to cupcakes to full-on celebration cakes, I was craving something not sweet… savory, but still a kind of a treat. As I was going through some recipes I had not made in awhile, I ran across one for savory cookies made with parmesan & thyme. I don’t recall where the original came from, but I do remember feeling like some of the measurements were “off” and I had made some adjustments. Hot tip: Never make a recipe from a source you’re unfamiliar with for company until you’ve tested it first!
These little gems hit the spot: they’re definitely more “cookie” than “cracker” – soft bite as opposed to crunchy – so they struck that “treat craving” note just right. I thought I would share the recipe with you here, so let’s dive right in.

The ingredients are super-simple.
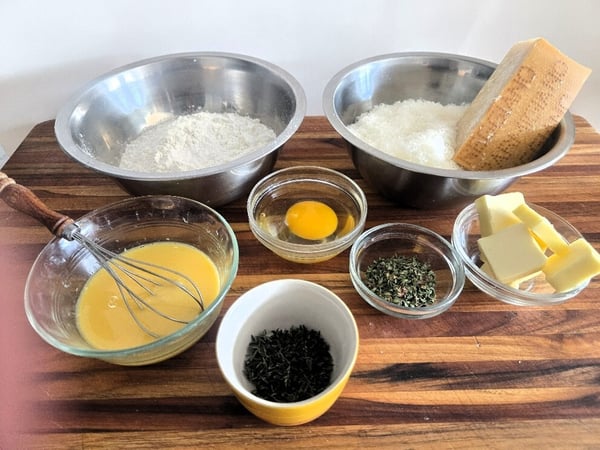
You’ll need:
-
250g all-purpose flour
- 2 Tablespoons dried thyme
- Pinch of salt (not pictured)
- 125g butter, cool room temperature
- 1 egg
- 100g parmesan cheese
- 3 Tablespoons water (not pictured)
- Egg wash (1 egg lightly beaten with 1 Tablespoon water)
- Fresh whole thyme leaves, optional for finishing
- 250g all-purpose flour
- 2 Tablespoons dried thyme
- Pinch of salt
- 125g butter, cool room temperature
- 1 egg
- 100g parmesan cheese (I like using Parmigiano-Reggiano for this recipe)
-
3 Tablespoons water
- Egg wash (1 egg lightly beaten with 1 Tablespoon water)
- Fresh whole thyme leaves, optional for finishing
I do have a couple of recommendations about the ingredients. First, feel free to substitute another dried herb of your choice. Rosemary, marjoram and tarragon come to mind. If you decide you want to finish the cookies with the same herb, be sure you have your choice of herb on hand fresh.
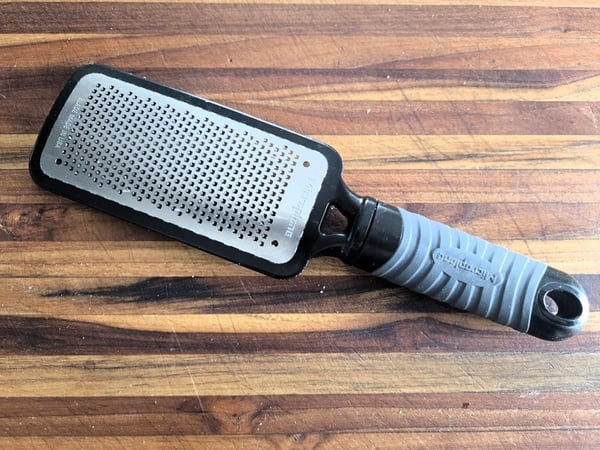
With regard to the cheese. Since the parmesan is front & center on these, I like to break out the “good stuff” and use Parmigiano-Reggiano. That said, domestic parmesan works just fine and is a bit more budget-friendly. Whichever you decide to use, be sure to grate it finely. It will blend into the dough much more evenly than if coarsely-grated. A Microplane is perfect for this task.
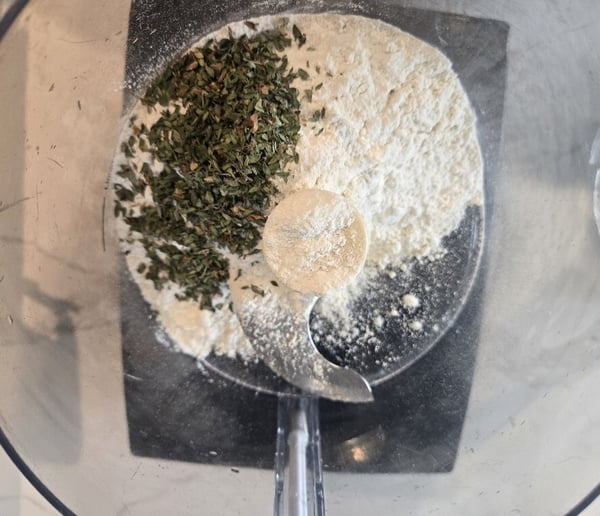
While you can certainly mix this in a stand mixer, or even by hand, I find a food processor to be the most efficient way to thoroughly blend all the ingredients – and quickly! Place all your dry ingredients (flour, salt, dried thyme) into your food processor and give it a few pulses to distribute everything evenly.
Then add in the butter, egg and parmesan. Pulse about 15 times to give yourself a nice, crumbly mixture. At this point, add the water. I used all 3 Tablespoons of water. It was a relatively dry day here, not a hint of humidity, so the dough readily absorbed all of it. If you live in a particularly humid climate, you may need a bit less. This is what you’re looking for with the water addition.
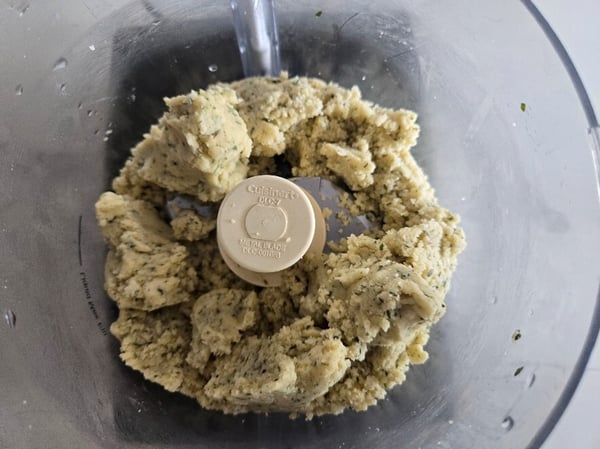
The dough mixture will move from crumbly to clumpy – it will not have all balled up in the food processor, but it will have clumped a bit.
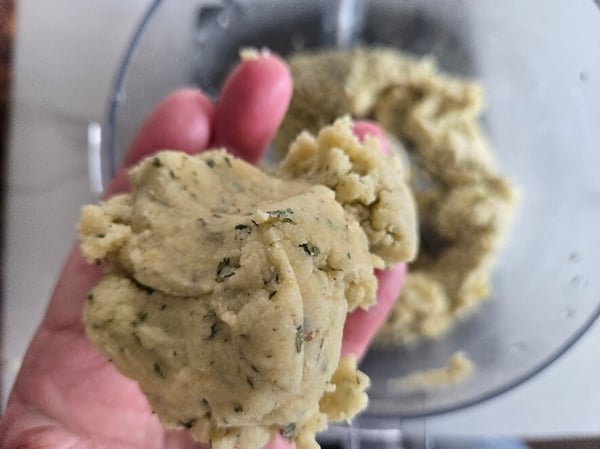
When you squeeze a bit of it in your hand, you can see it will hold together.
Turn the dough mixture out onto your board or countertop (safety point: remove the blade first!) and bring it all together with your hands to form a flat disk shape.

If some dough crumbs get left behind, don’t worry, you will have plenty of dough to work with. Then wrap your dough disk in plastic wrap and refrigerate it for 30-60 minutes.
Now would be a good time to preheat your oven to 350⁰F.
Remove the dough from the fridge and unwrap it. The aroma from the combination of the cheese and herbs will be wonderful! Roll it out on a lightly floured countertop or board to about 1/4" thickness. Turn your dough every couple of rolls, just to be sure it’s not sticking to the countertop. If it does, lift the edges and toss a bit of flour underneath until it moves easily again. Doing this will allow the dough to lift more easily once you have cut your shapes.
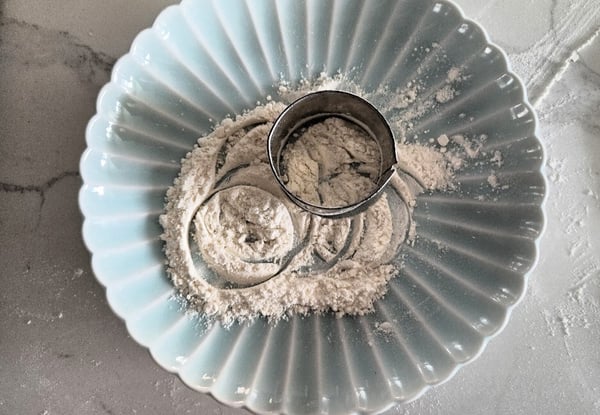
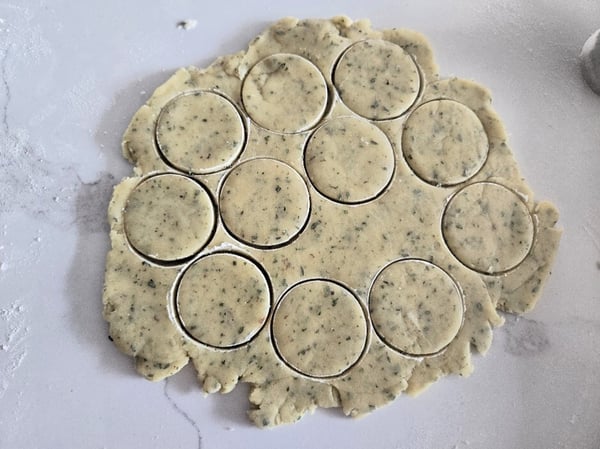
Once rolled, use a cookie cutter to make your shapes in the dough. I like to make these on the smaller side, so I use a round cutter about 1.25” in diameter. Be sure to dip your cutter into a bit of flour between each cut. This will give you the sharpest edges on your cut shapes.
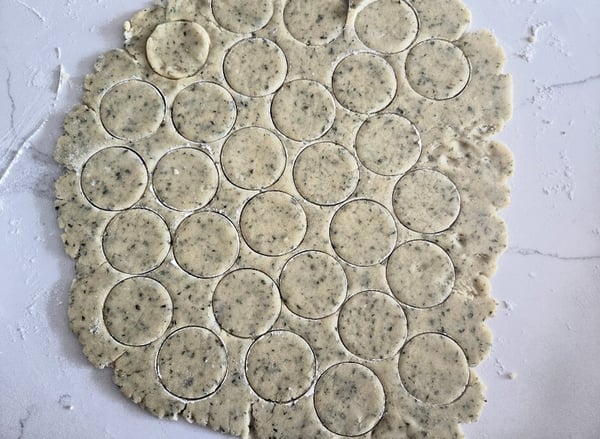
After cutting your shapes, you can just lift the “in-between” dough right off the countertop, leaving the cut shapes behind. Save the dough scraps! You can get one more rolling out of it!
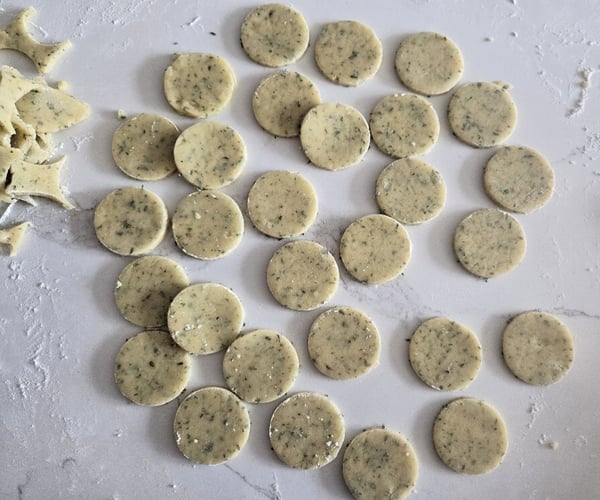
Then lift the cookies onto a parchment-lined sheet pan. If they are small like these are, chances are you can just lift them with your fingers. If they are larger, using a spatula may make transferring them to the sheet pan easier. These will not spread, so you can arrange them pretty close together without worrying about them touching one another as they bake.
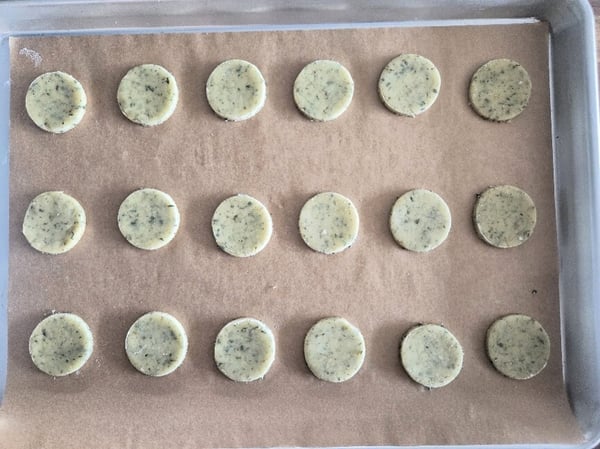
You can see that I did 3 rows of 6 cookies. I could easily have done 4 rows of 6 with no problem. But I had not made a note on the recipe, so I erred on the side of caution!
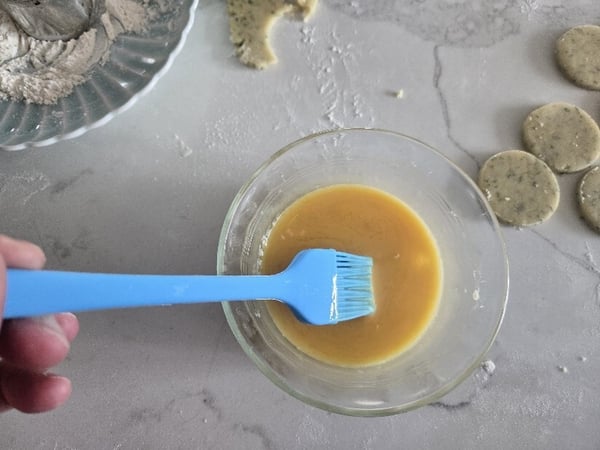
Now you can apply your egg wash (just a very light coating!), fresh thyme and whatever else you may wish for finishing these off.
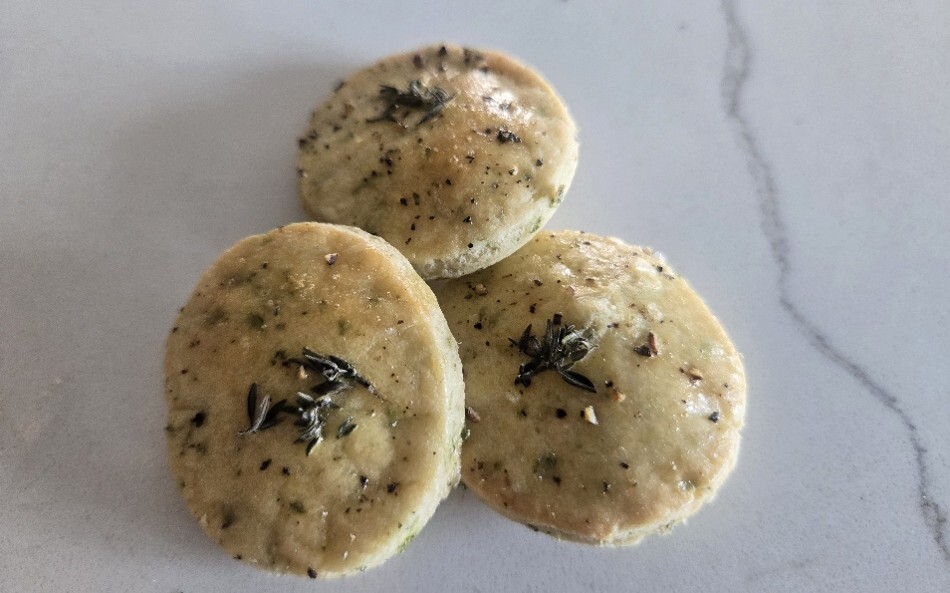
While I neglected to take a photo before they went into the oven, here’s a shot of when they came out, after about 14 minutes of baking.
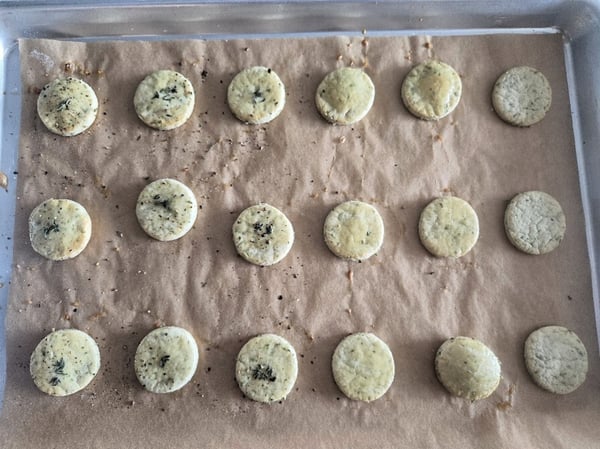
Keep in mind that the baking time may vary, depending on your oven, the size of the cookie shape, as well as the thickness of the cookie. You want to look at the edges: they should be just turning golden.
Before they went into the oven, I egg-washed all but the last column of cookies. You can see how the egg-washed cookies baked with more color to them. I added fresh thyme leaves on top of the egg wash, as well as some freshly ground black pepper (yes, I went rogue!) to the first three columns of cookies. Adding some large-flake salt (such as Maldon) would also be an option, but be careful, as the cheese is quite salty on its own. The fourth and fifth columns had only the black pepper on top of the egg wash. Since the last column had no egg wash, adding anything else would not have stuck very well to the cookie, so I didn’t top them with anything.
Just as a side note, I was able to get 11 more cookies after re-rolling the dough scraps. You only want to re-roll once, since the dough tends to toughen a bit with each rolling.
I rolled and cut these while the first batch was baking. Then I tucked the sheet pan in the fridge until the first batch came out. I like to refrigerate them because, by this time, the dough has completely lost its initial chill. Do not egg-wash or garnish the cookies until you’re ready to put them in the oven.
This made about 40 cookies in all. Here’s the whole batch, ready to serve or freeze.
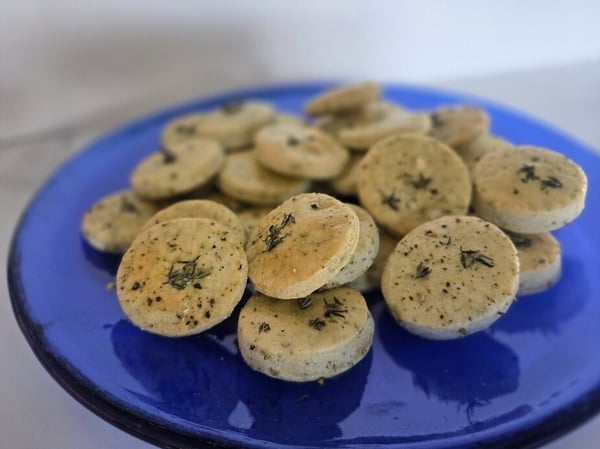
These really are a perfect nibble when you want a savory treat. They pair well with a glass of wine and can be served on their own or alongside other appetizers or charcuterie board. Enjoy!
If you enjoy savory nibbles, The Chopping Block features several opportunities to learn some new recipes over the next couple of months. Take a look at our class calendar, especially our hands-on Neapolitan Pizzeria (coming up tomorrow!) and Mediterranean Mezze (comin up next week!) for amazing, robust flavors. It’s also the official start of grilling season on our patio, so check out the incredible line-up of grilling classes, as well for some summertime fun.
