

When I was growing up, my aunts, uncles, cousins and grandparents convened almost every Sunday night at my home for card night! There was no money, booze or foul language involved in these card games but rather healthy competition, comradery and something simple and delicious to eat. As soon as we kids learned to count, we were expected to fill in at a card table.
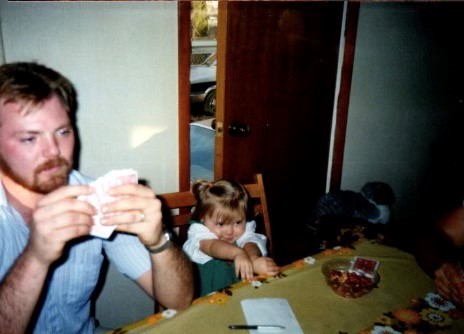 My brother Leland and his youngest daughter Amanda
Our chosen game was 500, and it requires four people to fill a table. We learned about strategy, we became in tune with others and learned how to read the room. It was healthy competition at an early age, and we learned how to win and lose with grace. For me, the experience of competing on equal footing with a family member fifty years my senior was a very empowering and bonding experience. The tradition of gathering every Sunday night with family was soul satisfying.
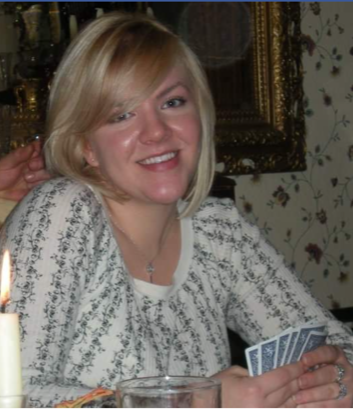
My niece Addrea
You might wonder how my mother managed to entertain up to 20 people almost every single Sunday night. She did it with the magic of soups, stews and pot roast. My mother would either make a giant batch of chili, potato soup, beef stew or pot roast. Sometimes we had cake or pie too, but that was a rarity because she kept it simple. The house was filled with delicious smells of something bubbling, braising or stewing for half the day.
There was a tea kettle ready for hot tea and family knew to help themselves, whenever and to whatever they wanted. Because all the tables were set for card playing, it meant there was no way to eat together at one table like we did during the holidays. Usually everyone just grabbed a bowl and sat down at their card table to enjoy a bite before the play began. Once the games began, it was common practice to graze throughout the night, especially with a light dinner like soup, and a second and third bowl were commonplace. We drank copious amounts of sweetened Constant Comment tea, we laughed, told stories and made new stories to tell.
I’ve been teaching cooking now for almost 25 years, and I can tell you that if you have apprehension about making pot roast, you are not alone. The fact that my mother made it so simply without any fuss at all, inferred to me that pot roast is easy to make. I can attest that it can be simple, as long as you have a good recipe and the time to let it cook long enough.
Pot Roast
This is a large recipe, but if you are cooking for a very small group or don’t love leftovers, it is easy to cut this recipe in half. Pot roast is amazing for many days to come and the roast can easily be transformed into BBQ beef sandwiches, tacos or beef pot pie. Pot roast doesn’t take long to prep but it does take hours in the oven so I suggest making a big batch to eat for days, to transform into new meals or even to freeze and reheat.
Scroll down for a printable version of this recipe
Yield: Serves 8 to 12
Prep Time: 30 minutes
Cook Time: 3 ½ to 4 ½ hours
5 pounds chuck or blade roast
Salt and pepper
2 cups flour
3 tablespoons grapeseed oil
4 bay leaves
1 onion, peeled and sliced thinly
1 quart beef stock
3 pounds carrots, peeled and trimmed
3 pounds Yukon Gold potatoes, peeled and cut in half
Step 1: Brown the meat
My mother never browned the meat so you could skip this step and save time. She simply seasoned the meat with salt and pepper, put it in a roasting pan with all the vegetables, covered it in foil and put it in the oven. It took her 10 minutes to put it together and then she just let it cook all day in the oven. It was delicious!
I’m not trying to complicate things, but I like to brown the roast before it goes in the oven because it deepens the flavor of both the meat and the liquid. I also flour the meat, which she didn’t do, as this will aide in browning but also makes a magical and simple gravy when you are done. We never had gravy with pot roast growing up - it is really delicious without it as well so if you want to simplify, feel free!
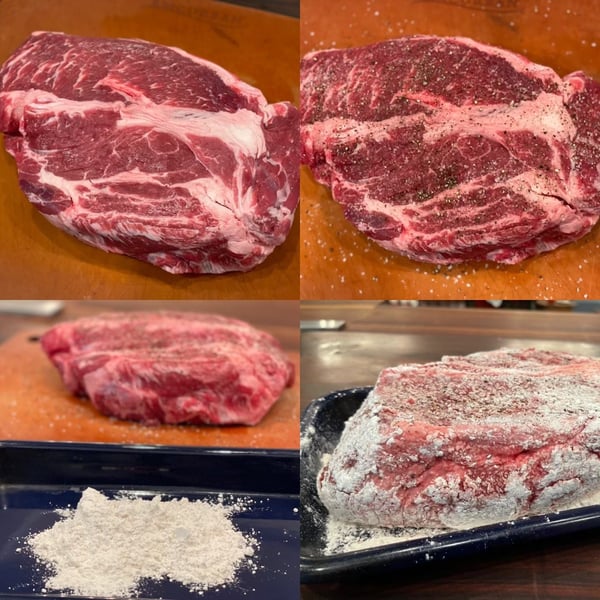 Preheat a large heavy gauge skillet or deep heavy gauge pot over a medium high heat. I like to use a deep pan to brown since it cuts down on the splatter. Season the pot roast heavily with salt and pepper and then dredge in a heavy coating of flour, discard the excess flour. Add the grapeseed oil to the heated pan and place the pot roast in the pan. Thoroughly brown the roast, about 5 minutes per side.
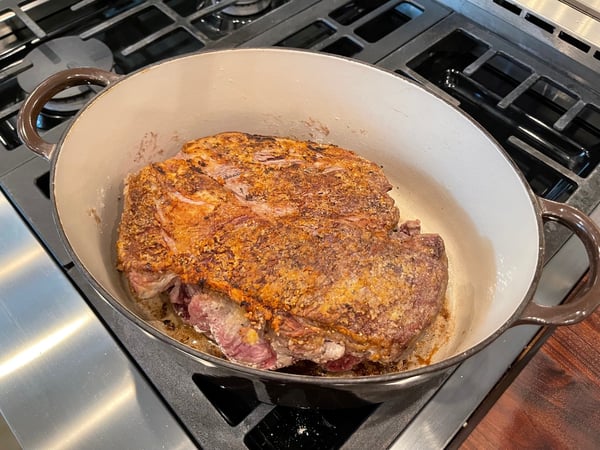 Step 2: Prepare for the oven
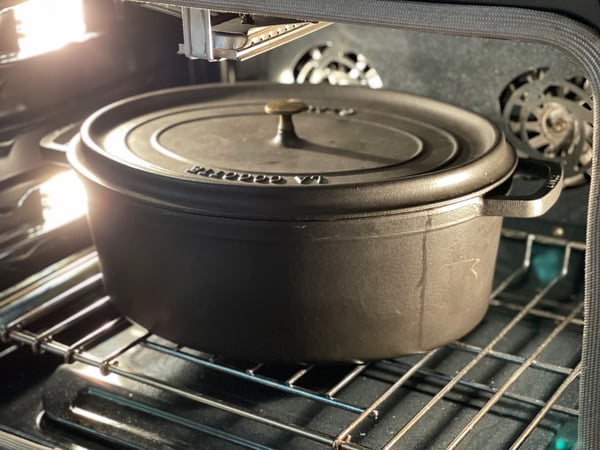
Transfer the pot roast to a large roasting pan or deep cast iron pot. You want plenty of room around the roast to add your vegetables later. The pan I cooked my roast in is a 13-quart oval cast iron pan and I understand not many people have a pan like this but is ideal because it has a heavy tight fitting lid which holds in the moisture. In the absence of a large pot like this, a roasting pan tightly covered with aluminum foil will do.
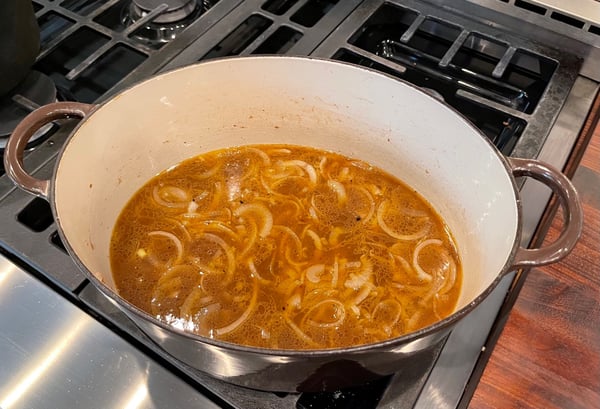
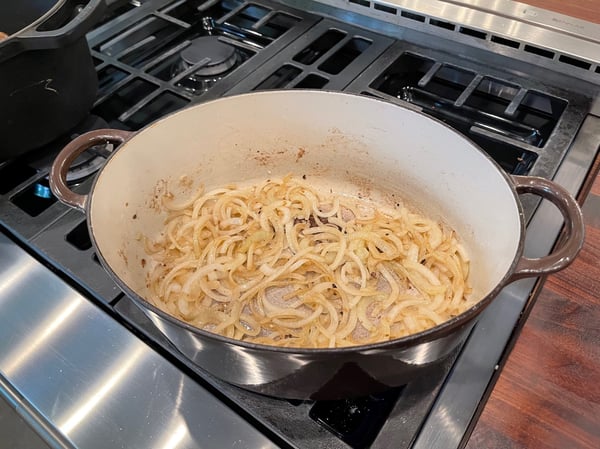 Place the sliced onions in the pan you browned the meat in, you may need to add a little more oil if the pan seems dry. Sauté the onions for a few minutes, just until they start to soften. Add bay leaves and beef stock to the pan and scrape any drippings from the bottom of the pan into the liquid. Poor the liquid over the pot roast and cover tightly with aluminum foil or lid. If you have parchment paper, you can place that underneath the foil to keep the food from having any contact with the foil.
When using foil instead of a cast iron pan with a tight-fitting lid, you will have more evaporation. You may need to add a little more beef stock or water every hour or so. Just keep the liquid level at about half the volume you started with. You do want the liquid to reduce ultimately to about half its original volume. This concentrates the flavor but will also allow it to thicken up a little from the flour.
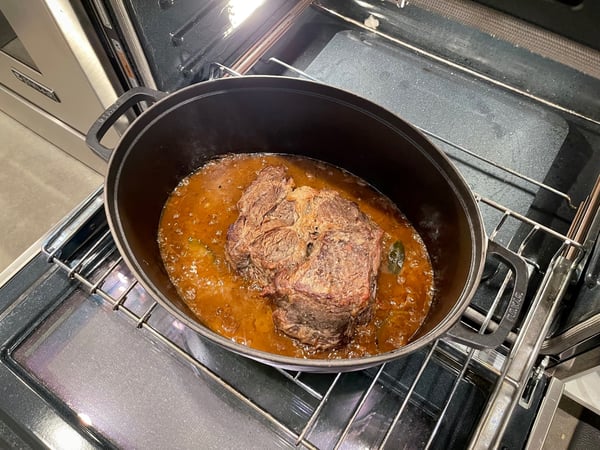
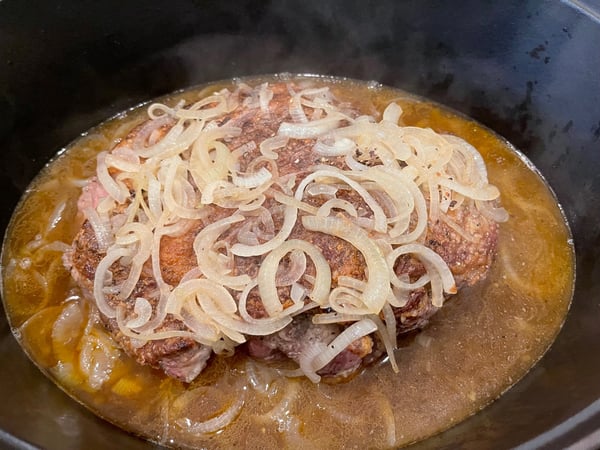 Place the pot roast in a 350-degree oven and leave it for two hours. As long as the meat is kept moist, you will have a hard time overcooking it. Chuck roast or blade roast is full of collogen, and it takes time to break down and soften. Collogen adds a lot of flavor but it is also very tough. Collogen actually gets tougher during the early stages of cooking and then softens as it is more fully cooked. If you check your roast an hour and a half into cooking, all you are going to find is a tougher piece of meat than you put into the oven - don’t be surprised by this. You don’t want to let the steam out by continually checking to see if the meat is done, after the first two hours, check about every 30 minutes.
 Step 3: Prepare and add vegetables
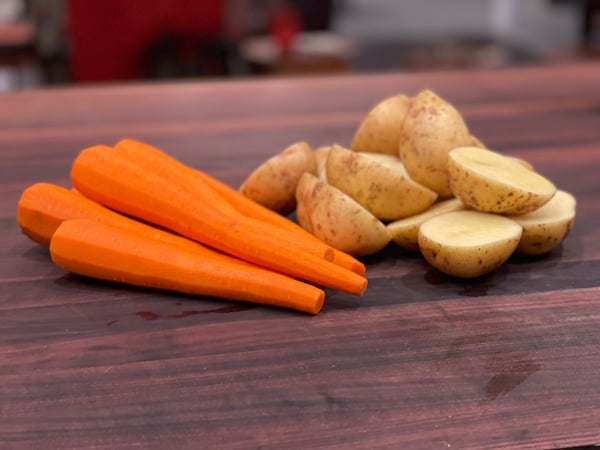
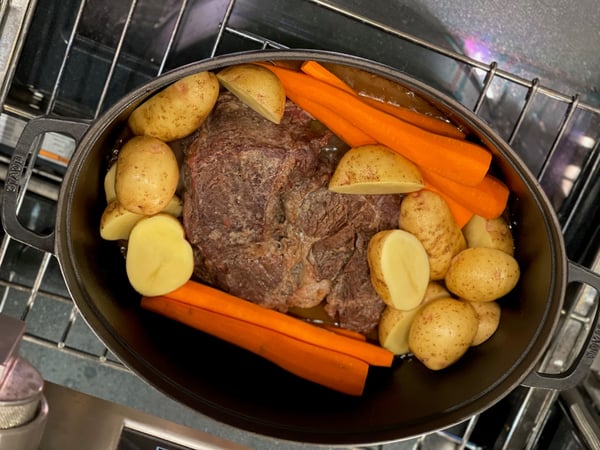
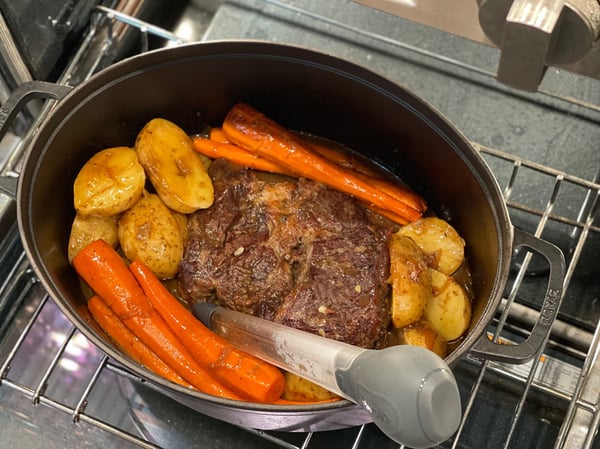
I like to use carrots and potatoes but you can easily add turnips, parsnips, celery root or other root vegetables. I also leave my vegetables really large, in fact the carrots are simply peeled and left whole, potatoes are just cut in half. I do this because I like the way it looks but also because the vegetable can cook longer in the oven. I love to nestle my vegetables in beside the pot roast and in the beautiful broth that lies there. They get ultra-caramelized and rich with the broth. I also use Yukon Golds or red potatoes because they don’t break down and overcook as easily as a Russet potato would.
 About 2.5 hours into cooking, remove the foil or lid and nestle the vegetables in. Recover the pot roast and place the pot roast back into the oven.
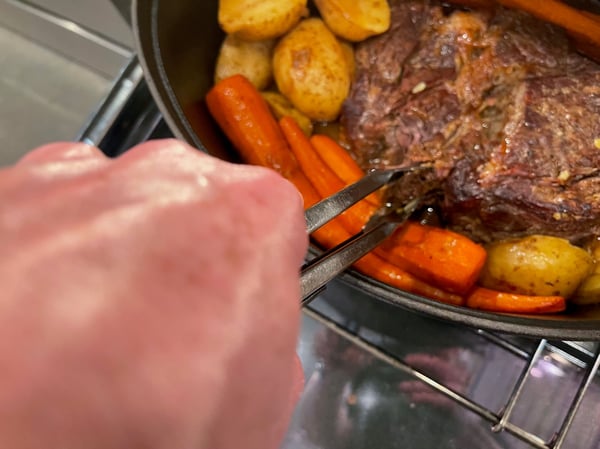
 After 30 minutes, I like to move the veggies around to make sure they all get some cooking time in the aromatic liquid surrounding the roast. It is a great time to baste all the vegetables and meat with the gravy.
 Step 4: Check for doneness
At 3.5 hours, lift the foil or lid and check the roast. With a fork or a pair of tongs try pulling the roast, if it easily falls apart the meat is done. If not, keep cooking until the meat starts to pull apart easily.
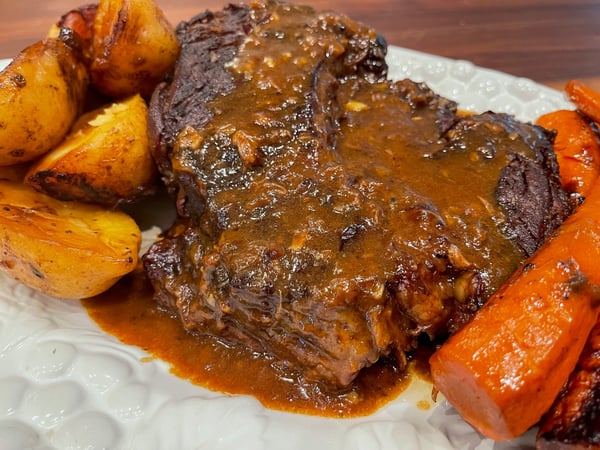
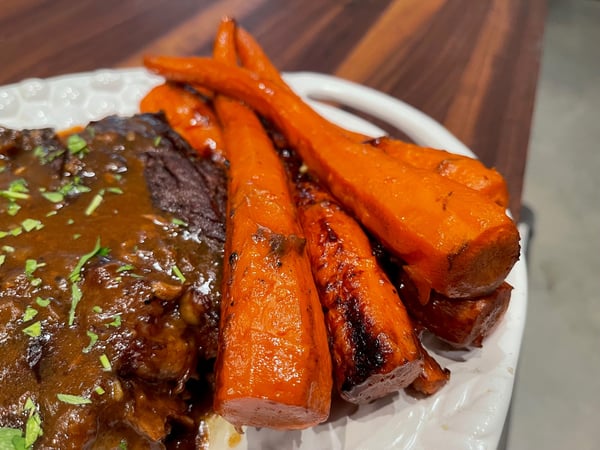
 Step 5: Serve
I put the meat onto a platter and surround it with the braised vegetables. What is left in the pot is a beautiful simple gravy. Sometimes this gravy is perfect and ready to go, simply whisk and pour into a gravy boat or over the meat. You may find that the liquid left in the pan looks oily, this is primarily because there has been a lot of evaporation of liquid so you will need to add a little thickener and liquid to have it come together nicely.
In a separate bowl, mix 2 tablespoons of flour and add 2 tablespoons of water and stir until it’s a smooth paste. Add an additional cup of water to the flour slurry and pour into your gravy. Heat the gravy over low heat, whisking until it comes together. If it still looks oily after this, repeat the process and you should have a beautiful gravy.
 With the weather getting cooler, the days shorter and gatherings moving back indoors, it is time to fill your home with the smells of stewing, braising, soups and stews. We are here to help with new recipe ideas and the tips and tricks to make sure you can execute them flawlessly!
Check out these upcoming classes that feature braising as a technique:
- Hands-On Essential Building Blocks Saturday, November 13 9am Lincoln Square
- Virtual Coq au Vin Thursday, November 18 6pm CST
- Virtual Cook Along: Soup and Stew Workshop Sunday, November 21 11am CST
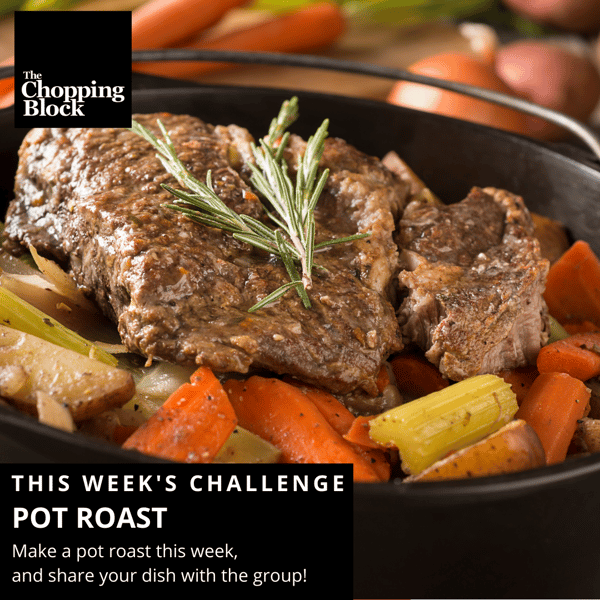
Pot roast is this week's challenge for our private Facebook group members so give this recipe a try this week and share your results in the group. It's a great place to connect with our chefs to get all of your cooking questions answered!


Pot Roast
Ingredients
- 5 pounds chuck or blade roast
- Salt and pepper
- 2 cups flour
- 3 tablespoons grapeseed oil
- 4 bay leaves
- 1 onion, peeled and sliced thinly
- 1 quart beef stock
- 3 pounds carrots, peeled and trimmed
- 3 pounds Yukon Gold potatoes, peeled and cut in half
Instructions
- Preheat a large heavy gauge skillet or deep heavy gauge pot over a medium high heat. Season the pot roast heavily with salt and pepper and then dredge in a heavy coating of flour, discard the excess flour. Add the grapeseed oil to the heated pan and place the pot roast in the pan. Thoroughly brown the roast, about 5 minutes per side.
- Transfer the pot roast to a large roasting pan or deep cast iron pot. You want plenty of room around the roast to add your vegetables later. In the absence of a large pot, a roasting pan tightly covered with aluminum foil will do.
- Place the sliced onions in the pan you browned the meat in, you may need to add a little more oil if the pan seems dry. Sauté the onions for a few minutes, just until they start to soften. Add bay leaves and beef stock to the pan and scrape any drippings from the bottom of the pan into the liquid. Poor the liquid over the pot roast and cover tightly with aluminum foil or lid. If you have parchment paper, you can place that underneath the foil to keep the food from having any contact with the foil.
- Place the pot roast in a 350-degree oven and leave it for two hours. After the first two hours, check to see if the meat is done about every 30 minutes.
- About 2.5 hours into cooking, remove the foil or lid and nestle the vegetables in. Recover the pot roast and place the pot roast back into the oven.
- After another 30 minutes, move the veggies around and baste all the vegetables and meat with the gravy.
- At 3.5 hours, lift the foil or lid and check the roast. With a fork or a pair of tongs try pulling the roast, if it easily falls apart the meat is done. If not, keep cooking until the meat starts to pull apart easily.
- Put the meat onto a platter and surround it with the braised vegetables. Serve with the gravy in the pot.