
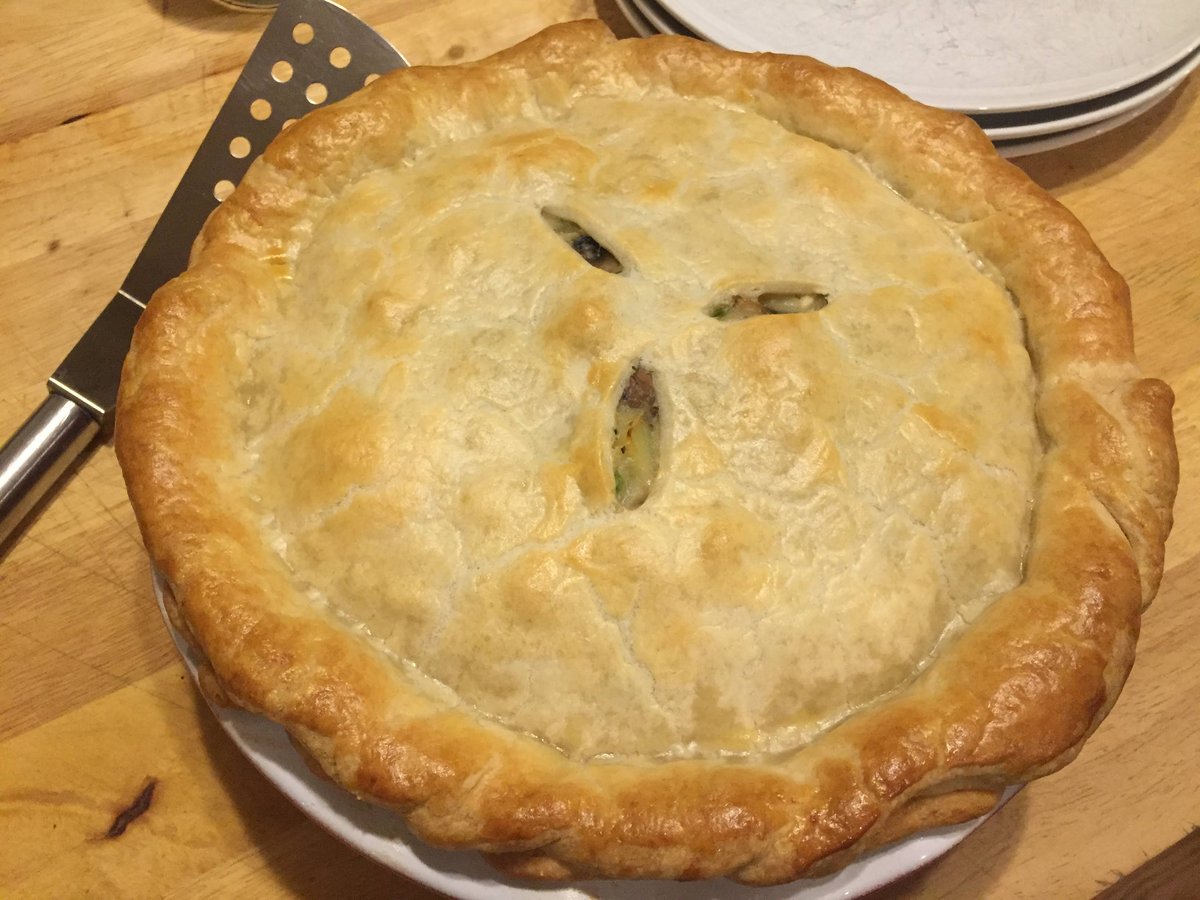
It’s been so long since I’ve eaten chicken pot pie, and I’m pretty sure the last time I did the experience was underwhelming. I really had no intention of making it, but my daughter requested it, and seeing that I had all of the ingredients on hand in my kitchen, I took that as a sign. So, I went on a journey to create the most excellent chicken pot pie possible.
For such a simple and comforting meal, it involves many key fundamental culinary techniques, and they all need to be executed properly to achieve a fantastic end result.
There are many ways to go about chicken pot pie, but I found this way to be the most approachable for my busy lifestyle. And, I wouldn’t change a thing about it! Seeing as how we devoured the entire thing in one sitting, my family was obviously more than pleased with the end result, which was so satisfying.
Let’s break the recipe down into the different steps:
The Chicken
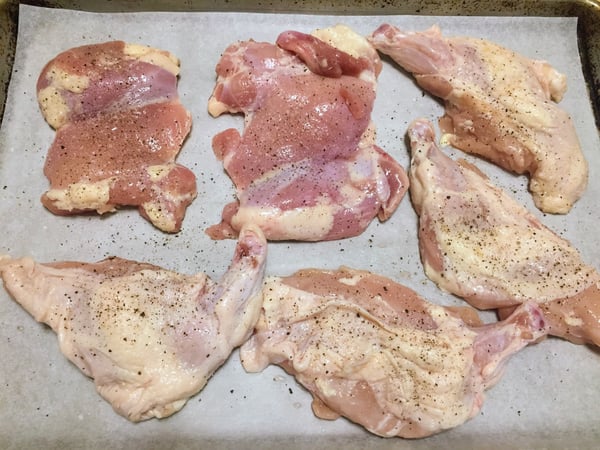
I had some random pieces of chicken in my freezer, so I ended up using a couple of boneless skinless chicken thighs as well as a few airline breasts (skin-on chicken breasts with the drumette attached). I personally prefer to use all dark meat because of the richer flavor, but I was happy to utilize the chicken from my freezer. As you can see, you can use any cut of chicken you like in this recipe. Anything works!
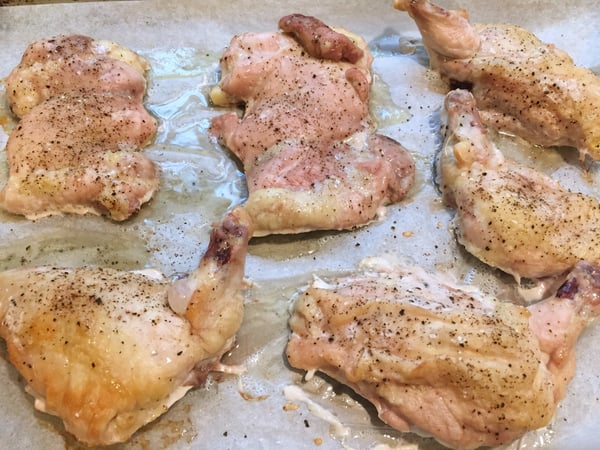
I roasted the chicken at a high heat in order to develop some color and most of all, flavor. Once the chicken was cool enough to handle, I used my hands to shred the meat into large bite-sized pieces.
The Veggies, Roux and Gravy
Aside from the texture of the crust, the consistency of the gravy is the most important part. Too loose, and the filling is going to run everywhere when you cut into it. Too thick, and the filling is going to be too rich and heavy. You want to fall right into the middle ground.
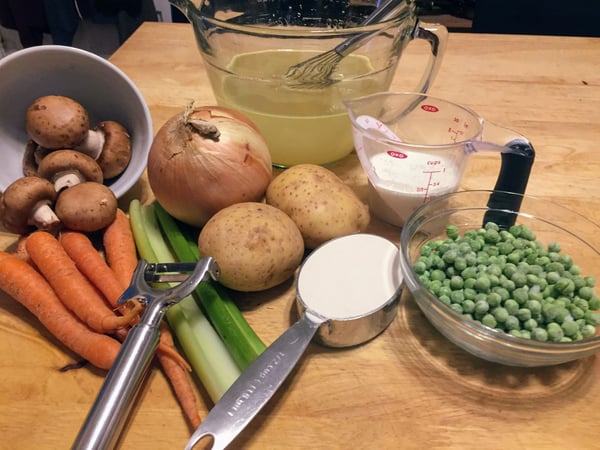
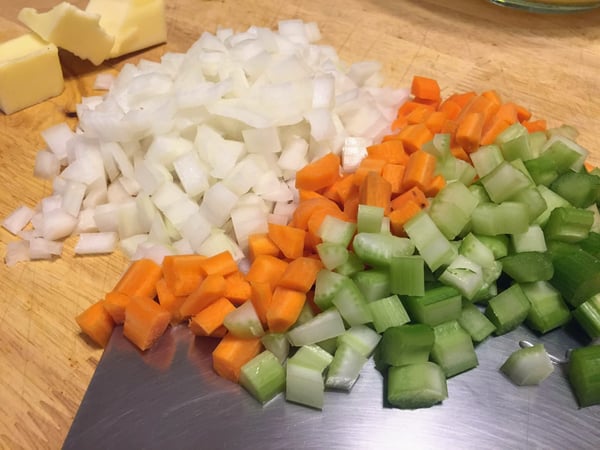
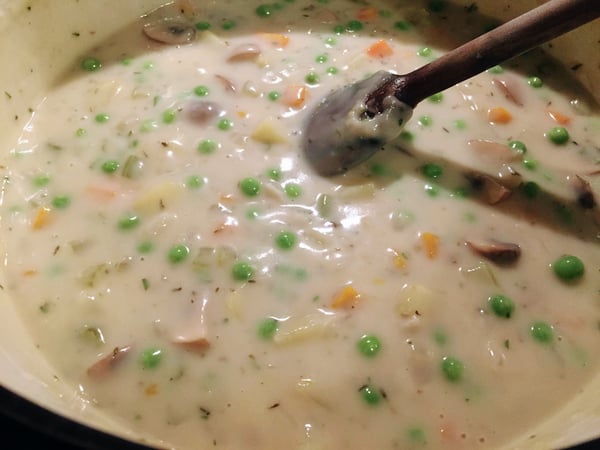
Let’s back up a little bit. The base for the filling is sautéed mirepoix (carrots, onions and celery). It’s important to cut them all the same size, so when you take a bite of the finished recipe, you get a little bit of everything on your fork which creates a more complex flavor. Tip: If you need some brushing up with your knife skills, join us for virtual Knife Skills! I had some mushrooms on hand that needed to get used, so I quartered them and sautéed them with the mirepoix until everything was just tender.

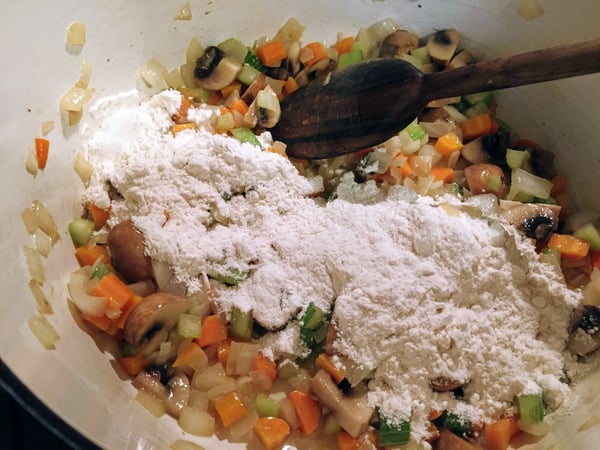
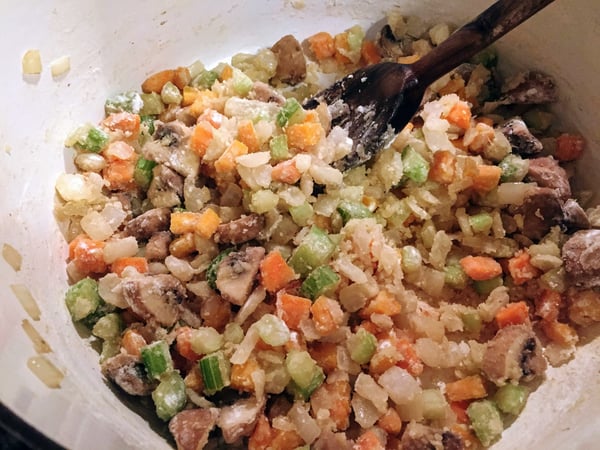
This is the moment we have all been waiting for. The amount of flour determines the thickness of your gravy, so the ratio must be spot on. I added 1/2 cup all-purpose flour to the mirepoix, and allowed that to cook for about 2 minutes. In this step, you’re making roux, which is used to thicken sauces, soups and stews.
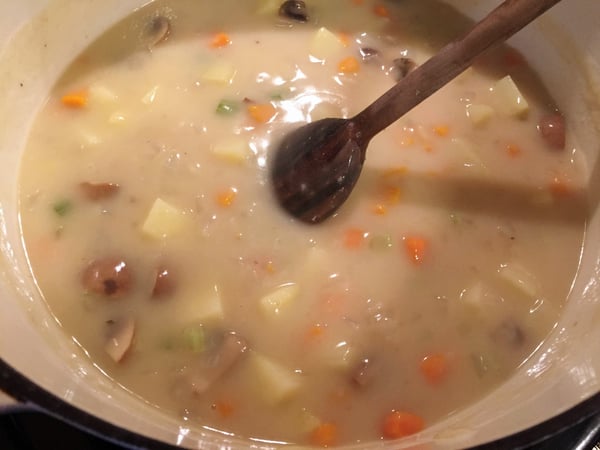
I then whisked in 3 1/2 cups good quality chicken stock, added the potatoes, and allowed the filling to cook until the potatoes were tender. The thickness of the filling was absolutely spot on! Not too thin and not too thick. Perfect. Phew!
The Finishing Touches
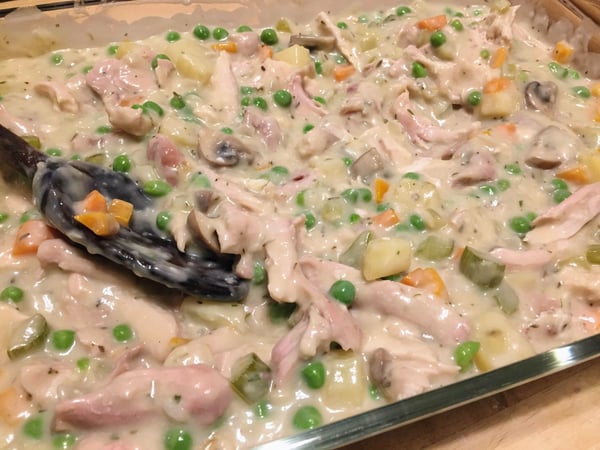
Once the filling simmered long enough to get the potatoes tender, I folded in the fresh herbs, the shredded chicken, the peas and the heavy cream. I also seasoned the mixture with salt and pepper to taste. To be honest, the filling was so good I could have just eaten it straight out of the pot.
Transfer the filling to a baking dish, and allow to cool. This will prevent the pie dough from melting when placed on top of the filling.
The Crust
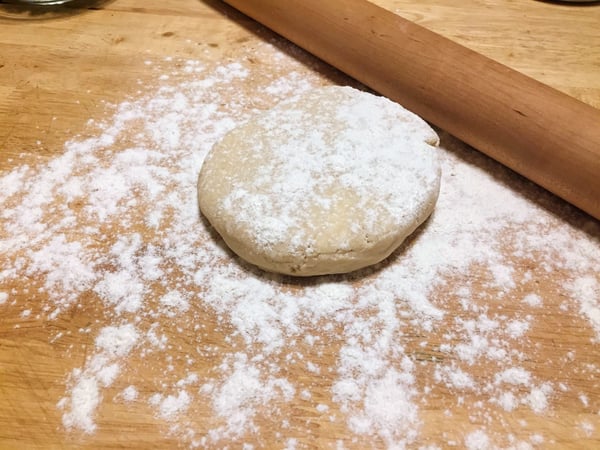
I decided to make Pie Dough from scratch to complete my epic culinary adventure. It’s a very approachable recipe that produces a light and flaky crust, so if you have never made homemade pie dough before, give it a shot! Otherwise you can absolutely use frozen and then defrosted puff pastry or pie dough.
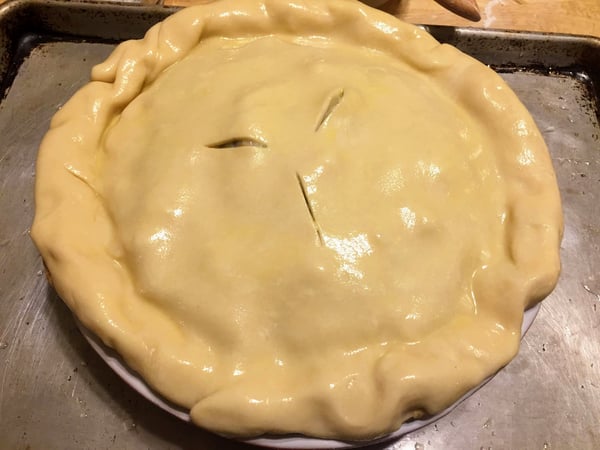
I only gave my pot pie a top crust, because I feel like the bottom crust always gets soggy. If you do want to add a bottom crust, I suggest blind baking it. What does blind baking mean? It’s when you bake your pie crust without a filling in order to crisp it up. I roll out my pie dough, and place it in my pie pan. I then lay a piece of parchment paper on top of the dough, and add pie weights (if you don’t have pie weights, use dried beans or rice). This will prevent the dough from puffing up. Bake the crust until light golden brown.
You then add the cooled filling to the blind baked shell, brush the edges of the dough with egg wash (the same egg wash you need for brushing on the top crust), and lay the top crust over the filling. Tuck the edges in, cut your vent holes and brush the top with egg wash. Bake until GBD (golden brown and delicious).

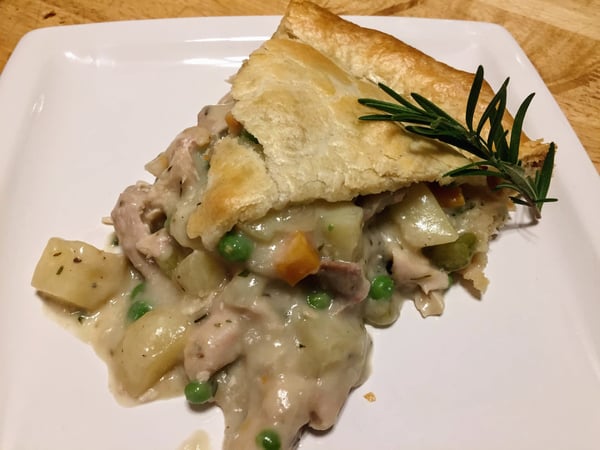
Allow the pot pie to rest for about 10 minutes, and then cut into slices and enjoy. I was going to make a salad to accompany the pie, but I ran out of time. Plus, there are lots of veggies in the pie, so that was good enough for me!
Chicken Pot Pie with Homemade Pie Crust
Scroll down for a printable version of this recipe
Yield: 4-6 servings
Active time: 45 minutes
Start to finish: 1 hour, 45 minutes
4 large or 6 small chicken thighs
Salt and pepper to taste
4 tablespoons butter
2 carrots, peeled and cut into small dice
2 stalks celery, small dice
1 medium-size onion, small dice
1/2 cup all-purpose flour
3 1/2 cups chicken stock
1 russet potato, small dice
1/2 cup heavy cream
1/2 cup frozen peas
1 teaspoon fresh thyme, rough chopped
Salt and pepper to taste
1/2 recipe Pie or Tart Dough
1 egg, beaten with 1 teaspoon water
- Preheat the oven to 400°.
- Place the chicken thighs on a parchment-lined sheet tray, and season with salt and pepper to taste. Roast the chicken, skin side up, until golden brown and crisp, and the internal temperature reaches 165° on a meat thermometer, 35 to 40 minutes. Allow to cool.
- While the chicken is roasting, prepare the filling. Heat a deep, heavy pot over medium heat and add the butter. Sauté the carrots, onions and celery, stirring occasionally until tender, about 5 minutes.
- Sprinkle the flour over the vegetables and cook for 1 to 2 minutes, stirring constantly. Add the stock, whisking to incorporate.
- Stir in the potatoes.
- Bring the sauce to a boil, and then reduce to a simmer. Cook, uncovered, for 15 to 20 minutes to thicken the sauce and blend the flavors.
- While the sauce simmers, shred the chicken into large bite-size pieces, discarding the bones. Tip: Chop up the crispy chicken skin, and fold into the filling for extra flavor!
- Stir the shredded chicken, heavy cream, peas and thyme into the filling. Season with salt and pepper to taste.
- If making individual pot pies, spoon the filling into 4 or 6 individual heat-proof bowls (depending on the size), or one large baking dish. Allow the filling to cool for about 30 minutes. Tip: Allowing the filling to cool, will prevent the pie dough from melting when it comes in contact with the filling. To do this step more quickly, pour the filling into a large baking dish, and refrigerate until chilled.
- Once the filling has chilled, roll the pie dough on a lightly-floured surface into a 1/4-inch-thick circle.
- Cut the dough one half inch larger than the baking dish or bowls. Before placing the dough on top of the filling, cut three small slits in the center of the dough as steam vents.
- Brush the rim of the bowls or baking dish with the egg wash. Place the dough on top the filling, and press to adhere the dough to the edge. Brush the tops with egg wash.
- Bake on a parchment-lined sheet tray until the dough is golden brown and the filling is bubbly, 30 to 35 minutes.
- Allow the pot pie(s) to cool for about 5 minutes before serving.
Want to see this recipe in action? Join us for our virtual Chicken Pot Pie Cooking Demo on November 5th, and we’ll teach you all of the tips and tricks to successfully make this recipe at home. You’ll be so glad you did!


Chicken Pot Pie with Homemade Crust
Ingredients
- 4 large or 6 small chicken thighs
- Salt and pepper to taste
- 4 tablespoons butter
- 2 carrots, peeled and cut into small dice
- 2 stalks celery, small dice
- 1 medium-size onion, small dice
- 1/2 cup all-purpose flour
- 3 1/2 cups chicken stock
- 1 russet potato, small dice
- 1/2 cup heavy cream
- 1/2 cup frozen peas
- 1 teaspoon fresh thyme, rough chopped
- Salt and pepper to taste
- 1/2 recipe Pie or Tart Dough
- 1 egg, beaten with 1 teaspoon water
Instructions
- Preheat the oven to 400°.
- Place the chicken thighs on a parchment-lined sheet tray, and season with salt and pepper to taste. Roast the chicken, skin side up, until golden brown and crisp, and the internal temperature reaches 165° on a meat thermometer, 35 to 40 minutes. Allow to cool.
- While the chicken is roasting, prepare the filling. Heat a deep, heavy pot over medium heat and add the butter. Sauté the carrots, onions and celery, stirring occasionally until tender, about 5 minutes.
- Sprinkle the flour over the vegetables and cook for 1 to 2 minutes, stirring constantly. Add the stock, whisking to incorporate.
- Stir in the potatoes.
- Bring the sauce to a boil, and then reduce to a simmer. Cook, uncovered, for 15 to 20 minutes to thicken the sauce and blend the flavors.
- While the sauce simmers, shred the chicken into large bite-size pieces, discarding the bones. Tip: Chop up the crispy chicken skin, and fold into the filling for extra flavor!
- Stir the shredded chicken, heavy cream, peas and thyme into the filling. Season with salt and pepper to taste.
- If making individual pot pies, spoon the filling into 4 or 6 individual heat-proof bowls (depending on the size), or one large baking dish. Allow the filling to cool for about 30 minutes. Tip: Allowing the filling to cool, will prevent the pie dough from melting when it comes in contact with the filling. To do this step more quickly, pour the filling into a large baking dish, and refrigerate until chilled.
- Once the filling has chilled, roll the pie dough on a lightly-floured surface into a 1/4-inch-thick circle.
- Cut the dough one half inch larger than the baking dish or bowls. Before placing the dough on top of the filling, cut three small slits in the center of the dough as steam vents.
- Brush the rim of the bowls or baking dish with the egg wash. Place the dough on top the filling, and press to adhere the dough to the edge. Brush the tops with egg wash.
- Bake on a parchment-lined sheet tray until the dough is golden brown and the filling is bubbly, 30 to 35 minutes.
- Allow the pot pie(s) to cool for about 5 minutes before serving.