
The hamburger looks simple: just ground beef on a bun, right? Yet I’ve had some seriously disappointing burgers. After years of trying burgers from all over and making burgers at dozens of restaurants, I've learned that the difference between a mediocre burger and an exceptional one comes down to a handful of details most home cooks overlook.
When you buy ground beef, you're making your first critical decision. The coarseness of the grind directly impacts how your burger will cook and taste. Coarser grinds tend to crumble easily and may hold less moisture because the fat melts and escapes quickly. Finer grinds allow the fat to be distributed more evenly, and the rendered fat is better sealed inside pockets of the lean beef. For burgers, I prefer a medium grind that's textured enough to hold together but fine enough that fat stays put during cooking.
An 80/20 ratio of lean to fat is the sweet spot. Some prefer 85/15 for a leaner burger, but you sacrifice juiciness. I've experimented with blends myself, mixing short rib with brisket for complexity. The fat is where flavor lives, so don't shy away from it.
Before touching the meat, let it come to room temperature. Once portioned, knead the beef a few times. This creates structure in the patty. The meat holds together better and maintains its shape as it cooks rather than puffing up like a hockey puck. When shaping, press the patties very flat and about an inch wider than you want them after cooking. They'll shrink as they sear. Then rest the patties in the fridge for at least 30 minutes. This re-solidifies the fat so it doesn't melt out too fast during cooking. This single step makes a noticeable difference.
The smashed burger is crispy and thin, meant for a quick sear on high heat. Maximum crust, minimum juice. The quarter pounder, around 4 to 5 ounces, is my favorite. It's substantial without being overwhelming, with a good sear on the outside while maintaining a medium-rare center. The eight ounce patty is what you'll find at steakhouses, thick and juicy, requiring proper technique to cook evenly.
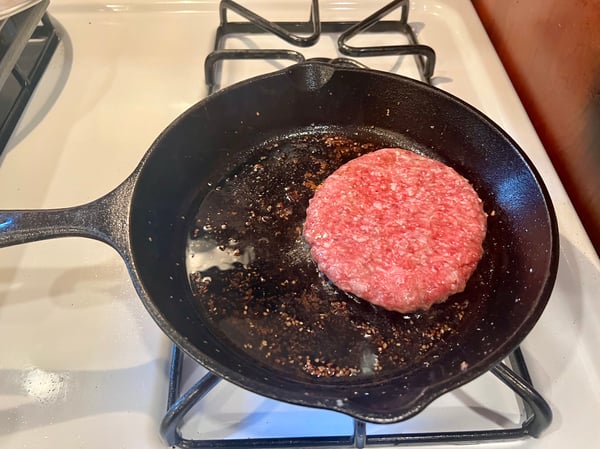
A flat top gives you control and even heat distribution. A charcoal grill gives you smoke and fire, and those char marks add complexity you can't replicate on a flat top. Both work beautifully if you understand their strengths. The key is patience. Don't move the burger. Let it sit on the heat until it develops a crust, then flip once. For a quarter pounder on a char grill, that's about 3 minutes per side for medium. Salt only after it's cooked.
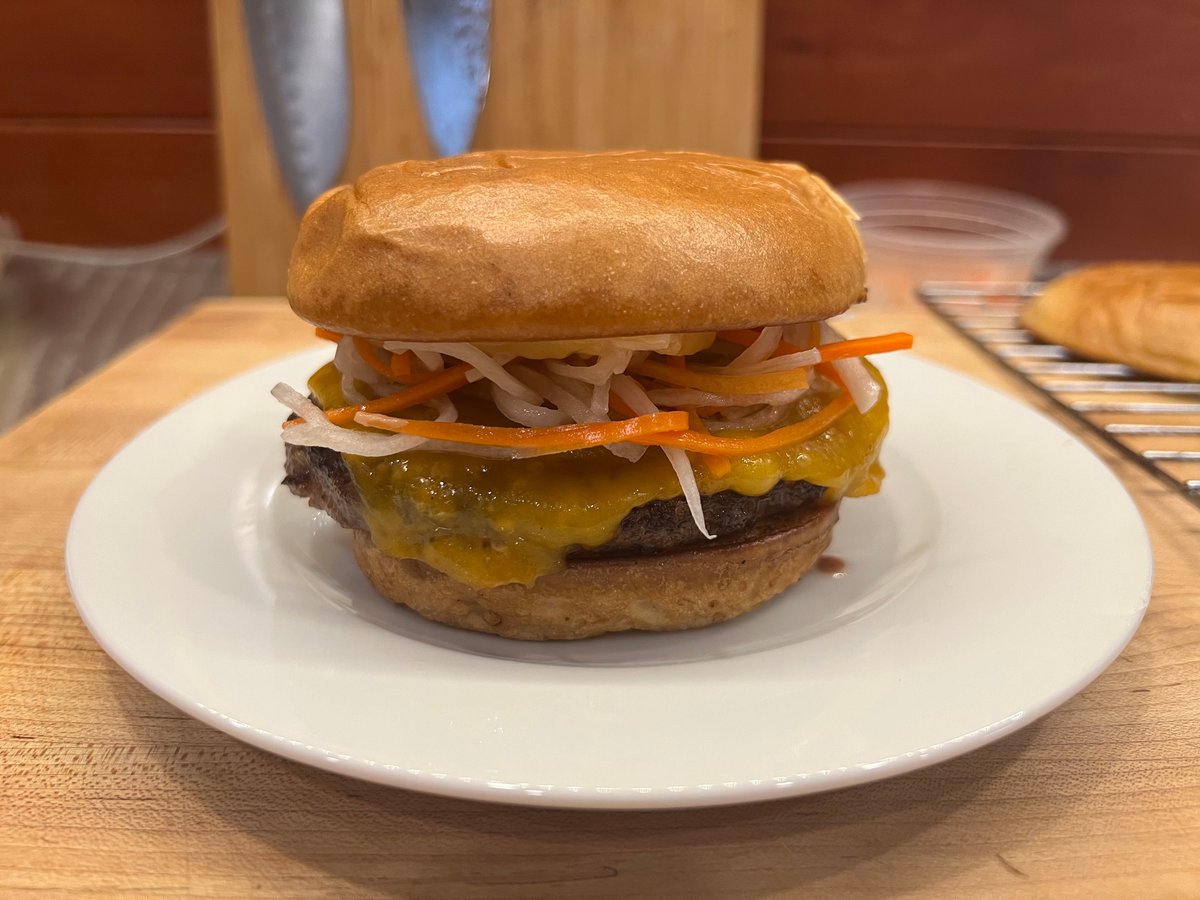
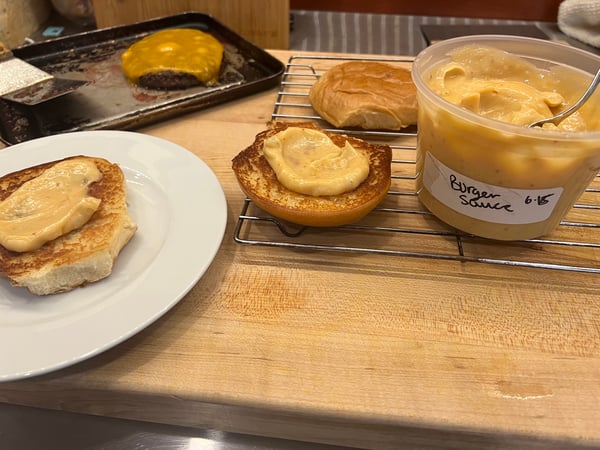
A great burger doesn't hide behind toppings, but thoughtful ones elevate it. Fresh vegetables add brightness, cheese should be melted directly on the hot patty, and sauces need balance! Acidic condiments cut through richness. Pickles and onions provide necessary contrast. At my restaurant Fork & Coin, we take these principles seriously, building each burger with intention and respect for the fundamentals.
Next time you make a burger try these pickles, which are featured on my burger at Fork and Coin!

Pickled Carrot and Daikon
Yields: 4-6 cups
Prep time: 45 minutes
Cook time: 10 minutes
Inactive time: 4 hours
Total time: 4 hours 55 minutes
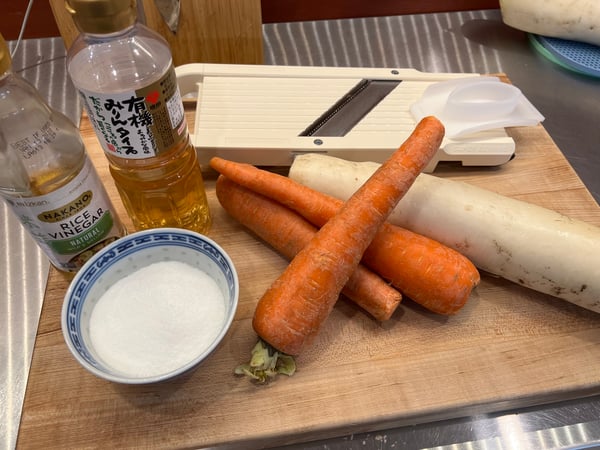
2 large loose carrots, fine julienne
1 daikon radish (around equal weight to the carrots), fine julienne
3 cloves garlic, smashed
1 quart rice wine vinegar
3/4 cup sugar
1 tablespoon kosher salt
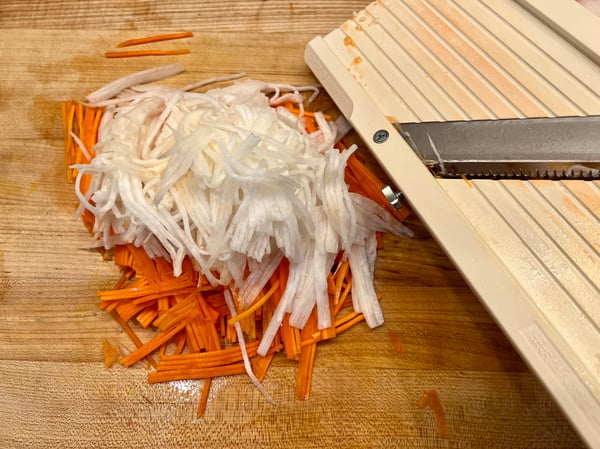
- Soak the julienned vegetables in cold water for 30-40 minutes. This helps crisp the veggies and pulls out the bitterness of the radish. Drain.
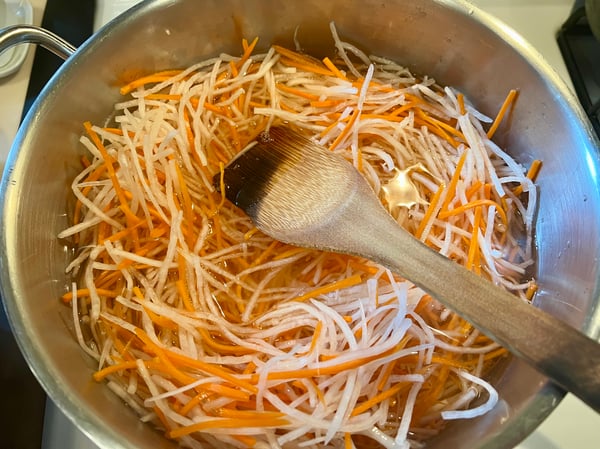
- In a medium size pot, bring the garlic, vinegar, sugar and salt just up to a boil while stirring occasionally to dissolve the sugar. Turn off the heat.
- Add the carrot and daikon to the liquid. As they heat, they will shrink down. Place a bowl or plate on top to submerge everything in the liquid.
- Allow everything to cool to room temperature and store in the refrigerator.
These pickles are refrigerator pickles, which means they are not processed in a water bath, so they must stay cold and are typically enjoyed within a few weeks to a few months. If you want to learn how to make canned pickles, which are are water-bath processed for long-term pantry storage, we have a hands-on class for you this month!
The pickled giardiniera you'll make in Summer Canning and Pickling is processed using water-bath canning techniques, creating a shelf-stable product you can enjoy for months to come while learning the fundamentals of safe home food preservation.
Join us on Saturday, June 27 at 10am and you'll learn how to make:
- Summer Berry-Ginger Jam
- Pickled Giardiniera with Peppers, Carrots and Cauliflower
- Harissa Sauce (Roasted Red Pepper, Garlic and Smoked Paprika)
- Cucumber Kimchi (Gochugaru, Ginger and Sesame)

If you want to perfect your burger-making skills, you cannot miss our new class, hands-on Burger Lab: Smash vs Pub Burgers on the Grill on Saturday, August 8 at 11am. You’ll explore two iconic styles of burgers—crispy, lacy-edged smash burgers and thick, juicy pub-style burgers—to understand what makes each one unique. Which one will be your favorite? Join us to find out!
