
Growing up in Chicago’s northwest suburbs, I always had the luxury of green spaces. With a large, grassy backyard, front porch, and mulchy dirt spots running all along the sides of my childhood home, I took something for granted that I had never really thought of before: soil.
Once I moved to the city five years ago, I’ve lived in a slew of apartments, from walk-up to walk-up and eventually landing at my current apartment, a high-rise apartment which I’ve resided in for three years now. My first apartment had a generous patio space on the second floor of a walk-up building. During the summer months, I had my beloved basil plant on that back patio, which thankfully received ample amount of sunlight and was able to thrive until the bitter Chicago winter came and it sadly withered away.
My second apartment in the city did not have a patio or outdoor space, but we had beautiful floor-to-ceiling southern facing windows in the living room which allowed hot beams of sunlight to fill the space for several hours a day. My herb plants, cacti, and succulents were able to fully thrive on the windowsill.
Unfortunately, the high-rise building that I live in now has nothing of the sorts. We have beautiful north-facing windows that go halfway up the walls to the ceilings, spanning across the entire northern wall of our apartment in all three rooms, but no balcony, no patio, no terrace. For my plant lovers, you know that north-facing windows receive the least amount of light. My regular houseplants fair in the indirect sunlight rather well. But for herbs, cacti, succulents, that is a different story.
I had tried growing herbs with the light from the northern windows, but with the lack of direct sunlight they simply could not survive, and I sadly had to toss them after months of trying. I was sad. I missed the patio from my first apartment, or the southern facing windows of my second apartment. I even began to miss the ample amount of green space that I had in my suburban childhood home - thinking of the endless possibilities of herbs and vegetables that I could potentially grow in that all that outdoor space, but didn’t have access too on the umpteenth floor of a high-rise building.
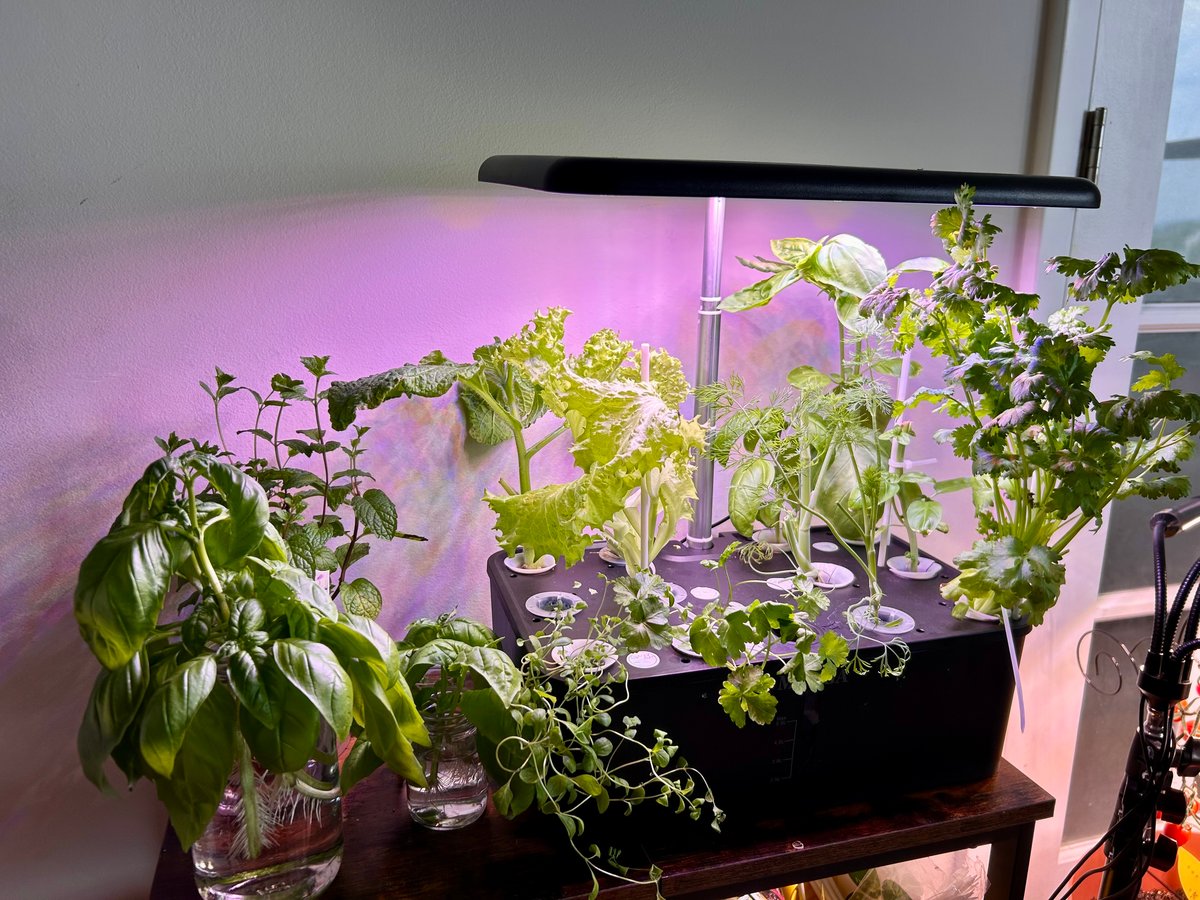
My partner saw my desire to grow my own food and decided to gift me probably one of the best gifts I’ve ever gotten: a hydroponic growing system, fit with its own grow light, sponge pods, seeds, and fertilizer.
One might ask: why the obsession with growing your own herbs? Why not just buy them from the store? And while yes, that is more convenient and less time consuming than growing your own from seed, there are some pros and cons. My main reasons would be:
-
It’s fun.
-
Buying herbs can be expensive.
-
Sometimes, I don’t want to buy a whole bunch of cilantro, or a whole package of basil. I just need a few leaves to add as a garnish to my dish, and if I buy a whole package, more often than not they end up rotting in the fridge after some time. They won’t rot if they’re still healthily growing in the soil, and I’m only trimming a few leaves!
Hydroponic growing can seem intense, but once you get the hang of it, it’s actually relatively low maintenance and only requires a few days of elbow grease over the course of 2-4 months. It can be tough to get started, but lucky for you, I’ve put together this guide to help you through that process – complete with a lovely sunflower seed herb pesto recipe at the end that everyone can enjoy.
There is a slew of hydroponic systems that you can purchase on the internet. Sadly, the exact one I have is no longer available on Amazon, however, most of them are practically identical and the guidelines I’ve listed are probably transferable to most systems. My advice would be to just read the reviews of whatever system you end up deciding to buy, factoring in how many growing pods it has and if there are any light settings you are specifically looking for.
There are a few things that you’ll need to get started, usually already included in the hydroponic system:
- Sponges (these act as your “soil” for which the seeds sprout and then grow)
- Plastic pods (these hold the sponge up in the system)
- Plastic coverings (these help retain humidity which encourages germination and sprouting in the beginning stages)
- Fertilizer (two types- “A” and “B”)
- Seeds (these you may have to buy separately- they can be purchased at any garden/plant center. They also sell them at the Dollar Tree for super cheap!)
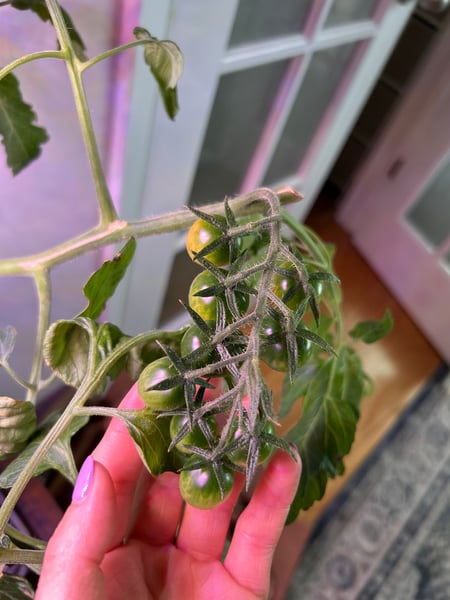
Unripe cherry tomato
To get started, you must fill the tank with water. The tank that I have can tolerate about 5 liters of water – general rule of thumb is I always like to keep the tank between 4-5 liters of water, so the roots have enough and don’t dry out. Next, you’ll need to add fertilizer. This is very important so that the herbs can grow! Without the nutrients from fertilizer the herbs will probably stay alive but won’t be able to thrive and grow to their fullest potential. I’ve noticed with fruiting and flowering plants like tomatoes or edible flowers, the plant won’t produce anything if the fertilizer level isn’t high enough.
Most hydroponic systems come with two types of fertilizer, labeled “A” and “B”. All you have to do is pour the solid granules of fertilizer into the designated bottles, fill the bottles with water, and shake! The solid granules should dissolve rather quickly, if not, you can give it a few hours and shake it from time to time to fully dissolve. I prefer to keep my fertilizer in the fridge as I noticed it can grow mold if kept at room temperature. If you do keep at room temp, make sure to leave it in a dark place away from the sun. When it is time to add fertilizer to your tank, use a ratio of 5mL of each (A and B) to 1L of water.
Once you have the water and fertilizer in the tank, there should be a lid with holes to add on top. Using the place white holders, put a dirt sponge into each holder. Then you can add the seeds!
I’ve found most herbs and plants – lettuce, cilantro, parsley, sage and dill – can really only tolerate 1 plant or seed per pod as they grow to their full potential. Because of this, I usually will only add two or three seeds to each pod to start, then as the seeds germinate and sprout, I’ll remove the one or two weaker looking sprouts, either putting them in an empty sponge pod if I have one, or to the trash, and leave the single one to thrive.
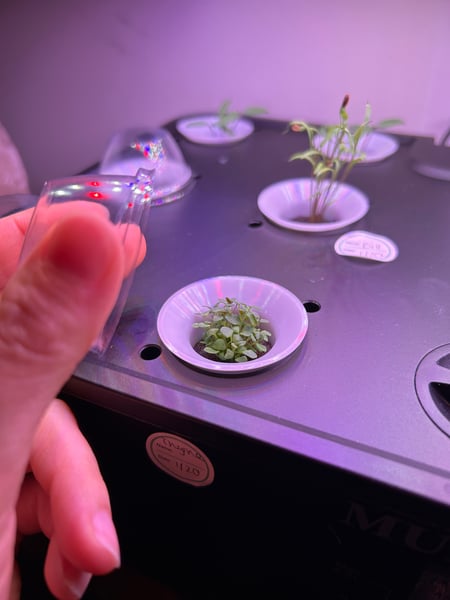
Thyme sprouts
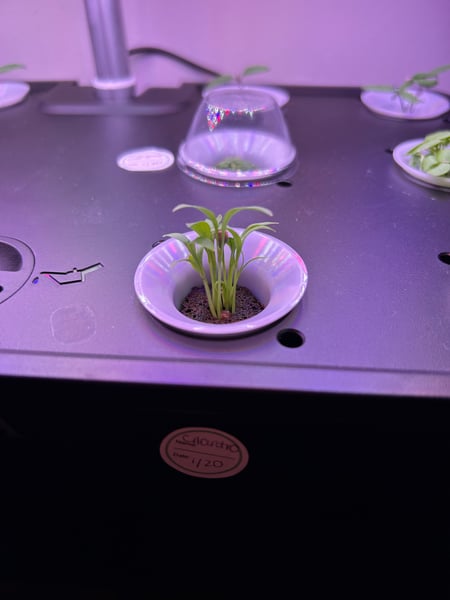
Cilantro sprouts
Other herbs, such as oregano, rosemary, marjoram, or thyme, have extremely tiny seeds and they can handle multiple seeds in one pod. These herbs do not necessarily thrive in hydroponic systems, as they are woodier and more resinous, and they do better in a dry, well aerated soil rather than water. But occasionally, I still grow them hydroponically because they are delicious, even if the yield is not super large!
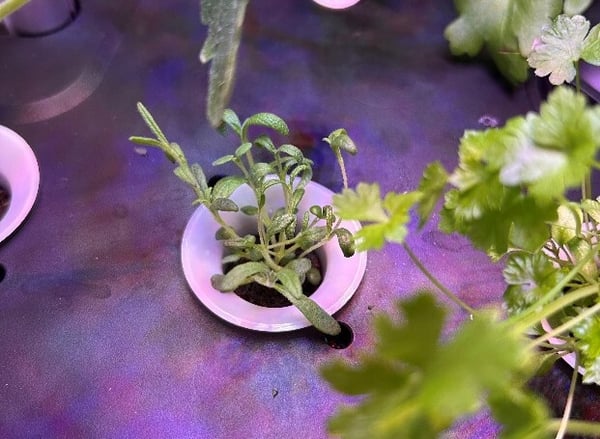
Rosemary
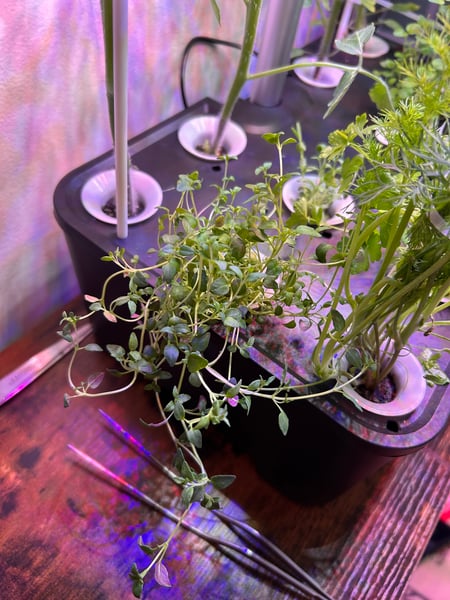
Thyme
Once you’ve added the seeds to each pod, you can cover the pods with the small plastic toppers (visible in the sprout pictures). These trap moisture, allowing for a humid environment that encourages germination and sprouting. The last piece of the puzzle is the growing light and water pump. Most systems have a growing light that you attach, and it stretches as the plants grow taller. The water pump should already be in the tank and you simply have to plug in the appliance and press a button to activate it.
The system that I have operates on an automatic timer with 16hr of light and 8hr of darkness. The water pump is also run automatically every 10-20 minutes or so; the pump works to drip water down each of the pod holes so the sponges stay full hydrated and fertilized throughout. The system I have also has two different light settings – a fruit or vegetable. I have always used vegetable, I’ve never tried using the fruit as I haven’t really tried growing any fruit besides tomatoes. And my tomatoes grew fine with the vegetable light.
As the plants grow, their roots will drink the water and fertilizer, and the water level will go down accordingly. All you must do from that point is continuously fill with water through the designated hole on the top, along with the corresponding amount of fertilizer.
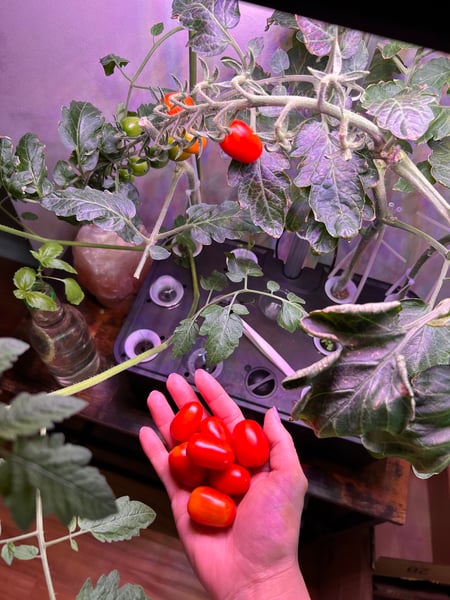
Cherry tomato plant & harvest
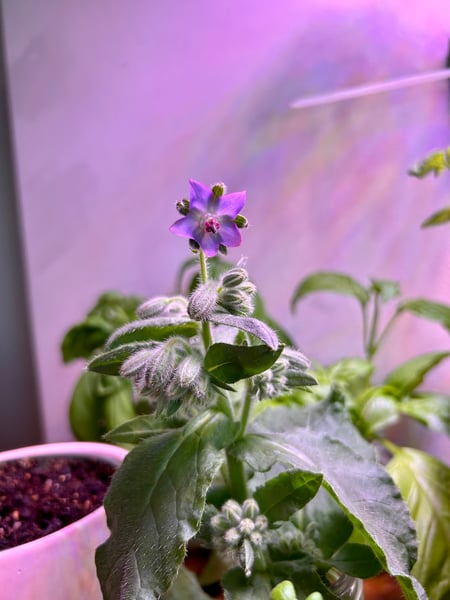
Borage blue edible flower
I have had great success with the following herbs/vegetables: parsley, basil, cilantro, dill, sage, and lettuce. I also had success with cherry tomatoes and borage blue edible flowers – however I don’t particularly recommend these plants in hydroponics just because these plants grow so large that they will eventually outgrow the system and it will be hard to upkeep. It’s possible, but I wouldn’t recommend trying to grow other herbs or plants simultaneously if you decide to grow tomatoes or other large plants as the roots will get so large, overtaking the system, water tank, and its nutrients, thus preventing the other plants from thriving.
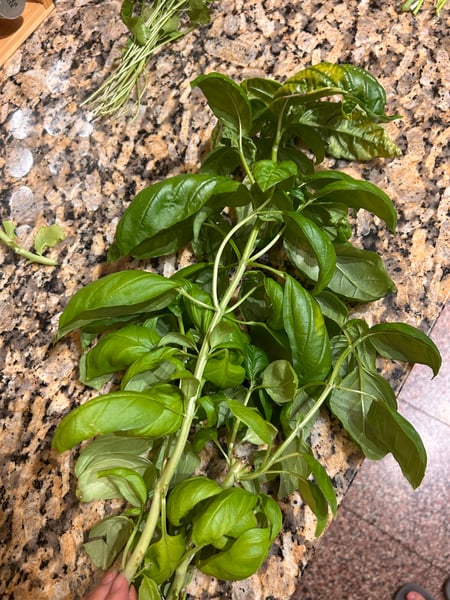
Basil harvest
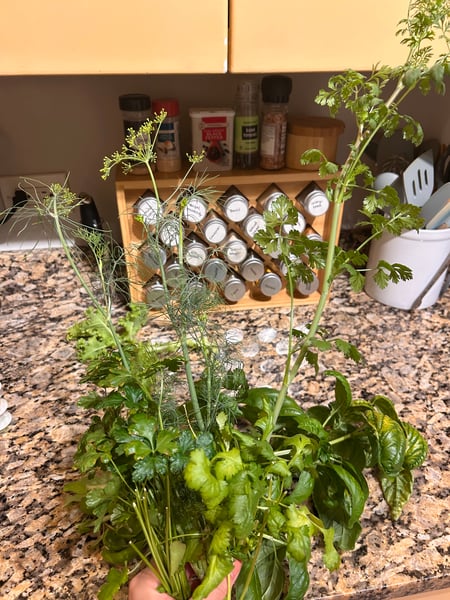
Combination harvest - dill, parsley, cilantro
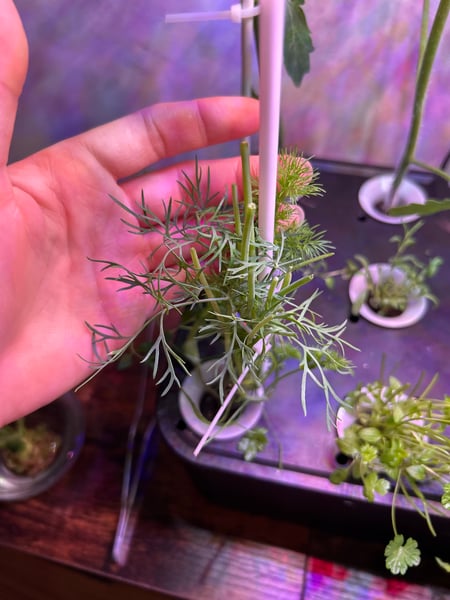
Dill
Plants that I’ve had mediocre success with are thyme, oregano, marjoram, and rosemary. As I said earlier, these plants do better in soil conditions rather than hydroponics, however, it is possible! It just takes a bit more time, and don’t expect the yield to be as good as water-based, delicate herbs such as parsley or cilantro.
Plants that I’ve had zero success with are chives and green onions. I gave up on these and wouldn’t recommend trying to grow these hydroponically, at least not from seed. You may be able to grow them via a bulb, however I have not tried it, and I read online that the bulbs can get waterlogged and rot in a hydroponic system. The nice thing about the hydroponic system, however, is that the connected grow light is so large, often I can put other potted herbs in soil around it to receive sufficient light. I have a potted mint plant sitting right beside my hydroponic system that is thriving! I wouldn’t recommend putting mint in a shared growing system with other herbs as mint is an invasive species and the roots will take over the other plants.
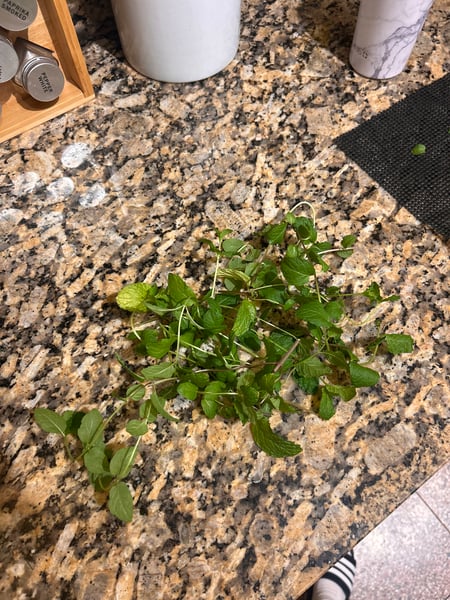
Mint harvest
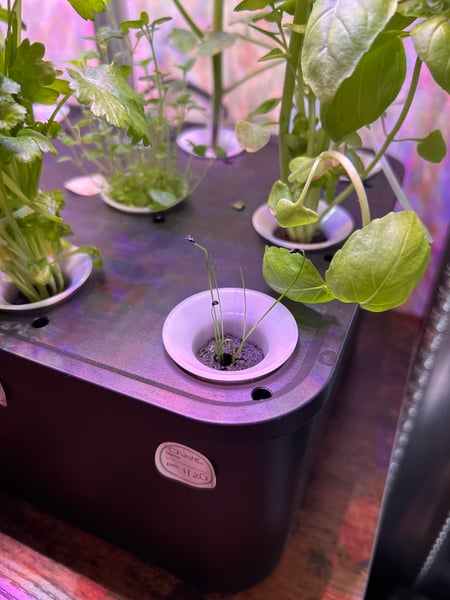
Chives (fail)
That’s pretty much it! I’d recommend pruning each herb with scissors when it comes time to harvest, I like pruning basil and sage early on so it encourages wide growth rather than tall, leggy growth. A lot of plants will grow very tall and upwards, just the nature of the system with grow light being directly above it.
You will notice after a while that the herbs and plants will simply grow too large to a point that is irrationally realistic to be refilling water and fertilizer. At this stage, I will sometimes propagate certain herb stems like basil in water and then plant in soil If I wish to keep. Besides that, I’ll harvest what I can, then toss the sponge pods/plants and take apart the whole system, scrubbing with some dish soap and rinsing everything thoroughly before starting the whole process over again! It can be a bit tricky taking out the sponge pods of the plastic holders especially if the plant is so large, often I just cut around the roots and carefully wiggle out the sponge to preserve the plastic holders so I can reuse them.
From there, the only thing you will have to repurchase on a recurring, but not often, basis is the sponge pods, fertilizer, and seeds. These can be readily available on Amazon or at a plant shop, and they are not expensive!
As promised, here is an herb sunflower seed pesto recipe that is vegan and nut-free, perfect for friends with allergies or other dietary restrictions, that I made completely with herbs from my hydroponic garden! This pesto is great as a spread on toast, or tossed hot or cold with your favorite pasta. Mix with butter or mayonnaise to create a pesto flavored aioli or compound butter.
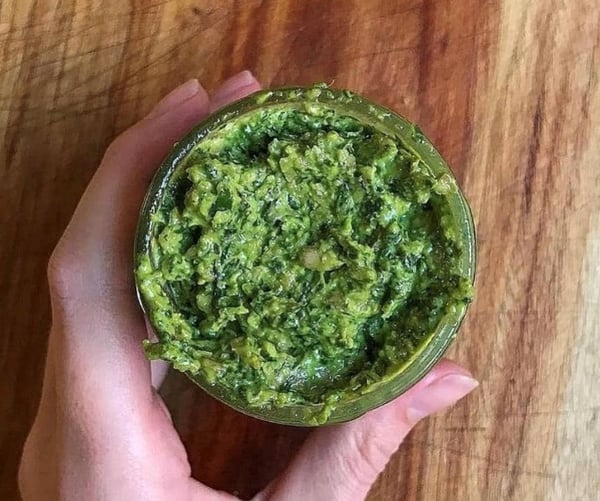
Sunflower Seed Herb Pesto
Yield: 1 – 1 ½ cups
3-4 cloves of garlic, peeled
1/2 cup sunflower seeds, toasted if desired (toasted will produce a nuttier flavor)
2/3 cup nutritional yeast
2 cups fresh basil leaves
1 cup fresh parsley leaves
1/4 cup fresh mint leaves (optional but delicious)
1/2 lemon, juiced
1/2 - 3/4 cup extra virgin olive oil, adjusted to desired consistency
1 teaspoon kosher salt, or to taste
1/4 teaspoon ground black pepper, or to taste
- In the base of a food processor, add the garlic cloves and process until finely minced.
- Add the sunflower seeds and nutritional yeast and process until well combined, about 10-20 seconds, scraping the sides as needed.
- Add the basil, parsley, mint leaves (if using), and lemon juice. Turn the food processor on and while it is running, stream the olive oil in through the top until your desired consistency is reached. Season with salt and pepper.
- Serve! This pesto keeps in the fridge for 1-2 weeks, best kept in a tall jar with a thin layer of olive oil over the top to prevent oxidation.
Learn How to Make the Most of Those Fresh Herbs
Growing fresh herbs is one thing. Knowing how to use them to make your cooking better is another. In Culinary Boot Camp, you’ll spend five immersive days building the skills and instincts that help you become a more confident, creative cook. On Day 5, our Flavor Dynamics curriculum explores how herbs, spices, acids, fats and other ingredients work together to build and balance flavor, so you can rely less on recipes and more on your own palate.
If you’re ready to understand not just what to add to a dish, but why, explore Culinary Boot Camp and take your cooking to the next level.
