

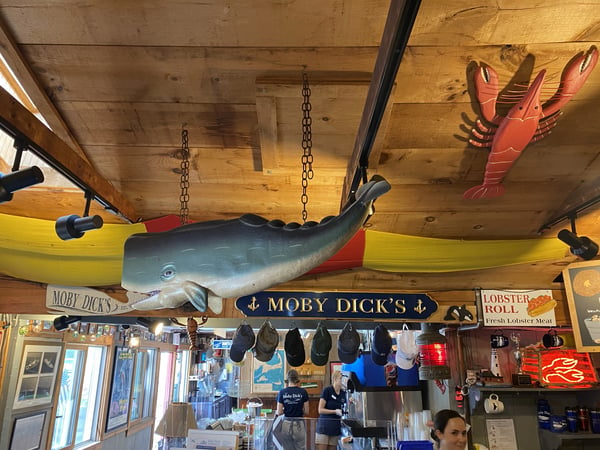
Last week, my family and I spent the week on Cape Cod and as you can probably imagine, we indulged in seafood dish after seafood dish. When in Rome, right?! We were there with my brothers and their families, and because they have been to the Cape before, they were our tour guides and took us to several excellent restaurants.
 We rented a house in Wellfleet overlooking Blackfish Creek, and when the tide was out we were able to see that a whole oyster farming operation was revealed. While the water was at its lowest point, pickup trucks would drive right out to the contraptions, farm the oysters, and then return to land when the tide started to come back in. Raising oysters is very common business all up and down the Cape, but the specimens from the Wellfleet area are especially famous… and for good reason - they’re amazing!

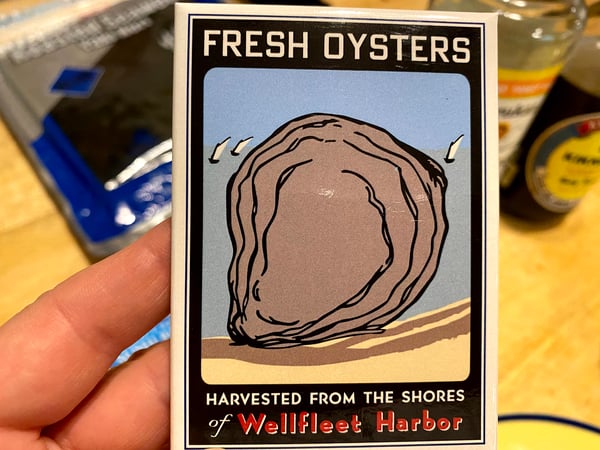 As my husband was running an errand, he passed a building with a very faded “Oyster” sign out front, and something told him he should double back and investigate. It’s a really good thing he did!
 The store is home to Holbrook Oyster and they have several oyster farms in Wellfleet including the one we could see from our house!

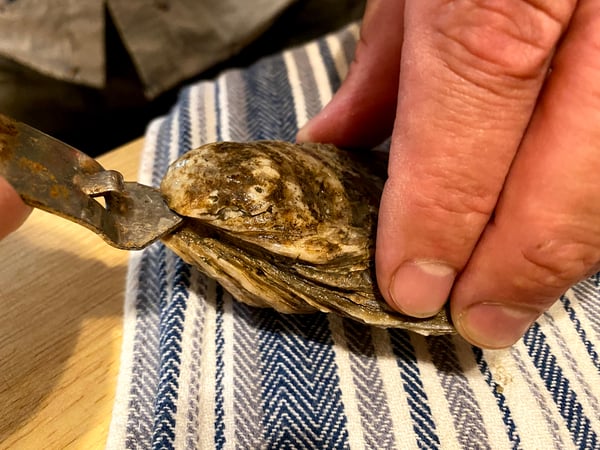
 He picked up two dozen oysters, brought them back to the house, and because there wasn’t an oyster shucker available, he learned that using a church key actually works extremely well for shucking oysters. Who knew?
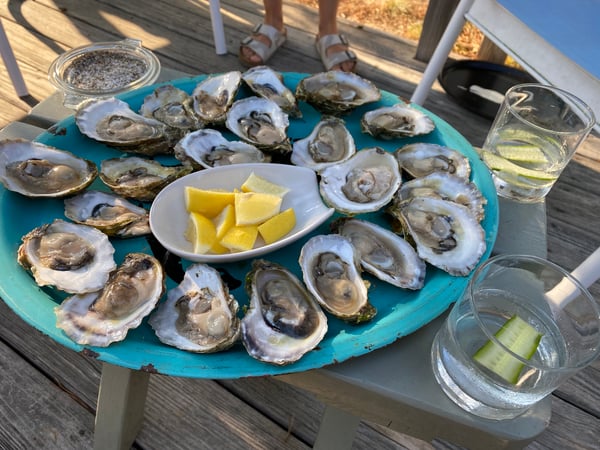
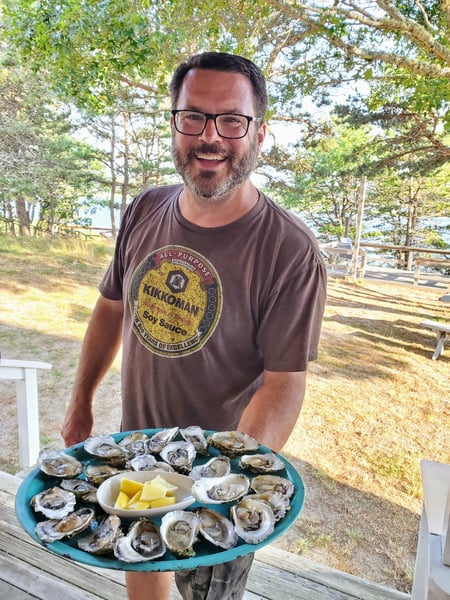
 The most exciting part of this experience is that many of my family members tried raw oysters for the very first time and thoroughly enjoyed them! The raw oysters were simply accompanied by lemon wedges, salt and pepper, and of course martinis. They were the perfect balance of sweet and briny.
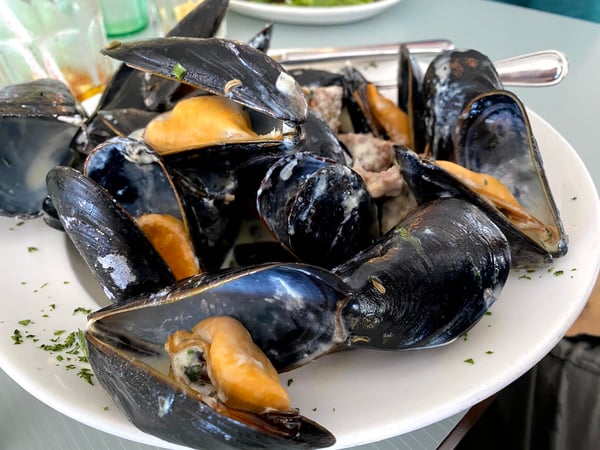
 The majority of the seafood we enjoyed on The Cape was prepared very simply in order to highlight the freshness of the fish and shellfish (and I wouldn’t have wanted it any other way), but because I’m slightly challenged by eating raw oysters (I know, I know!), I had to find a creative, family-friendly alternative way to prepare them.
Since I wanted to keep the overall theme centered around seafood, I came to the conclusion that crispy fried oyster maki rolls was the obvious choice! Because I decided to make the fried oyster maki after we got back to the Chicagoland area, I wasn’t able to get my hands on Wellfleet oysters, but I did find some Blue Point oysters at my local grocery store, which are harvested in the Long Island Sound.
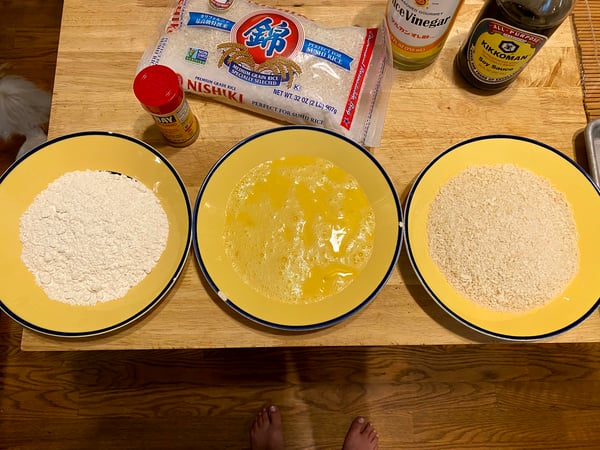
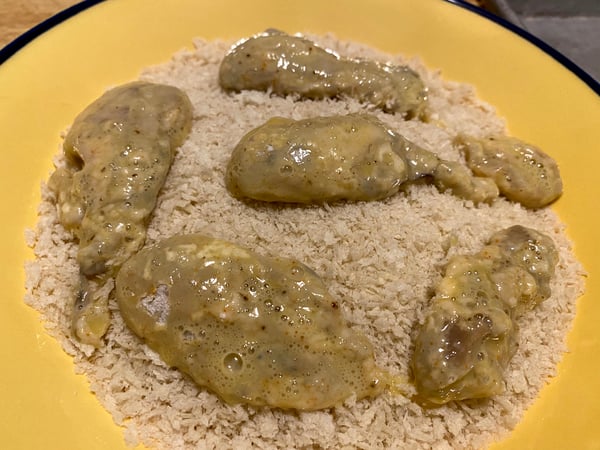
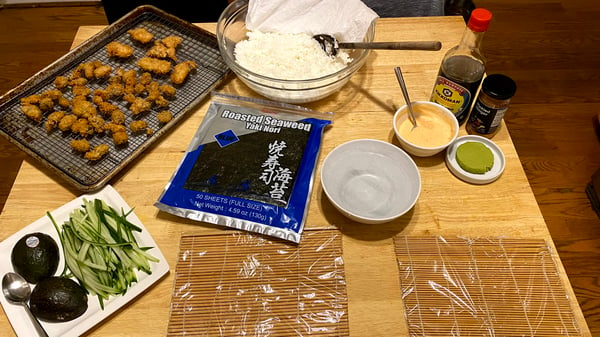
 To prepare the oysters for frying, my husband shucked them (once again using a church key), and I three-step breaded them. This includes a shallow dish of all-purpose flour, beaten eggs and panko breadcrumbs, and to make sure we didn’t waste the delicious oyster juices, we added them to the egg wash.
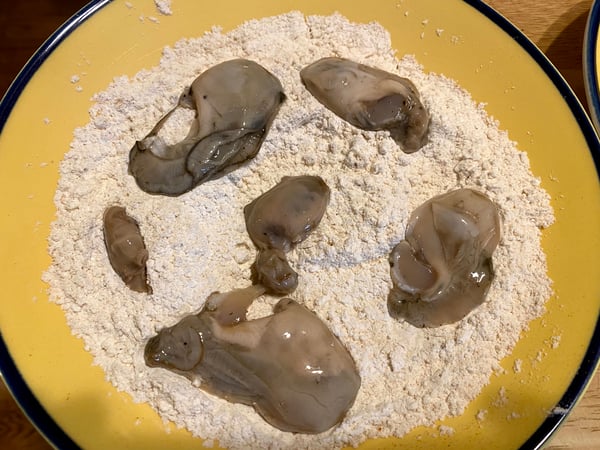
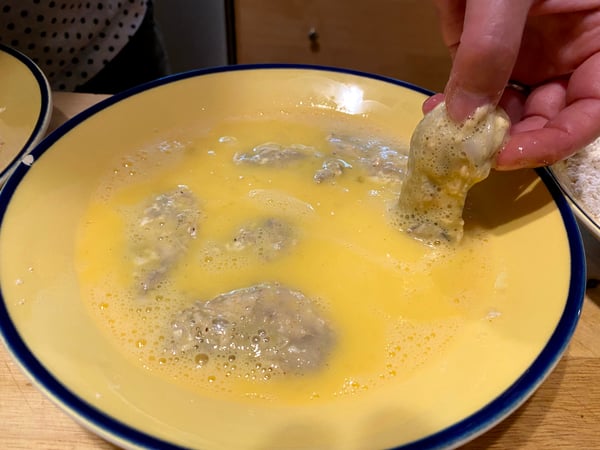
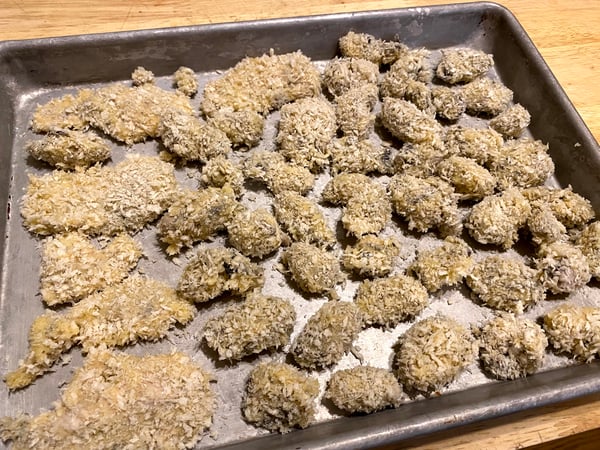
 I dredged the oysters through the flour first, then the egg wash and finally the panko breadcrumbs.
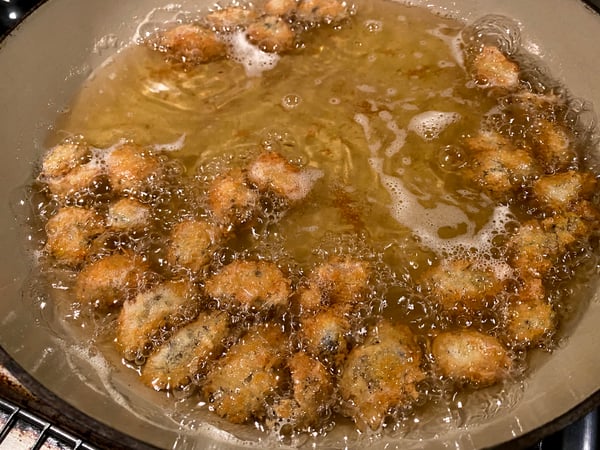
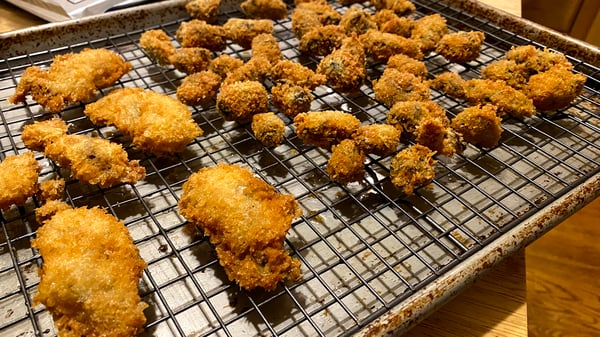
 I then fried them in a shallow pan filled with canola oil until they were golden brown and crispy, and OMG were they fantastic. That’s my idea of a delicious oyster!
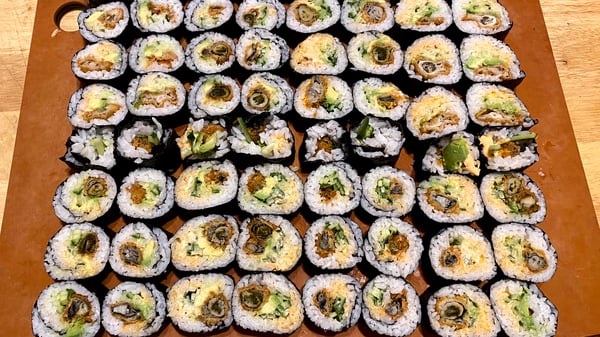
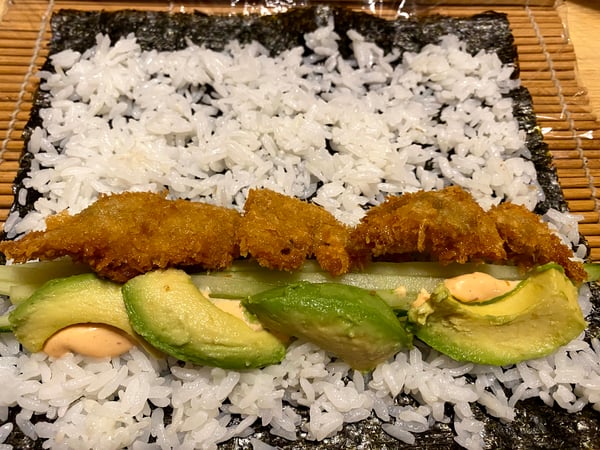
 To ensure the flavor of the oyster came through, I kept the maki rolls very simple. I added cooked sushi rice dressed with seasoned rice wine vinegar, thinly sliced cucumber, avocado and a touch of spicy mayo (mayo mixed with Sambal or Sriracha).

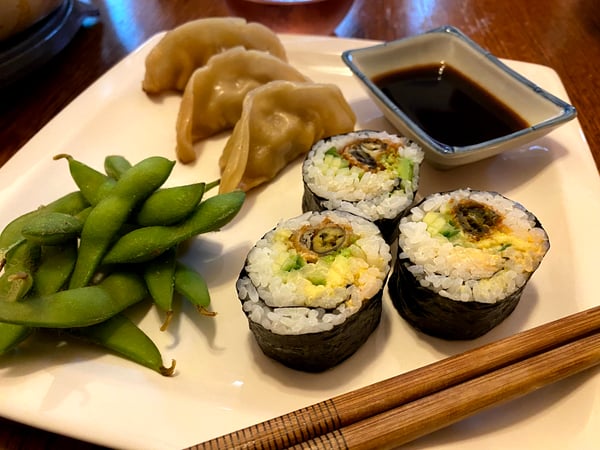
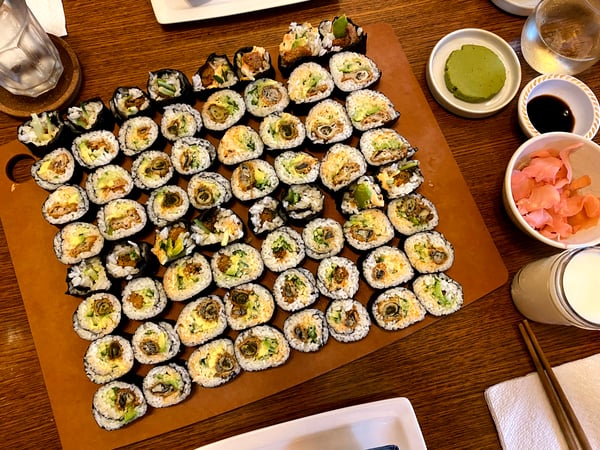
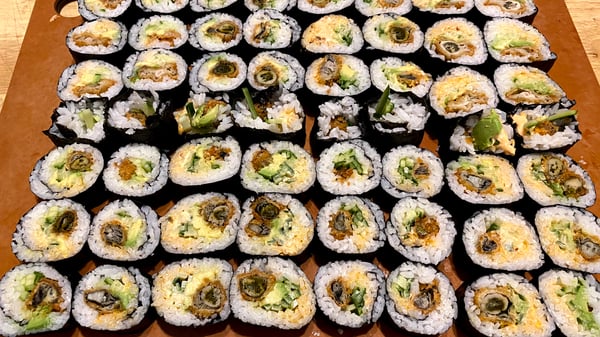
 I served the maki rolls with pickled ginger and wasabi along with a side of dumplings and edamame. It was such a delicious feast, and it was so extra special because our East Coast adventure was the inspiration for our menu.
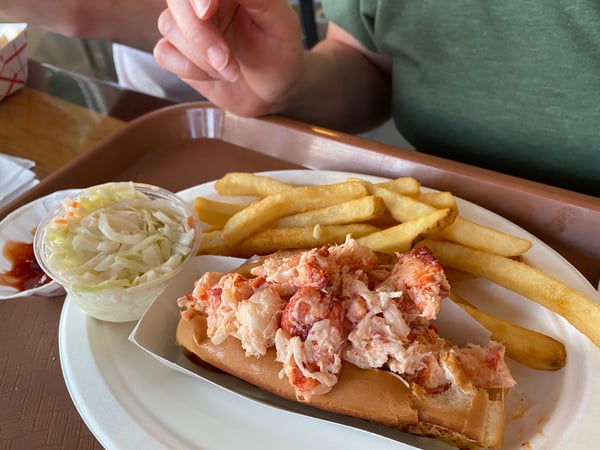
 To be on The Cape and experience the amazing assortment of seafood was one of the most exciting culinary adventures I have had in a while. The food was beautifully and simply prepared allowing the freshness of the seafood to speak for itself, and served as a good reminder that more often than not, less is more.
Fried Oyster Maki Rolls
Scroll down for a printable version of this recipe
Yield: 4 futomaki rolls
Active time: 45 minutes
Start to finish: 45 minutes
2 cups sushi rice
Seasoned rice wine vinegar, as needed
For the oysters:
Canola or vegetable oil for frying
1 dozen oysters, shucked
1 cup all-purpose flour
2 eggs
1 1/2 cups panko breadcrumbs
4 sheets nori
1/2 ripe avocado, sliced
1/2 seedless cucumber, julienned
Spicy mayo- 1/2 cup good quality mayonnaise and 1 to 2 teaspoons Sambal or Sriracha
Soy sauce for dipping
Pickled ginger
Wasabi
1. Cook the rice according to the recipe on the packaging. Once the rice is done, transfer to a large bowl or baking dish, and season with just enough of the seasoned vinegar until the rice is glossy and flavorful, approximately 1/4 to 1/3 cup. Cover with a damp towel to prevent the rice from drying out. Set aside.
2. In a wide, shallow pan, heat the oil for frying the oysters.
3. While the oil is heating, bread the oysters. Place the flour, eggs and breadcrumbs in three separate shallow dishes. Tip: Add any oyster juices to the egg wash for maximum flavor.
4. Dredge the oysters through the flour first, tapping off any excess. Dip into the egg wash and then thoroughly coat in the breadcrumbs.
5. Fry the oysters, in batches if necessary, until golden brown and crisp. Using a slotted spoon, transfer the oysters to a cooling rack set over a sheet tray or a paper towel-lined plate.
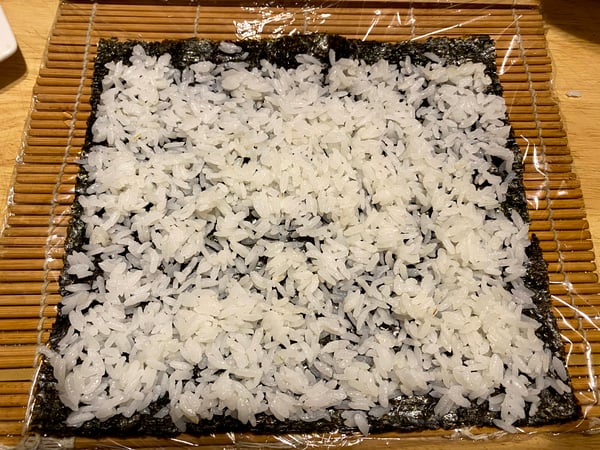
6. To make the maki rolls, place a sheet of nori, shiny side down, on a plastic wrap-wrapped bamboo rolling mat. Note: Wrap the mat in plastic to prevent rice getting stuck in between the slats.
7. Dip your fingers in cool water to prevent the rice from sticking to your hands, and gently spread the rice on the full sheet of nori, leaving a 1-inch strip without any rice on the end furthest away from you.
 8. About 2-inches up from the bottom the roll, place your fillings along the rice. Position your thumbs under the mat and place your other fingers on the ingredients to keep them in place. Using your thumbs, bring the mat up and over the fillings. Remove your fingers from the ingredients so you can “tuck them in.”
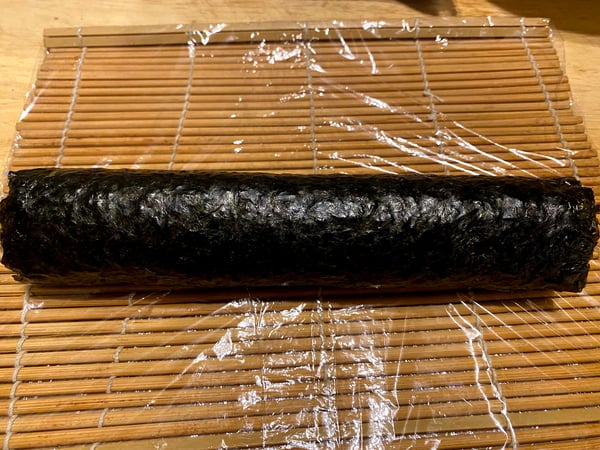
 9. With the mat wrapped around the roll, tighten this portion of the roll by placing one hand around the roll and the other hand at the top of the mat, and pulling in opposite directions along the whole length of the roll. Keep in mind this is just to secure the ingredients. The roll is not complete yet.

 10. Moisten the edge of the nori without any rice with a small amount of water.
11. Use the mat to finish rolling the maki up and to seal it closed. Tighten the roll in the same fashion by pulling in opposite directions. Don’t just squeeze the roll…roll it.
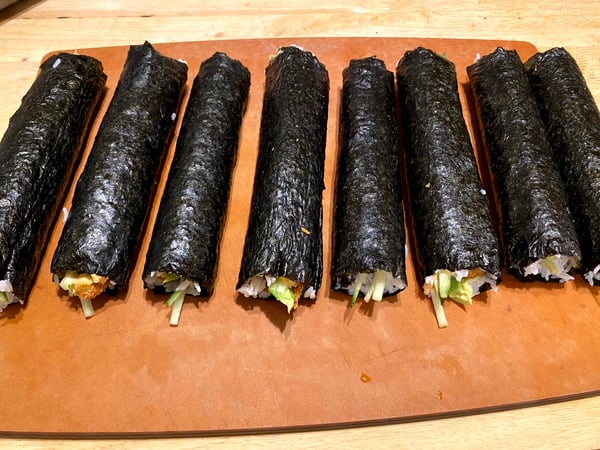 12. Using a sharp slicing knife, cut the roll into 8 pieces, wiping the blade clean between each slice.
13. Serve with wasabi and pickled ginger, and enjoy!
 Come learn how to prepare fish and shellfish this summer in our in-person and virtual classes! Join us for the following offerings:
- July 31st for Double Date: Hands-On Paella Party
- August 28th for Shellfish on the Grill
- August 29th for Virtual Grilled Lobster Thermidor
- September 20th for our popular, week long Culinary Boot Camp


Fried Oyster Maki Rolls
Ingredients
- 2 cups sushi rice
- Seasoned rice wine vinegar, as needed
- Canola or vegetable oil for frying
- 1 dozen oysters, shucked
- 1 cup all-purpose flour
- 2 eggs
- 1 1/2 cups panko breadcrumbs
- 4 sheets nori
- 1/2 ripe avocado, sliced
- 1/2 seedless cucumber, julienned
- Spicy mayo- 1/2 cup good quality mayonnaise and 1 to 2 teaspoons Sambal or Sriracha
- Soy sauce for dipping
- Pickled ginger
- Wasabi
Instructions
- Cook the rice according to the recipe on the packaging. Once the rice is done, transfer to a large bowl or baking dish, and season with just enough of the seasoned vinegar until the rice is glossy and flavorful, approximately 1/4 to 1/3 cup. Cover with a damp towel to prevent the rice from drying out. Set aside.
- In a wide, shallow pan, heat the oil for frying the oysters.
- While the oil is heating, bread the oysters. Place the flour, eggs and breadcrumbs in three separate shallow dishes. Tip: Add any oyster juices to the egg wash for maximum flavor.
- Dredge the oysters through the flour first, tapping off any excess. Dip into the egg wash and then thoroughly coat in the breadcrumbs.
- Fry the oysters, in batches if necessary, until golden brown and crisp. Using a slotted spoon, transfer the oysters to a cooling rack set over a sheet tray or a paper towel-lined plate.
- To make the maki rolls, place a sheet of nori, shiny side down, on a plastic wrap-wrapped bamboo rolling mat. Note: Wrap the mat in plastic to prevent rice getting stuck in between the slats.
- Dip your fingers in cool water to prevent the rice from sticking to your hands, and gently spread the rice on the full sheet of nori, leaving a 1-inch strip without any rice on the end furthest away from you.
- About 2-inches up from the bottom the roll, place your fillings along the rice. Position your thumbs under the mat and place your other fingers on the ingredients to keep them in place. Using your thumbs, bring the mat up and over the fillings. Remove your fingers from the ingredients so you can “tuck them in.”
- With the mat wrapped around the roll, tighten this portion of the roll by placing one hand around the roll and the other hand at the top of the mat, and pulling in opposite directions along the whole length of the roll. Keep in mind this is just to secure the ingredients. The roll is not complete yet.
- Moisten the edge of the nori without any rice with a small amount of water.
- Use the mat to finish rolling the maki up and to seal it closed. Tighten the roll in the same fashion by pulling in opposite directions. Don’t just squeeze the roll…roll it.
- Using a sharp slicing knife, cut the roll into 8 pieces, wiping the blade clean between each slice.
- Serve with wasabi and pickled ginger, and enjoy!