

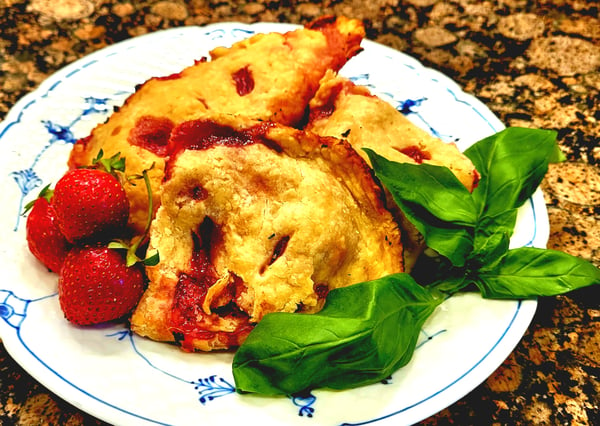
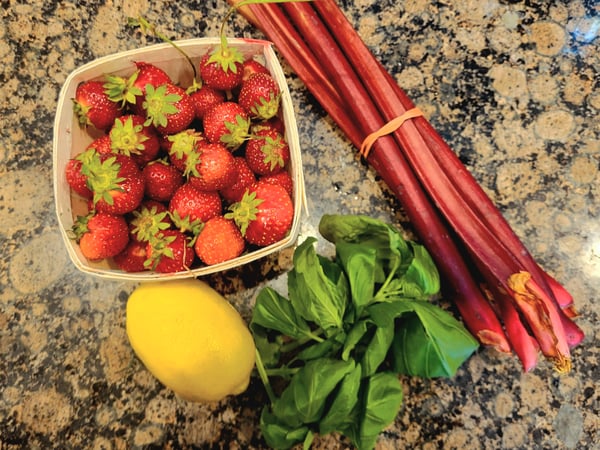
Late spring/early summer fruit is filling the farmers markets. I bought a bunch of rhubarb—the fruitiest vegetable, which I love dearly. And of course I bought strawberries, because they were there and stunning. I felt like making a dessert for the family to incentivize broccoli consumption, but it’s warm enough that I’m not keen to crank up the oven if I can help it. So, grilling it is.
I want to make a pastry that can cook on a Weber grill, so hand pies seem like a good choice. A hand pie is, of course, a piece of pie dough folded over a filling for a fun, handheld delight. Not only are they charming and convenient to eat, but you can scale the recipe for just a few portions, as this recipe does. Of course, if you want to bake them in your oven, that works too, as my friend Chef Sara Salzinski discussed in her blog.
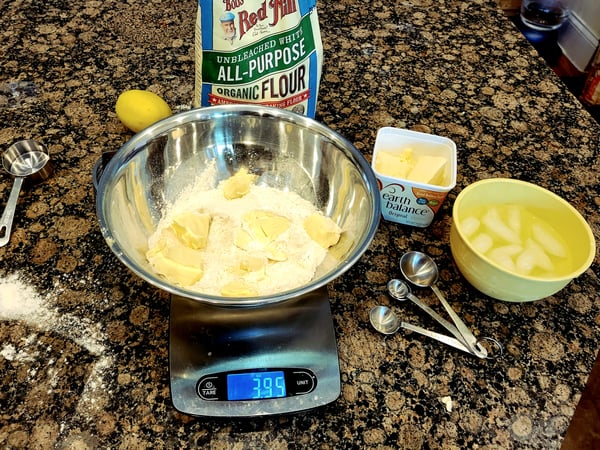
 To add an extra challenge, I decided to make these without dairy, to be accompanied by a dairy-free ice cream. I know—wacky. I made a small batch of classic pie dough, subbing in vegan butter. I used Earth Balance Original Buttery Spread and sadly no, I cannot compare it to other products when used for baking. Our house likes it as a creamy spread, however next time, I will freeze my buttery spread first.
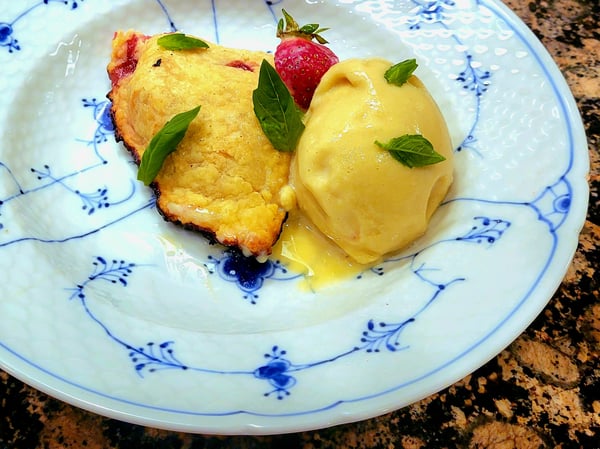
Straight from the refrigerator, it proved too soft for the purpose of cutting into a pie dough. The baked result, however, was better than I imagined: a tender, flaky crust, stable enough to hold its own on the grill grates. The dough even held up against the excess juice I allowed to remain in the fruit for the sake of sauciness.
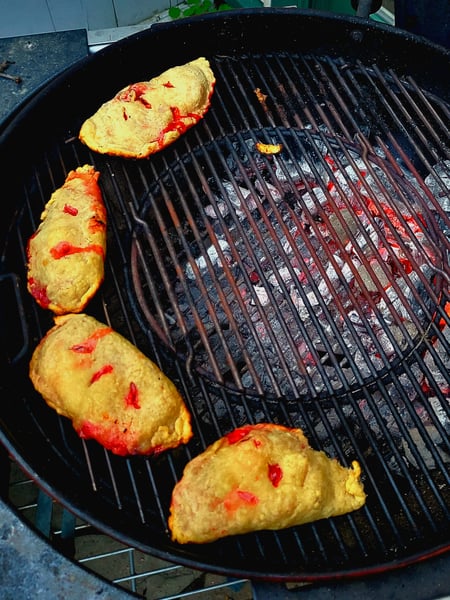
 I did opt to start the pies on a tray (a toaster tray fit the bill) to ‘set’ the crusts before putting them directly on the grate. I didn’t want them melting through the grate. This is also a great task for employing indirect heat. I lit my charcoal, let it burn to ash-gray exterior, and shoved it off to one side.
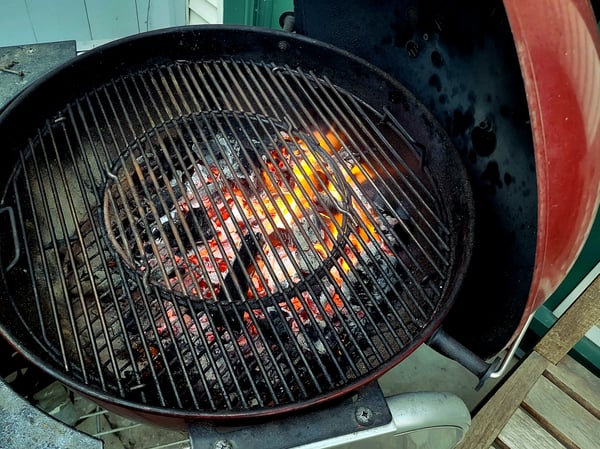
 I placed the pie tray on the far side and closed the lid. After five minutes, I verified appropriate coloring on the bottoms (i.e., no burning). After ten, I removed the pastries from the tray and placed them directly on the grate, turning 90 degrees after another five-ish minutes. I ‘baked’ mine on the grill for about 20 minutes in total.
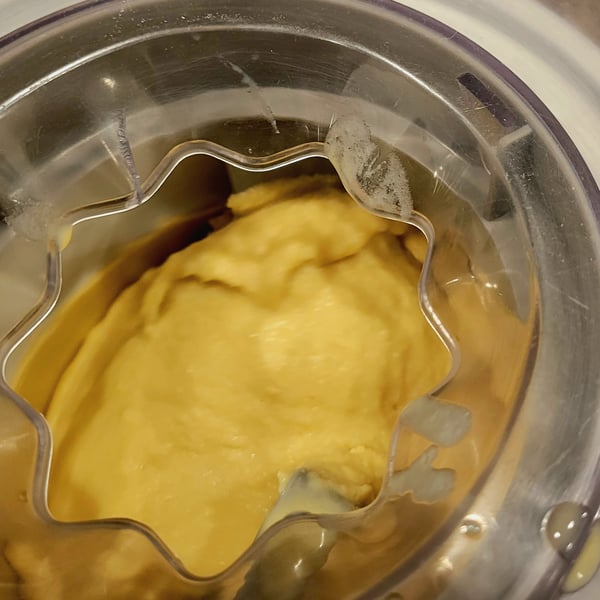
 The ice cream utilizes oat milk, and I used Planet Oat. All the non-dairy milks vary so greatly in their fat and sugar contents that you likely will need to make some subjective adjustments to the recipe. They all will have less fat than dairy milk and cream (ice cream standards) so we compensate with extra egg yolks. I made a custard, heating the oat milk then tempered it into the yolks and sugar. I gently cooked that mix until just thickened and cooled it in an ice bath, then the refrigerator. You always want your ice cream base to be fully chilled to refrigerator temperature before going into the maker to minimize ice crystal formation. Finally I spun it in my ice cream maker. Allow at least two hours of freezer time if you want your ice cream to be scoopable after making it in a standard ice cream maker.
Grilled Strawberry-Rhubarb Hand Pies
Scroll down for a printable version of this recipe
Serves: 4
Prep time: 1 hour
Cook time: 25 minutes
Inactive time: 1 hour
Note: times are for hand pies only, not ice cream preparation and chilling
For the dough:
1 1/4 cups all-purpose flour
1 1/2 teaspoons sugar
1/4 teaspoons salt
1/2 cup very cold dairy-free butter (I used Earth Balance buttery spread)
3-4+ Tablespoons ice water
- Mix flour, sugar and salt together in a bowl.
- Cut the ‘butter’ into the flour with a pastry blender until fat is pea-sized
- With a rubber spatula, gently fold 3 tablespoons of ice water into the mix. You want just enough water so that if you clump the mix in your hand it stays together as a dough. Add additional ice water by the half tablespoon as needed.
- Form the dough into a disc, wrap it in parchment and refrigerate for at least an hour.
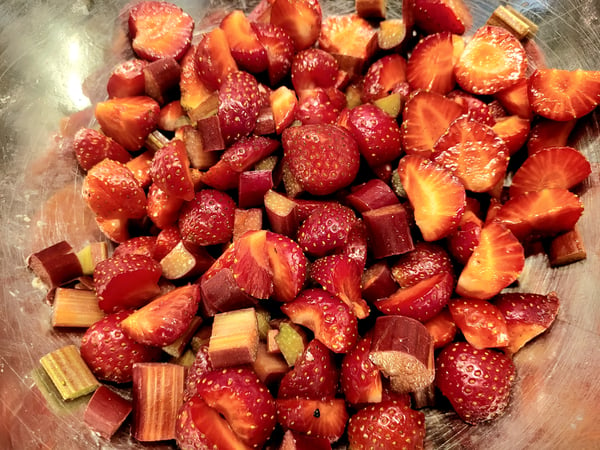
For the filling:
1 1/2 cups strawberries, cut into half inch pieces
1 1/2 cups rhubarb, cut into half inch pieces
1/2 of a lemon's zest
1 Tablespoon lemon juice
1/2 cup granulated sugar
2 Tablespoons cornstarch
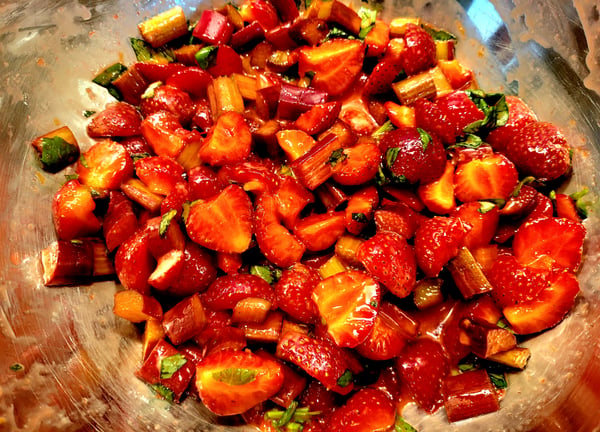
1 Tablespoon basil, rough chopped
- Mix all of the ingredients together in a bowl.
For the assembly and cooking:
- Start the grill. If using gas, light just one side, leaving one side unlit. If using charcoal, light charcoal and place on one side.
- Pull the dough from the refrigerator. Divide into four quarters. Return three quarters to the fridge.
- Roll the dough quarter into a thin circle, 1/8 inch. Return to fridge. Repeat with remaining doughs.
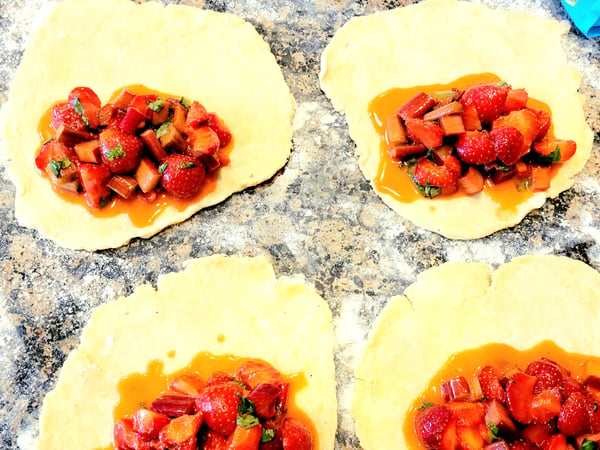
- Place about half a cup of fruit on one half of each dough, leaving an inch perimeter. I don’t mind a little excess juice!
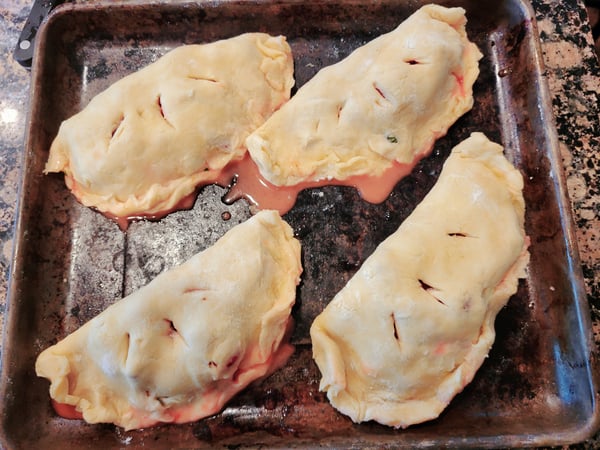
- Fold the empty half of dough over the fruit to make a half moon. Cinch together the perimeter. Score a few slats through the top dough to act as steam vents. Place on a toaster tray. If your grill is not ready, refrigerate the pies.
- Push the coals further off to the side. Set the pie tray away from your heat source and cover the grill with its lid.
- Check in on the pies after 5 minutes. You will want to take the pies off the tray once the bottoms are firmed up. Leaving them on the tray too long risks burning the bottoms.
- Turn them 90 degrees after 10 minutes. You want to monitor the color of the bottoms, because the heat in our grill is such a greater variable than our ovens. At the same time, you don’t want to remove the lid too frequently, losing the ‘oven’ effect which cooks the top crust. So make those lid openings worth it! The pie interiors will be done once we see some juices bubbling out of the vents, so judge completion by the top crusts and how dry and toasty they look. Likely you’ll land in the 17-25 minute zone. Allow to cool a bit before consuming.
Brown Sugar Oat Milk Ice Cream
Yield: 1 quart
Prep time: 20 minutes
Inactive time: 4 hours
3 cups oat milk
1 teaspoon cornstarch
1/4 teaspoon kosher salt
6 egg yolks
3/4 cup dark brown sugar
1/4 cup granulated sugar
1 Tablespoon amaretto
*Is your ice cream maker freezer bowl frozen?
- In a 2 quart pot, mix a bit of the milk with the cornstarch. Then whisk in the remaining milk and heat.
- Meanwhile, mix the egg yolks and both sugars in a bowl.
- Once the milk is steaming hot, whisk it into the eggs in a gradual but steady stream. Return the mix to the pot.
- Heat on a low burner, whisking constantly, until there is a thickening. Add the amaretto.
- Pour the custard into a clean bowl, set into a slightly larger bowl filled with ice and enough water to allow the top bowl to be cushioned.
- Once cooled, chill completely in the fridge. Then freeze in an ice cream maker.
 We grill a lot of desserts in our hands-on grilling classes on our beautiful outdoor patio at Lincoln Square. Join us for these and learn how to utilize your grill instead of oven all summer long!
- Hands-On Grillin' with Dad on Father's Day featuring Wood-Fired Strawberry-Rhubarb Cobbler on Sunday, June 19 at 10am
- Hands-On Date Night on the Patio featuring Charred Strawberries with Whipped Mascarpone and Lady Fingers on Saturday, June 25 at 6pm
- Hands-On Italian Surf and Turf on the Patio featuring Grilled Oranges with Whipped Mascarpone and Honey-Mint Syrup on Friday, July 1 at 6pm
- Hands-On Grilling Boot Camp featuring Wood Fired Stone Fruit Bread Pudding on Saturday, July 16 at 10am


Grilled Strawberry-Rhubarb Hand Pies
Ingredients
- 1 1/4 cups all-purpose flour
- 1 1/2 teaspoons sugar
- 1/4 teaspoons salt
- 1/2 cup very cold dairy-free butter (I used Earth Balance buttery spread)
- 3-4+ Tablespoons ice water
- 1 1/2 cups strawberries, cut into half inch pieces
- 1 1/2 cups rhubarb, cut into half inch pieces
- 1/2 of a lemon's zest
- 1 Tablespoon lemon juice
- 1/2 cup granulated sugar
- 2 Tablespoons cornstarch
- 1 Tablespoon basil, rough chopped
Instructions
- Mix flour, sugar and salt together in a bowl.
- Cut the ‘butter’ into the flour with a pastry blender until fat is pea-sized
- With a rubber spatula, gently fold 3 tablespoons of ice water into the mix. You want just enough water so that if you clump the mix in your hand it stays together as a dough. Add additional ice water by the half tablespoon as needed.
- Form the dough into a disc, wrap it in parchment and refrigerate for at least an hour.
- Mix all of the ingredients together in a bowl.
- Start the grill. If using gas, light just one side, leaving one side unlit. If using charcoal, light charcoal and place on one side.
- Pull the dough from the refrigerator. Divide into four quarters. Return three quarters to the fridge.
- Roll the dough quarter into a thin circle, 1/8 inch. Return to fridge. Repeat with remaining doughs.
- Place about half a cup of fruit on one half of each dough, leaving an inch perimeter. I don’t mind a little excess juice!
- Fold the empty half of dough over the fruit to make a half moon. Cinch together the perimeter. Score a few slats through the top dough to act as steam vents. Place on a toaster tray. If your grill is not ready, refrigerate the pies.
- Push the coals further off to the side. Set the pie tray away from your heat source and cover the grill with its lid.
- Check in on the pies after 5 minutes. You will want to take the pies off the tray once the bottoms are firmed up. Leaving them on the tray too long risks burning the bottoms.
- Turn them 90 degrees after 10 minutes. You want to monitor the color of the bottoms, because the heat in our grill is such a greater variable than our ovens. At the same time, you don’t want to remove the lid too frequently, losing the ‘oven’ effect which cooks the top crust. So make those lid openings worth it! The pie interiors will be done once we see some juices bubbling out of the vents, so judge completion by the top crusts and how dry and toasty they look. Likely you’ll land in the 17-25 minute zone. Allow to cool a bit before consuming.