

As you may have noticed, meat prices seem to be getting higher and higher. Every time I go to the grocery store now it seems like it becomes less and less feasible to buy meat (commodity beef shank for over $6/lb? Really?). Like the details of what is beyond the event horizon of a black hole, we may never know the reasons for this. But it might have something to do with the fact that the meat packing industry posted record breaking profits in 2022.
 Like most millennials, my budget for groceries (and everything) is limited, and there’s only so many extravagantly priced chicken thighs I can afford to purchase. However there is a way out. If you have the skills, you can save a good deal of money by butchering or ‘breaking down’ whole animals or large portions of them as long as you can afford. To this end, my friend and I decided to split the cost of a forequarter of beef from a local meat processing facility/butcher shop.
A forequarter is pretty much just what it sounds like - one side of the front half of the animal. This piece contains lots of amazing cuts including standing rib, short rib, chuck, brisket, navel, and many many more depending on how you cut it. And since we bought the whole piece we ended up paying around $4.65/lb for the whole thing. That price is good even compared to budget grocery stores like Price Chopper, without even taking into consideration that this beef is from a local farm, and is pasture raised, and grass fed/finished.
Of course, there are some pre-requisites to being able to do this. First, you need to have the skills to break it down (though with some help from YouTube, and the incredible book ‘Butchering: Beef’ by Adam Danforth, and some patience, even relatively novice meat cutters could tackle this). And you have to be able to afford to pay for it all at once. Our piece weighed in at just north of 200 lbs, so our initial layout of cash was just shy of $1000. Nothing to sneeze at, certainly, but with 200 lbs of meat (plus bones and fat, of course) to go around its easier to stomach if you can find other people to split it with. Even split between ten people this is a good amount of meat. You also need the space to store it all. This typically means a lot of freezer space.
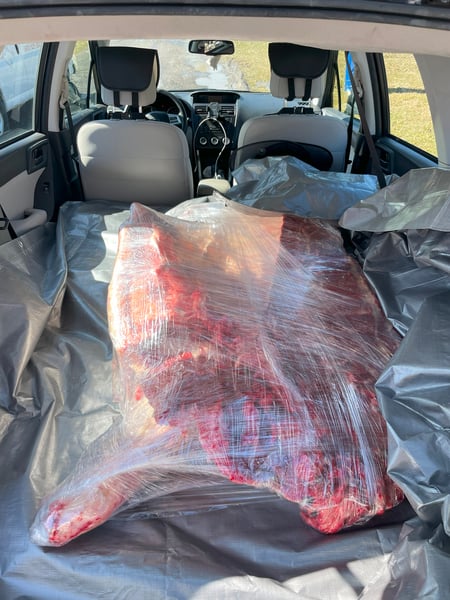
By ‘good amount’ of meat I mean absolutely gargantuan. The scale of these things is difficult to convey without seeing it in person, but here it is wrapped up in the back of my Subaru Forester with the seats down.
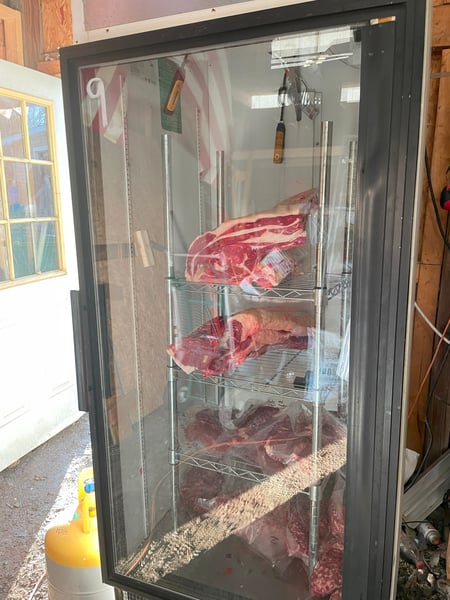
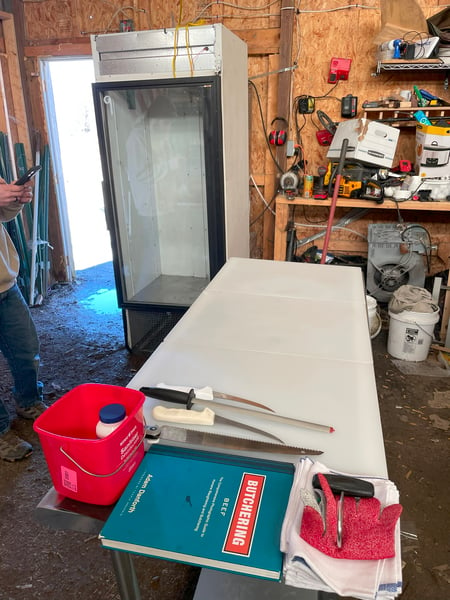
 Before we picked it up, I made sure we had everything we would need to break it down set up. This included a prep table, a 6” flexible boning knife, an 11” scimitar style slicing knife, a handheld meat hook, 3 large plastic cutting boards, a bone saw (technically I’m using a Japanese woodworking saw from Lowe's), a bone dust scraper, bins to hold everything, a bucket for sanitizing solution and sanitizer tablets, a copy of the superlative book ‘Butchering: Beef’ by Adam Danforth, a diamond sharpening steel, probably some other stuff I’m forgetting, and—in our case—an extra upright glass door fridge for dry aging.
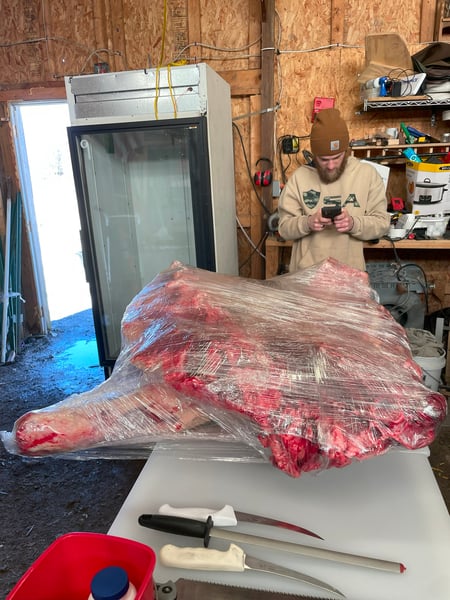
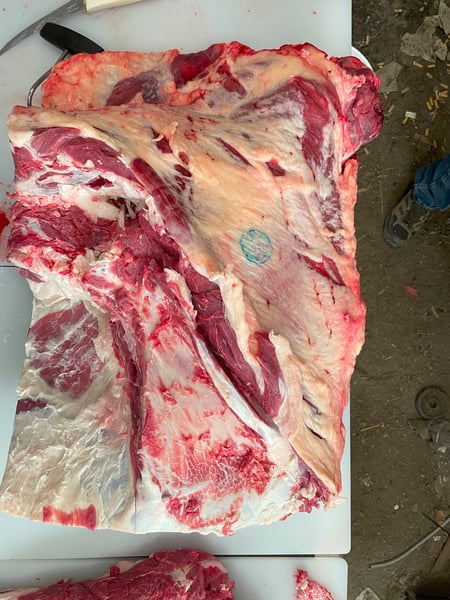
 Again, for scale, here is the forequarter wrapped and unwrapped on the table.
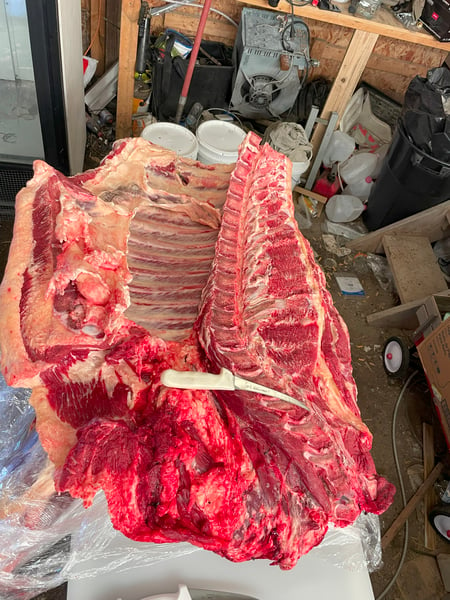 Boning knife for scale
I won’t bother trying to take you step by step through the whole process because that would take something on the order of 352 pages and hundreds of full color photographs. I know that because that is the length of the spectacular book ‘Butchering: Beef’ by Adam Danforth. Instead, here are some highlights of the process.
 The cut separating the chuck end from the rib end. Look how nice this meat is.
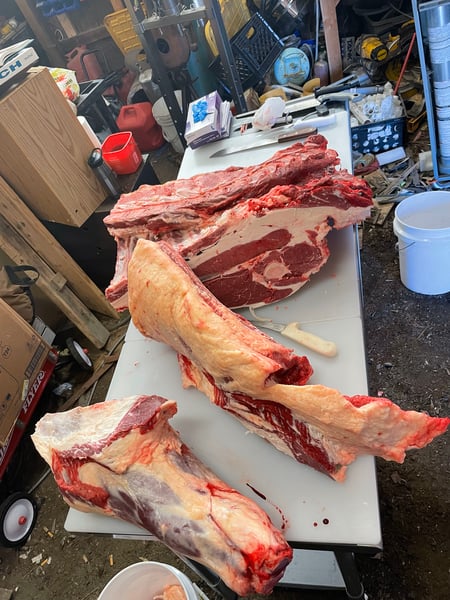 The chuck side broken into square cut chuck, brisket, and shank
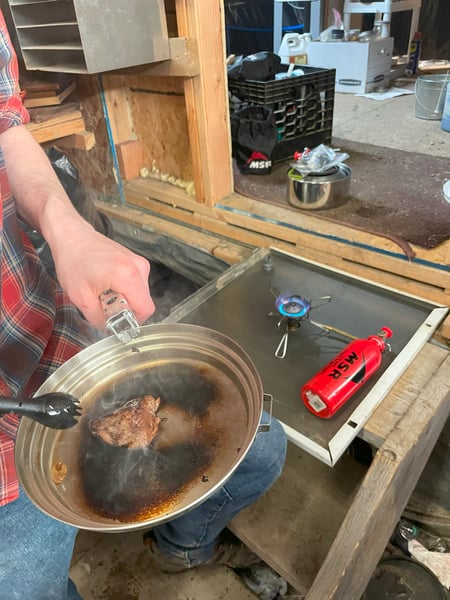 Butcher’s snacks
 Partially broken square cut chuck exposing half the shoulder blade. This shoulder blade is the size of a baking sheet
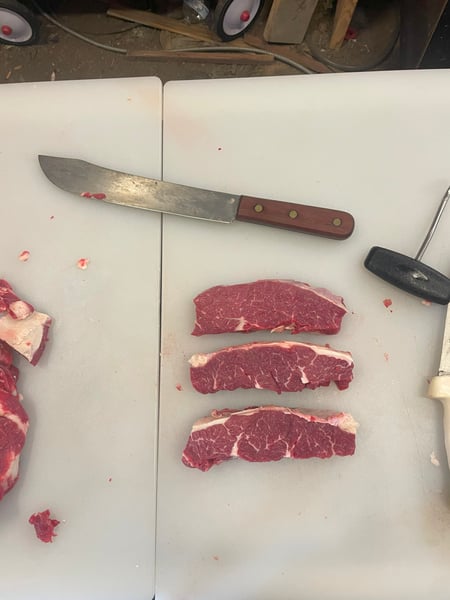
Some beautiful Denver steaks cut from the chuck
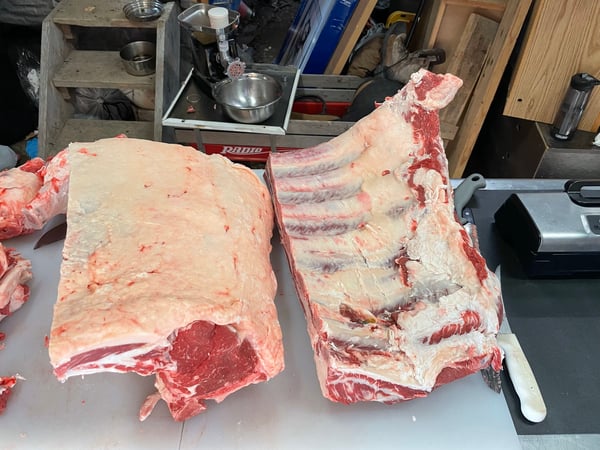
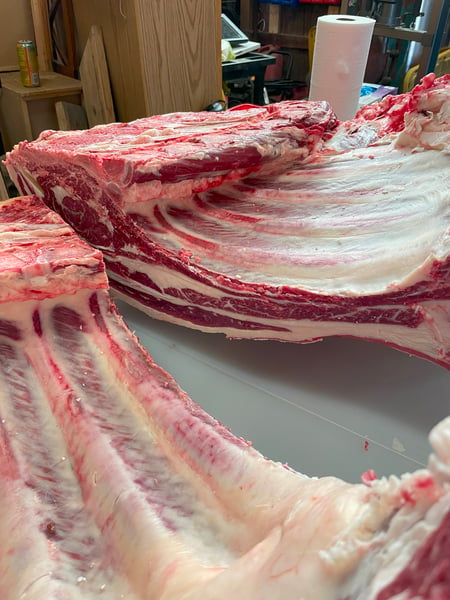
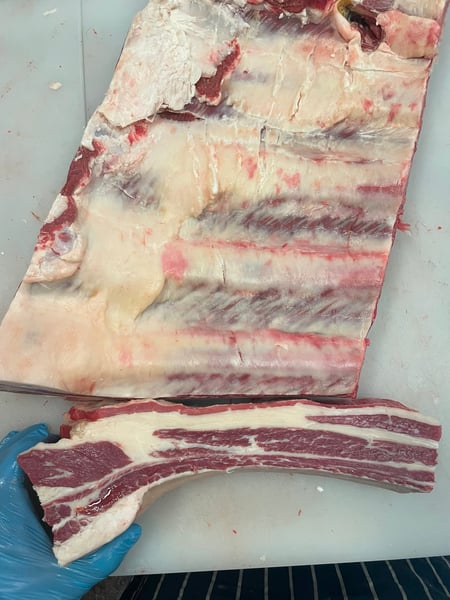
The rib primal broken into the standing ribs, and short rib plate
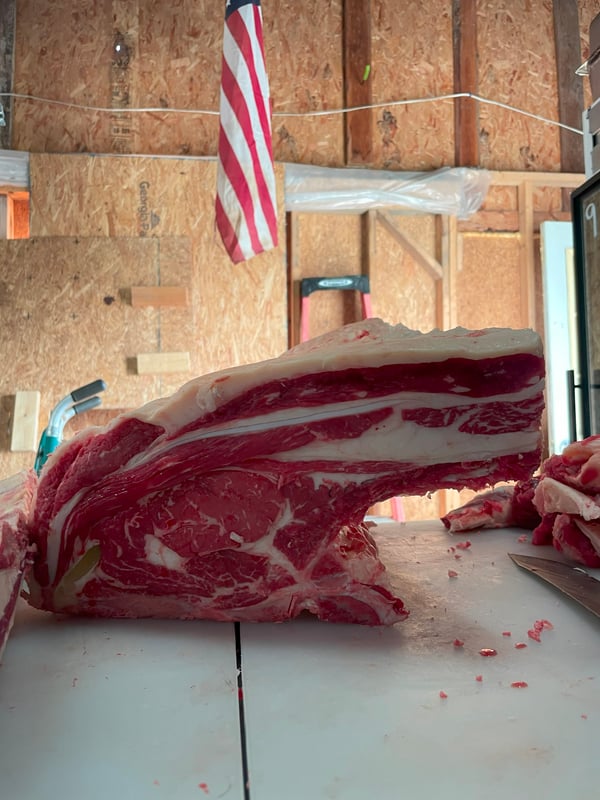
A side view of the rib
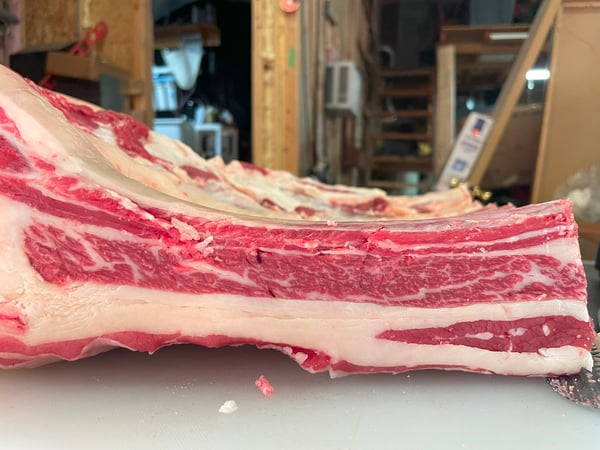
 Cross sections of the short rib. Look how nice this meat is!
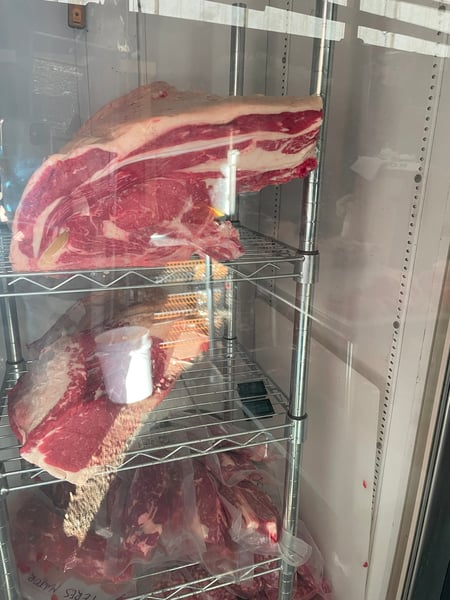
The rib and brisket set up in the fridge to begin dry aging.
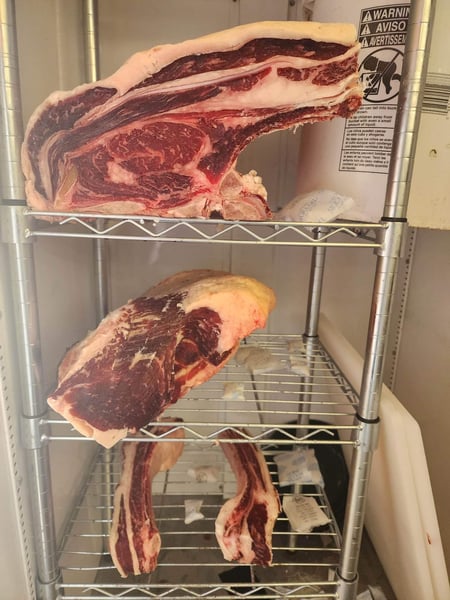 The same pieces about two weeks into the dry aging process
There is plenty more to share about this process, but I’ll leave it there for now. I won’t say that this is a small or easy undertaking, but if you have the inclination to try it can be incredibly rewarding, and end up saving you a good bit of money in the long term. If this post has you wanting to up your game in the kitchen, including butchery, check out our Culinary Boot Camp . Happy cutting!
