The term “age ain't nothing but a number” couldn’t be truer when talking about cast iron. This classic cookware may take a touch more love to keep in great condition, but what about cooking isn’t better with a little love? Cast iron pans have several advantages: great heat dispersion, heat retention, a bottom that never warps (it is forever flat!), oven safe, and increases dietary iron intake. They basically last forever, unless they are slammed on the floor at which point they MAY fracture or crack.
Background of Cast Iron
Cast iron is a metal that has higher carbon, silicon and manganese than steel, requiring a much lower heat for processing. Cast iron dates as far back as the 6th century, developing in ancient China where it uses ranged from coins to weapons to farm equipment. It is created by melting down iron ore (stone with deposits of natural iron) and allowing it to cool into blocks, known as a “pigs”. These pigs are then melted, and “casted” (poured into a mold that is often made of sand and clay, concrete, or epoxy). Once the molten iron has cooled, the molds are then broken to release the now shaped item. The new piece is then polished and ground to smooth the rough edges.
It wasn’t until 220 A.D., during the Han Dynasty, that the Chinese began making cast iron cookware. This was an easy way to produce strong metal pans in large quantities. Cast iron woks became essential in Chinese cooking. Fast forwarding to the 16th century and cast iron cookware was prevalent throughout Asia and Europe.
Care for Cast Iron Cookware
The tricky aspect about cast iron pans is their tendency to rust. You may have heard of seasoning your pan and that technique is essentially what creates a protective layer on the pan. That keeps the metal from coming into direct contact with water and humid air. Traditional dish soap and hot water can strip your cookware of the water-resistant coat you are trying to build.
No matter how far gone a pan may seem, it is never a lost cause. Follow the steps below, and we will rejuvenate your old friend back to its youthful glory.
Step One: Strip it down
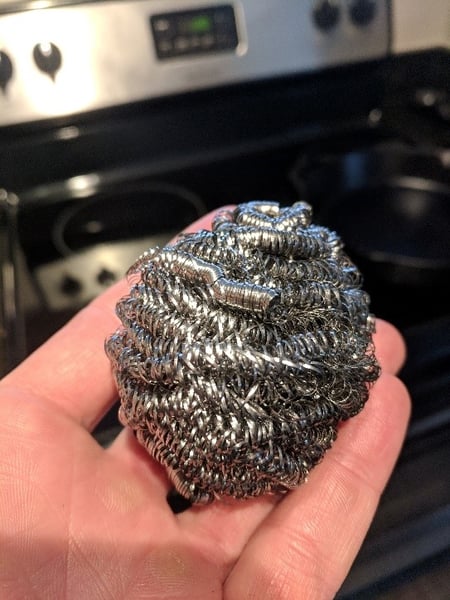
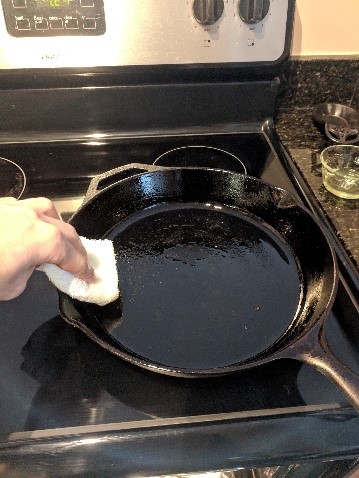
You will first need to get a basic steel scrubby or steel wool and give your pan its last true bath. I know I just told you never to do this, but in the revival stage it is a sin that you must commit once more. You need to scrub ALL the rust off your pan and get it back to raw metal. This will keep the pan from oxidizing further and allow the seasoning process to be most effective.
Step Two: Get’er Dry
Now you need to fully dry your pan out top and bottom. Once you have wiped every drop, put your pan on a burner and turn it on medium-high to get the metal hot and cook off any last moisture.
Step Three: Lube it up
Find a towel or rag that you don’t care about and pour about a cup of high temp cooking oil into a small bowl.
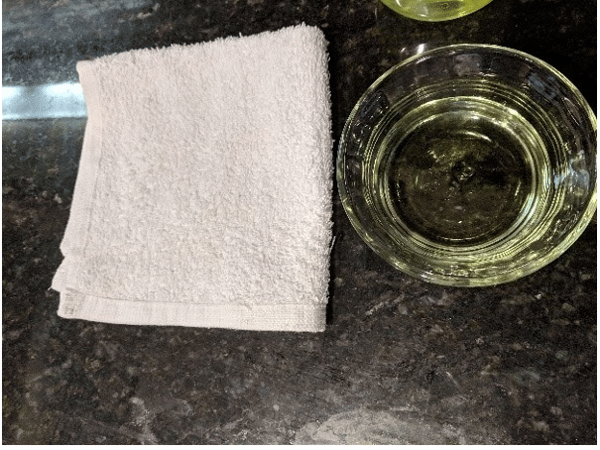
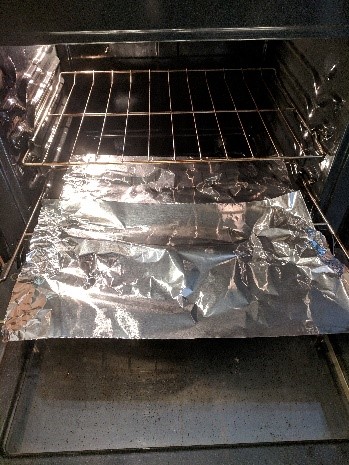
I like to use grapeseed oil but there is a plethora of other high temp oils, just don’t use olive oil for this. Olive oil is not meant for high temp cooking and burns, depending how refined it is, anywhere from 320°F- 380°F. You will then turn your oven up to 350°degrees and place a sheet of aluminum foil inside to cover the entire bottom rack.
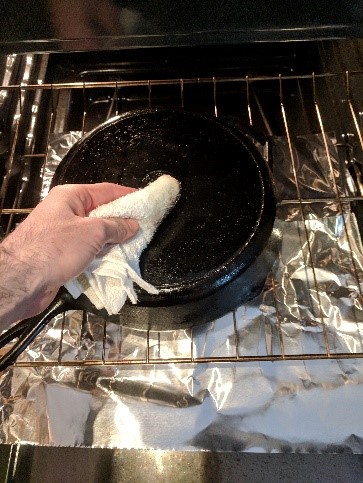
Take your towel and dip one end into your oil.
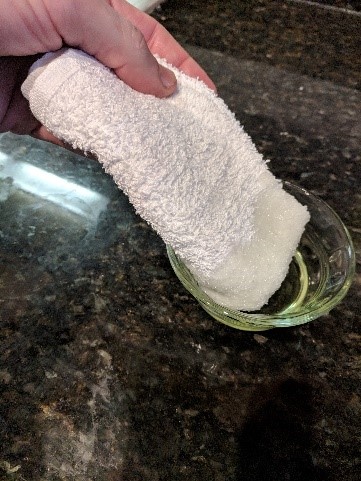
You will then wipe your entire pan top and bottom with a generous coat of oil and place it in the oven upside down on the top rack. Set a timer for about 30 minutes to allow the oil to degrade slowly without burning. Repeat the oil and bake 2 to 4 times.
Post Seasoning/Day To Day Cleaning
Let's say you make a beautiful piece of salmon in your cast iron pan and finished it with a teriyaki glaze. This can make for a sticky situation. Lots of things can still stick to your pan even with a fantastic seasoning. Sometimes it can happen with something as simple as a nice steak. If you burnt on a bit of those juices, don’t fret!
I always have a junk towel (possibly the same one used in step three) under my sink that has seen better days, it is right next to an old sauce jar. When you get done cooking, I always recommend people to dump out any extra oil or juices in your pan (I go straight into the above-mentioned jar) and take your nasty towel and wipe out as much of the remains as possible. Sometimes it may require a bit of scraping with a fish spatula or a hard-plastic scraping tool. For the most part this should take care of the issue as long as the pan is still warm. If you leave the pan on high after the meat came out and burning the bejesus out of the remains, it may require a bit more work.
When you do have these less than optimal situations, do not resort to soap and water!
Follow the below steps for corrective action:
Step One: The Kosher Crusade
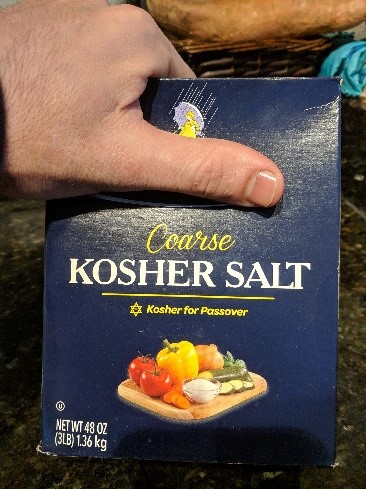
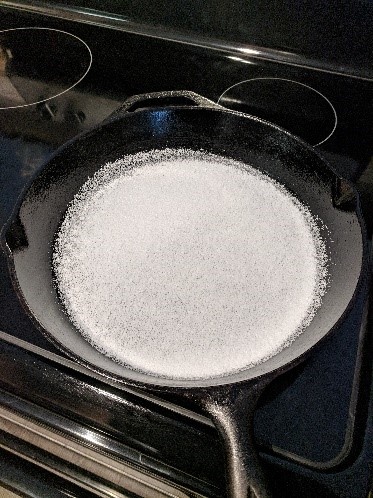
I always recommend people have a large box of coarse Kosher salt on hand for these situations as well as cooking in general. Take a substantial amount of salt (1/2 cup or more for larger pans) and coat the entire bottom of the pan. Then place your pan in a hot oven, 400°F should work great. Allow this to bake for about 25-45 minutes (longer won't hurt if you forget about it) and this will pull any residual water from the stuck-on remains. By removing water many times, the remains will simply turn chalky and will be more easily removed.
Step Two: The Massage
Carefully remove the cast iron pan from the oven and use your junk towel and start wiping around the salt (caution the salt will be very hot) to inspect the state of the pan. Simply begin rubbing the salt into the pan in circular motions, Mr. Miyagi style, and this should remove most remnants.

If for some reason you still seem to have some residual crud, it’s okay. Your final step is to pour a little of your high temp oil into the pan and mix it into the salt, creating a wet sand texture. Once again begin rubbing in a circular motion, almost grinding the salt into the metal. If the pan has cooled down, you can place it over a burner for a few minutes to keep it hot. You will feel the pan become smother and smoother as the remains are removed from the surface.

When you are content simply wipe your pan out into the sink (water will dissolve your salt) and apply one more coat of oil to your fantastically smooth and seasoned pan!
This all may seam like a lot of work but once you have gone through these steps you should not need to do this again unless you re-introduce your pan to the sudsy devil! A little oil towel wipe out with your junk towel should solve the majority of issues and a little wet towel wipe out (followed by dry wipe and the oil wipe) is also fine if the need arises.
I hope this was helpful and you find a friendship with your cast iron pan once more. The versatility of cast iron cookware is virtually endless, and I can honestly say I use mine daily. Over the past two years, it has become nothing short of a non-stick pan!
Need to stock up on some quality cast iron? The Chopping Block proudly carries Lodge Cast Iron in our stores. It happens to be 20% off this month as well as our other two lines of cookware, Le Creuset which is enameled cast iron and All Clad.
Learn how to cook with cast iron in our upcoming demonstration class Cast Iron and Crock Pot Cookery at Lincoln Squrae on: