

Duck is one of those misunderstood and maligned foods. I rarely hear people say they love duck, and I think the reason why is that most people don’t know how to properly cook duck. I am talking about cooking domestically raised duck, not wild duck. Wild duck is somewhat gamey, fattier and tougher than domestically raised duck…still delicious but it is prepared very differently. This preparation is for domestically raised duck which is much leaner, extremely tender and in my opinion, not gamey at all. It is tender, rich and delicious when prepared properly.
 I learned this method from my mentor Francis LeRoux, so credit is due to him. We used to prepare duck in this manor at Café du Midi, and it was extremely popular. I taught my dear friend Carol Himmel this method, and she serves it at Himmel’s in Lincoln Square. I know it is very popular item on their menu, which totally thrills me! If you are tired of just eating beef, chicken and pork, try this foolproof method for roasting a perfectly tender, crispy and not at all fatty duck.
 Francis LeRoux
Roasted Duck
Serves: 4
Hands-on time: 30 minutes
Start to finish: 3 hours
1 3 1/2 to 5-pound duck
Salt and pepper
1 tablespoon grapeseed oil
Step 1: Prepare the duck and roast
Preheat oven to 350 degrees.
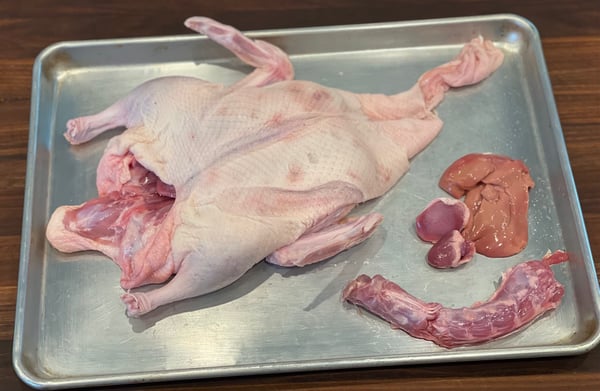
Take the duck out of the package. Remove gizzards and neck from inside the cavity of the duck and set aside. Rise duck inside and out with cold water and pat dry.
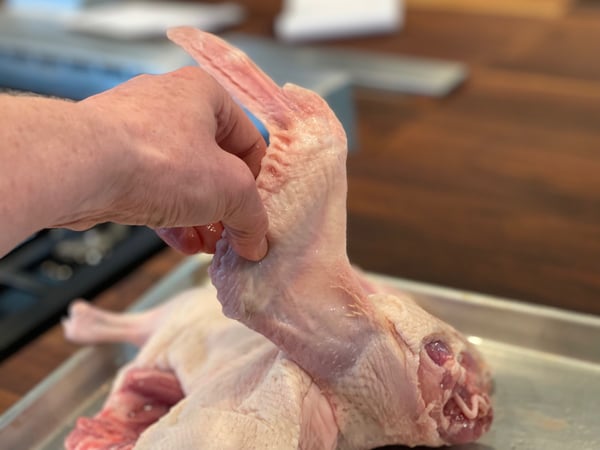
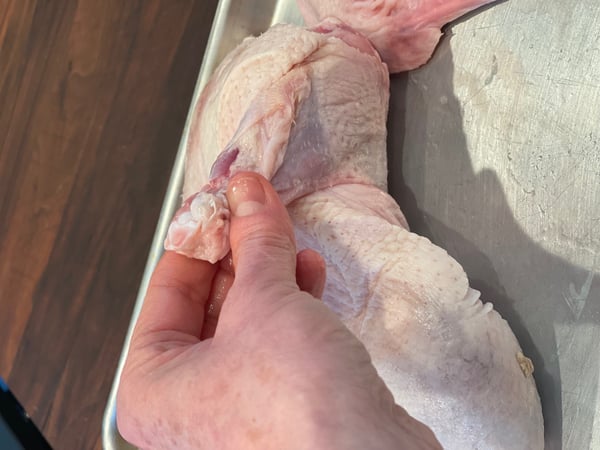
 Cut the wing tip off at the joint.
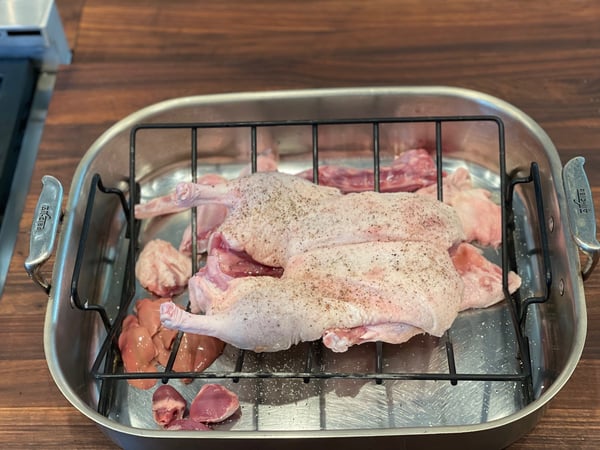
 Rub the duck generously with salt and pepper on all sides. Place the neck and gizzards in the bottom of a roasting pan fitted with a roasting rack. These are great snacks for you or even for your puppy if they aren’t your thing.
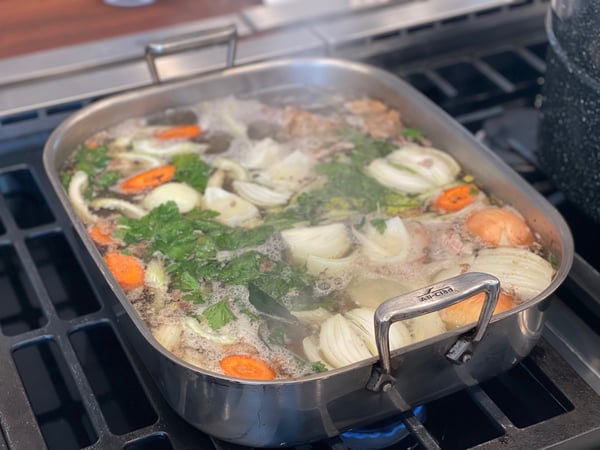
*Note: You can also make a little duck stock from gizzards, wing tips, the duck carcass you will have after you removed the meat, along with some onions, carrots and celery. This stock can be thickened for a gravy or used in a gastrique.
 Place the seasoned duck on the roasting rack and place in the preheated oven for 90 minutes.
 Step 2: Let the duck rest
After you remove the duck from the oven, you should let it rest for at least 30 minutes. You want the juices to settle in the duck and the duck to relax a bit before carving. This resting phase creates a juicier and more tender duck. It is also easier to carve when it is cooler.
 Step 3: Carve the duck
The duck should be slightly pink when you carve it, that is exactly how we want it. By slightly undercooking the roast duck it will keep it from drying out when we crisp up the skin of the duck.
Remove the legs and thighs. Cut between the leg and the breast and move down following the contour of the breast. When you hit the hip joint you can easily snap of the leg and thigh at the joint or cut between thigh and hip joint. Repeat this process with the other leg and thigh.
Remove the breasts by making an incision on either side of the breast bone. While pointing the edge of the knife towards the breast bone and moving down following the contour of the breast bone until the breast comes off.
Step 3: Crisp the duck
What is so cool about this recipe is that you can roast the duck and carve the duck days ahead of time. You can simply keep it refrigerated until you want to serve it and pull out all or some of the pieces and crisp them right before you want to eat or serve them at a dinner party.
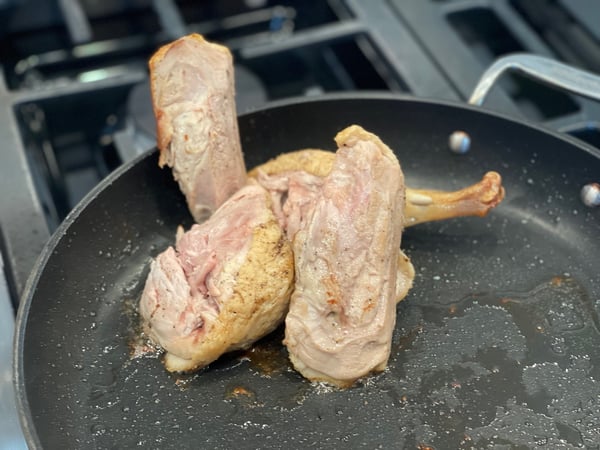
I always use a non-stick pan for crisping duck. You really want to ensure that the duck skin doesn’t stick, because the crispy duck skin is so good!
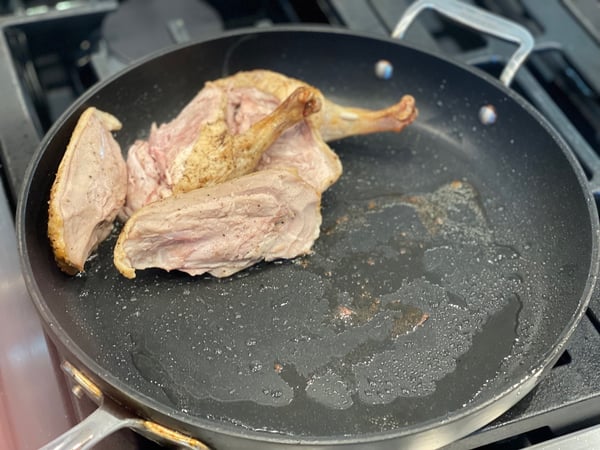
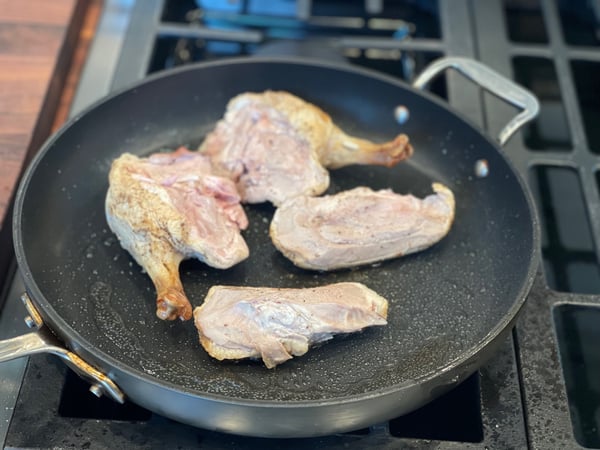 Season the flesh side of the duck with salt and pepper. Preheat a 10-inch non-stick pan over a moderate heat and add 1 tablespoon of grapeseed oil to it. Place the skin side down in the pan and gently crispy the skin while rendering out the fat from under the skin. I take my time moving the duck around so that every inch of the skin is crispy. I will prop the duck up on its sides to get all the nooks and crannies of the skin. Once the whole skin side is crispy, turn the duck over and crisp the fleshy side. Start to finish, this process should take about 10 minutes.
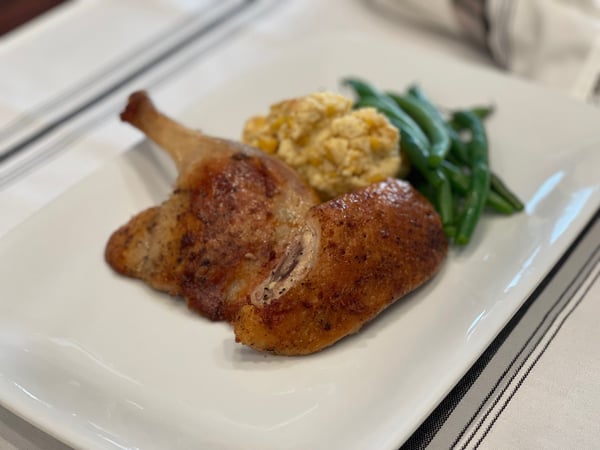
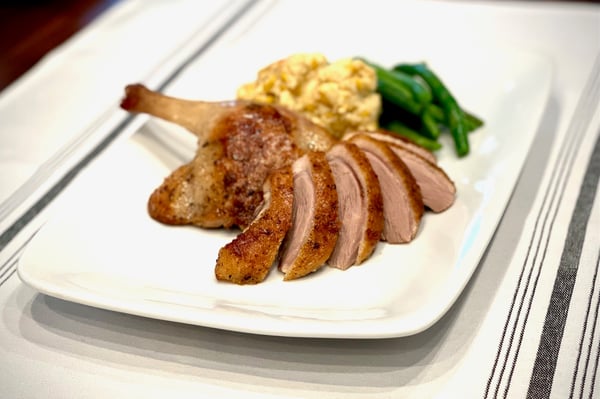
 You can serve your crispy duck with my favorite - raspberry glaze - a simple reduction of equal parts of raspberry vinegar and sugar (you can also add the duck stock to this). Slice it and serve it on a salad. Wrap it in a Moo Shu pancake and top it with hoisin sauce. Serve with duck gravy or as a classic Duck a l’Orange.
 If you are looking for more classic cooking techniques and skills, join us for a Hands-On Spring Dinner Party where you will master another protein that people sometimes shy away from... lamb. On Saturday, June 4 at 6pm at Lincoln Square, you'll make:
- Mixed Green Salad with Radishes and Goat Cheese
- Herb Crumb-Crusted Rack of Lamb with Parsley-Mint Pesto
- Risotto with Peas and Parmesan
- Strawberry-Almond Cake with Whipped Cream
