

Throughout my whole life in kitchens, there has always been one thing I’ve wanted to own. It wasn’t a sharp knife, fancy equipment, or even custom-engraved diamond plated knife steal that also doubled as a cast iron pan. Well, the last one I made up but it did sound cool, right? But you get the idea that I care none for the fancy things. The thing in most, if not all kitchens, that I dreamed of having most was a butcher block.
The sleek yet simple design combined with the versatility of using it as a cutting board and counter - what’s there not to love? So recently, I made the step to actualize that dream. And before you go asking “why didn’t I just buy one?”, well they are expensive! For that reason, I decided it would be more beneficial to build my own. This is that journey.
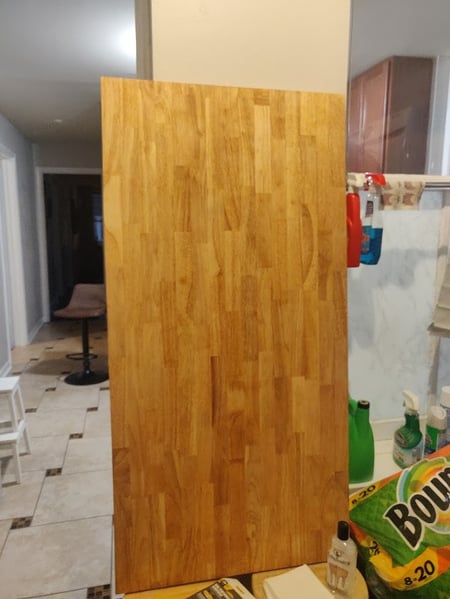
This endeavor was actually more straightforward than I was expecting it to be. I didn’t need to go into the mountains to saw a tree down and haul the wood back to my kitchen for prep. Conveniently enough, my local hardware store carried what I was looking for. Found in the countertop section, you’ll find butcher blocks/wood counters. Now you’ll notice that there are a few different varieties, and I’ll leave it up to you to decide on your preference of wood. For me, it came down to a selection between hera wood and birch wood. I ended up going with the hera wood variety because it had a similar quality to birch and is naturally rot-resistant. The birch did tempt me due to its more impressive wood grain and slightly higher hardness, but I don’t think I could justify those two additional qualities for double the price. The hera wood top was around $100 for a 4ftx2.5ft piece.
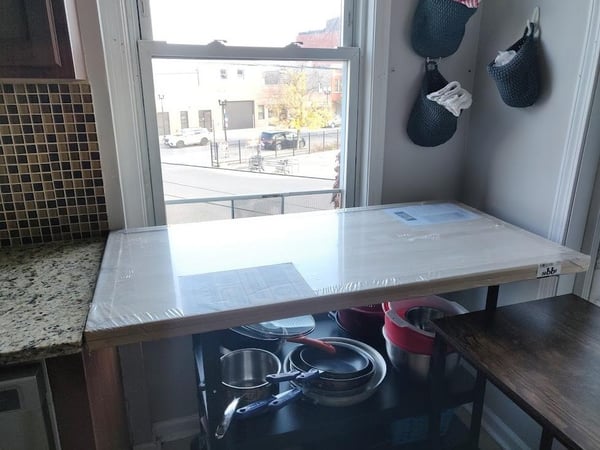 After purchasing the piece and bringing it home, I was too excited to let it sit so I unwrapped it and set it up where I thought I wanted it. It’s important when building a butcher block counter that it’s at a comfortable height to chop and prep other items on, otherwise you just have a table.
 After unwrapping it, I got right to work on it. Keep in mind, these pieces of wood don’t come pre-sanded or sealed so these are the final steps that I needed to do before attaching it to any base.
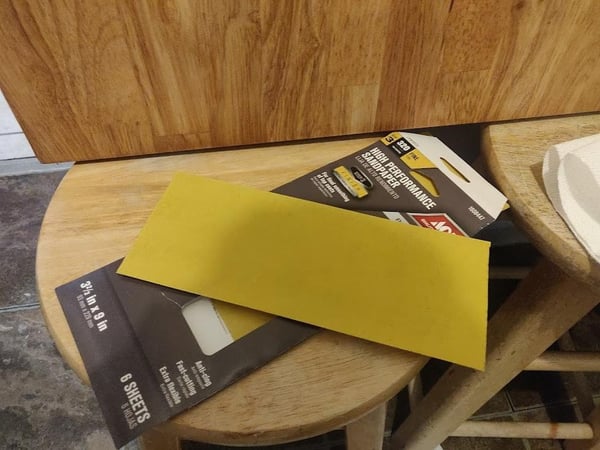
Starting out I used a little bit of sandpaper at 320 grit which gave me a smooth finish without having to spend all day sanding. I really was focusing on the high spots, rough spots, and rounding the corners a bit to avoid poking myself with them by accident in the future. This whole process of sanding both sides was quick and only took about 15-20 minutes. I recommend some breathing protection from wood shavings (i.e. mask).
Ready to keep moving, I move onto the last step before mounting, sealing the table. There are a few ways you can seal the table but the most common and easiest way to do so is by using a combination of wood conditioner and mineral oil.

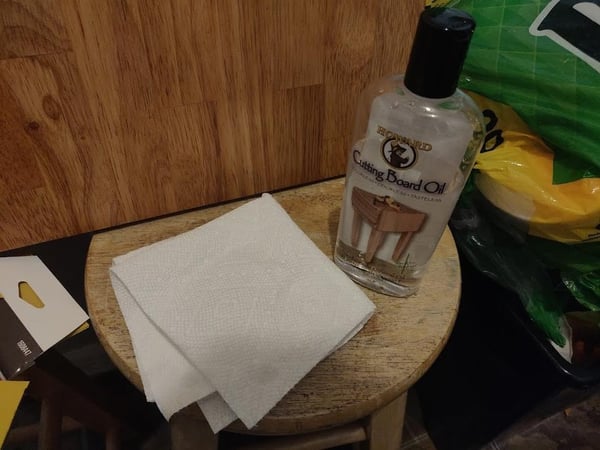 It's very simple, just apply either one to a dry rag and spread it evenly over the surface and allow to dry. For the wood conditioner, this will need to be applied 2-3 times with one hour in between each application. The mineral oil will need to have 3-4 coats applied with around 20-30 minute intervals between each application. It’s recommended that you start with the conditioner first and follow with the mineral oil. This will allow for the wood to become primed for the addition of the oil and supply the table with a solid protective base to start.
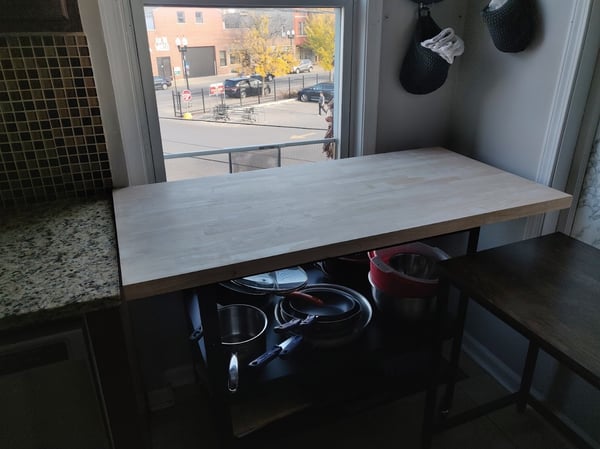
 As you can see from the pictures, as each process moved along, the table got shinier and shinier indicating there was a solid set of protective layers on the table. Keep in mind that the table will dull some once it dries but should still retain most of its new bright vibrant color and wood grain.
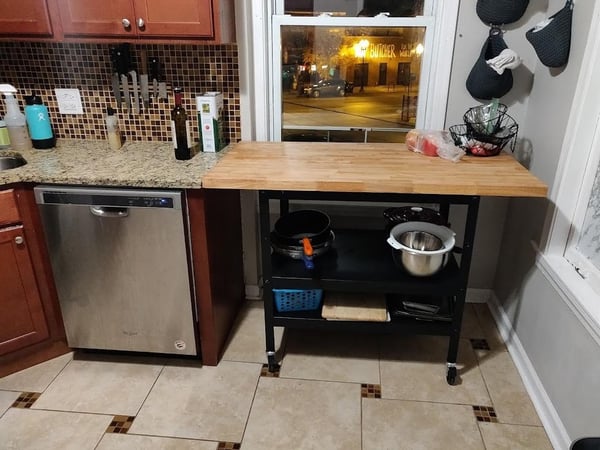
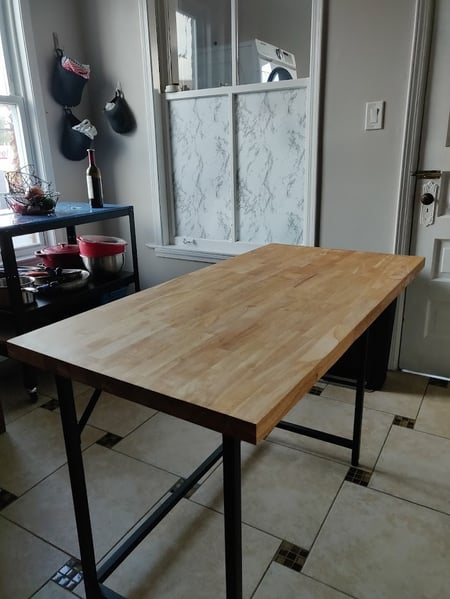 After the application of the fourth coat of mineral oil the table was ready and I mounted it on top of the base I had for it. Depending on how often you use the board, you may need to oil the board as often as once a week or as little as one every month to keep it refreshed and healthy.
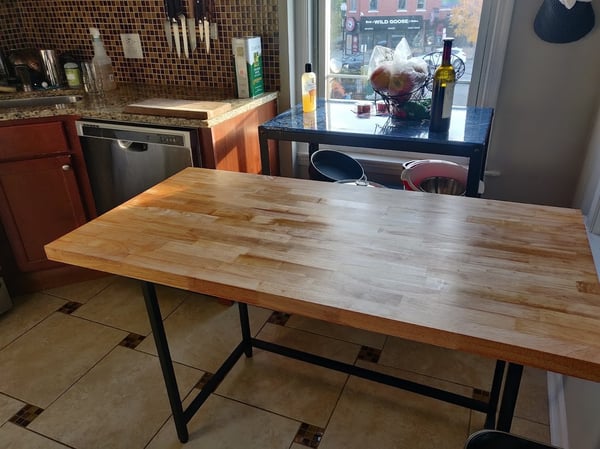 I’m over the moon about this cheap and beautiful addition to my kitchen as it is now a talking piece anytime someone comes over for dinner.
 If you have any interest in learning more about kitchen equipment such as cutting boards, knives, or generally how to use anything in a kitchen, I highly recommend checking out any of our Knife Skills classes or even Culinary Boot Camp. These two classes really lay the groundwork for everything you do in a kitchen.
Side note: most, if not all classes at The Chopping Block utilize our countertop butcher blocks that were constructed in the same format as explained above. We oil our tables once a week to keep them looking fresh and healthy!
