Now that we're coming to the end of summer I keep hearing people talking about ‘spooky season’. Well, I love All Hallows Eve as much as the next ex-goth, but there’s something that I look forward to even more than ghouls and goblins as the weather starts to get cool, and that's cozy season. I own more sweaters than is probably reasonable, and there’s nothing quite like being able to spend time outside without having to worry about sweating through your clothes, a suffocating swarm of insects, or reapplying sunscreen every 45 minutes. Aside from all these benefits however, one things I really look forward to is finally switching back from iced beverages to nice steaming mugs.
 Unfortunately, thanks to years of eating a restaurant cook’s lunch (black coffee and ibuprofen), I had to take a long break from drinking coffee. As a result my caffeine tolerance plummeted and has never really recovered, so when everyone is out there enjoying their pumpkin spice lattes, I have cultivated a new appreciation for herbal teas. The coziest herbal tea is, of course, chamomile. I have developed a deep appreciation for chamomile tea. I love the flavor and I love its ability to sooth any frayed nerves. This is the first year since I was a child that I’ve had any garden space, and so I decided I wanted to dedicate some to growing my own chamomile to see if I could make some of my own tea. Well I could, and soon, so can you. Let's take a look at what it takes to harvest, dry, and brew your own cozy season staple.
First, we need to decide which variety of chamomile to grow. There are a couple to choose from, but the most common, and the one pretty much always used for tea is German chamomile. This variety will yield the iconic chamomile tea flavor, and will produce a ton of flowers over the course of its growing season. Seriously, I only had one plant this year and I’ve harvested enough tea to probably last me until my first harvest next summer.
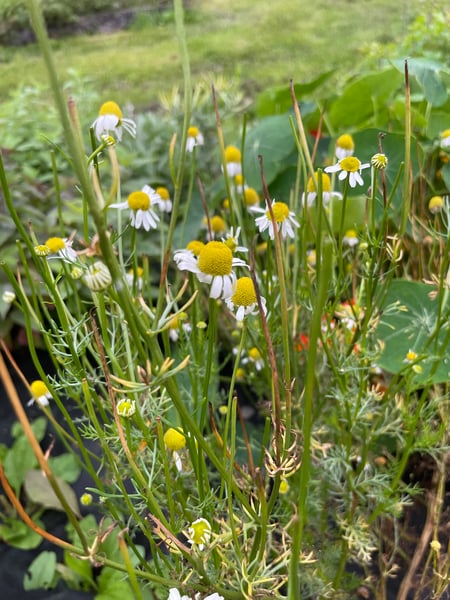 Once your plant starts to bloom, you will want to monitor to make sure you’re harvesting at the ideal time. You want flowers that are fully open, but haven’t yet started to loose their petals.
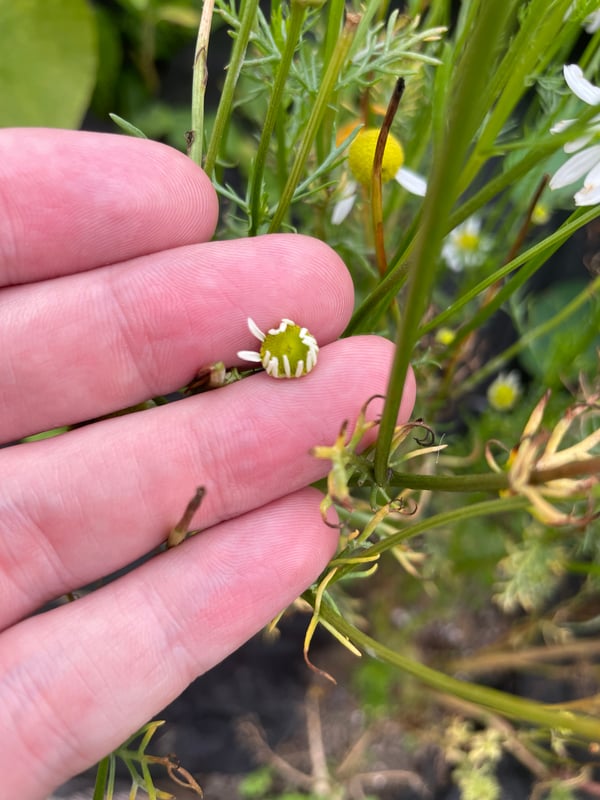 This one is not yet ready. Wait for the petals to fully unfurl.
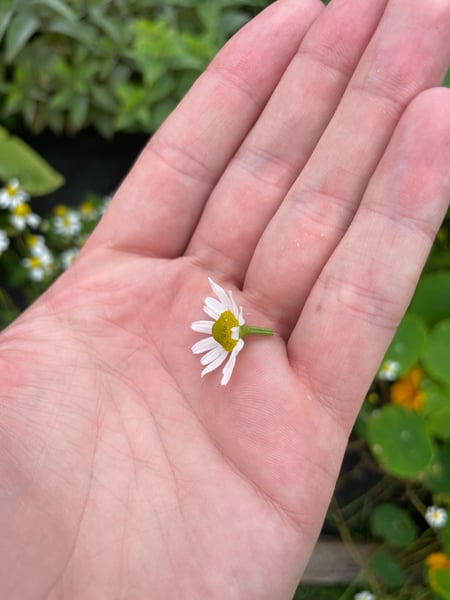
This one is past its prime. It can still be harvested and used for tea but the flavor won’t be as nice.
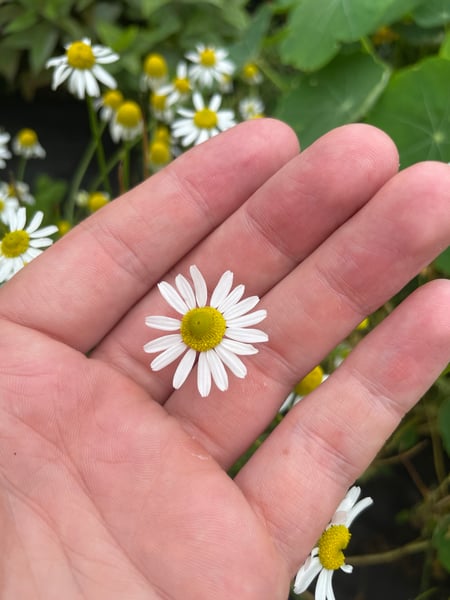
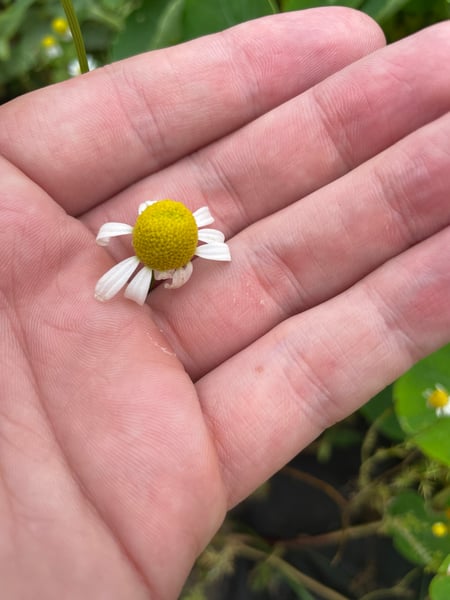
This is the flower goldilocks would choose. It's just right.
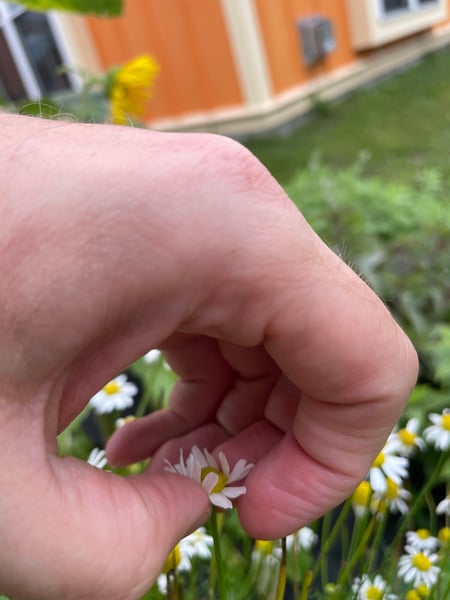
Once we're ready to harvest, we want to make sure we are doing so correctly. Thankfully chamomile is incredibly easy and fun to harvest properly. Simply grasp the bottom of the flower between your fingers and slide up popping off the blossom like this:
 Once you’ve got your full harvest, it's time to dry them. I use a dehydrator set to about 100º F and lay them out on the tray like so:
 At these settings, it takes about a day to dry the flowers fully. If you don’t have a dehydrator, you can dry them in a wire rack anywhere in your house that is relatively warm and dry. However, without the aid of a dehydrator it will take the chamomile much longer to dry fully, at least a few days. You could also dry in a low oven (try heating the oven up to 200, then turning it off putting your chamomile in with the door cracked; like you're drying out meringue without browning it.) but this method requires a bit more attention. The flowers should be quite crispy to the touch when they’re done, and you want to make sure you're storing them in an airtight container of some kind. I use a zip top plastic bag
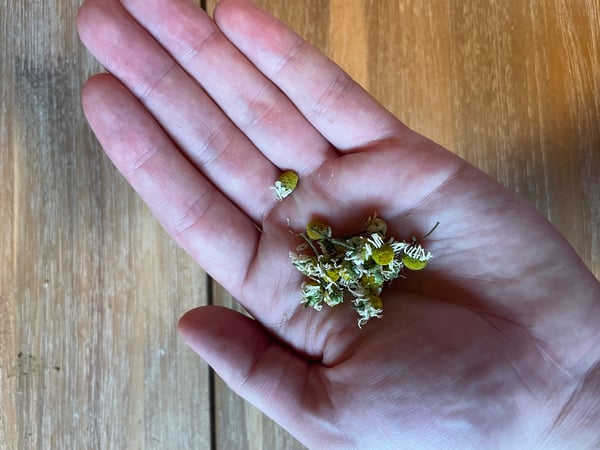
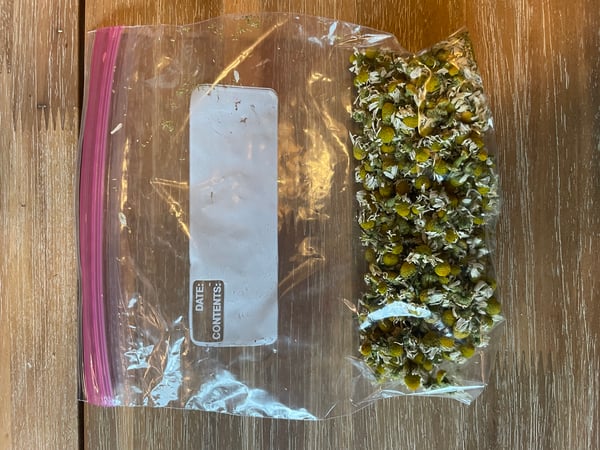 Here’s a look at what my fully dried chamomile looks like:
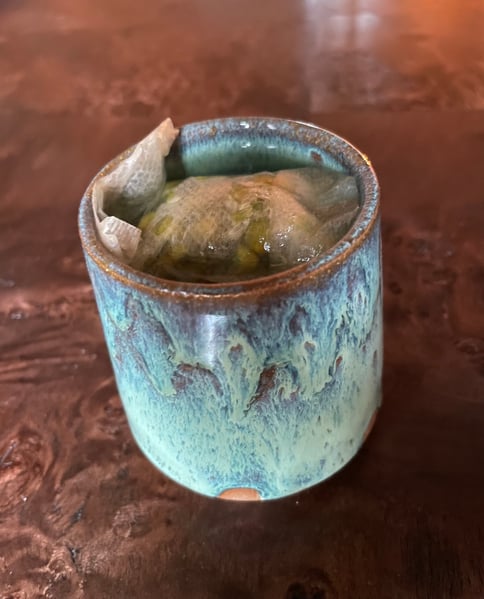
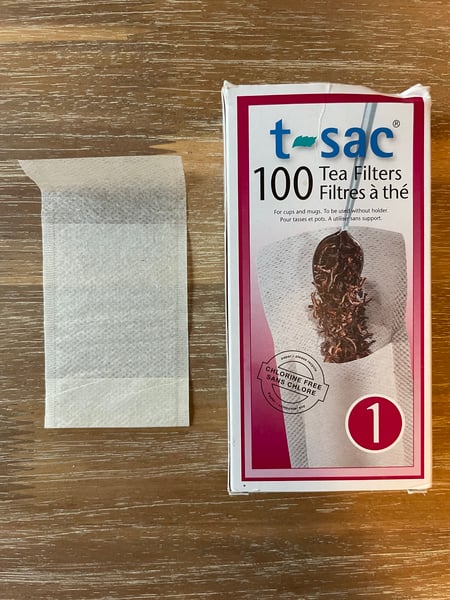
 Now that our chamomile is dry, it is finally time to brew. You can toss the flowers straight in your mug with hot water but I prefer to use a paper tea bag like this:
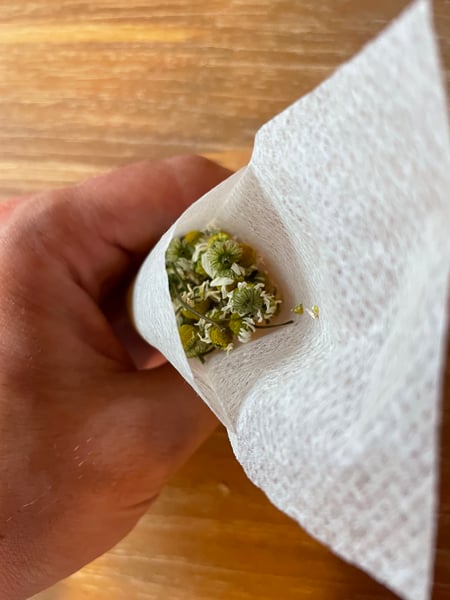
 I like a nice robustly flavored tea so I fill my bag up most of the way.
From here, simply fold over the top of the bag, pop it in a mug (pro tip, if you want to drink your tea while it's still hot choose a mug with a, you know, handle), and pour on boiling water.
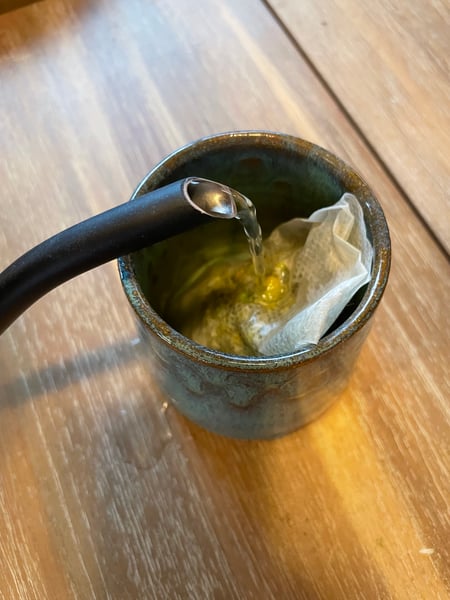 You’ll want to let it steep for at least five minutes before drinking. Don’t bother removing your bag; chamomile tea can’t really over-steep like black tea, and it will continue to add flavor until you finish your drink.
All that's left to do now is enjoy! And if this has you pining for even more early autumn vibes, I recommend checking out our upcoming virtual Sweet Potato Gnocchi class on Friday, October 7 at 6pm CST. And since it's virtual, you won’t even have to leave the cozy confines of your home kitchen to elevate the autumnal atmosphere. Hope to see you there.