Baby Pavlovas: A Light and Airy Treat from Down Under

The world of meringue is completely out of my comfort zone. I prefer to cook savory food, but every so often there's a part of me that gets the baking bug.
I decided to try my hand at making the national dessert of New Zealand and Australia known as Pavlova. In case you're new to this Down Under delight, Pavlova is a meringue-based dessert named after the Russian ballerina Anna Pavlova. The meringue has a crispy outer shell and a soft inside that's topped or filled with whipped cream and fruit.
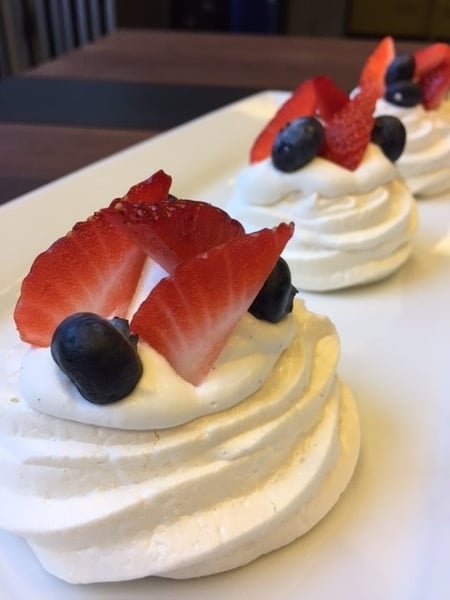 There are two main reasons why I decided to give this dessert a go.
- I have always been intrigued by the Pavlova. I have heard so much about it, but never had the pleasure of enjoying it.
- I needed to test our recipe. I'm in charge of the recipes and curriculum at The Chopping Block, and it's my job to make sure our recipes are the best they can be for our students!
I'm so glad I decided to make these little bundles of goodness because they are easy to prepare, taste amazingly delicious, and look like they belong on a magazine cover.
Mini Pavlovas with Strawberries and Cream
Yield: 18 mini pavlovas
Active time: 30 minutes
Start to finish: 1 hour, 15 minutes
4 egg whites
1 cup granulated sugar
1 teaspoon white vinegar
1 1/2 teaspoons cornstarch
1 1/4 cups heavy cream
1 1/2 teaspoons powdered sugar
1 teaspoon vanilla bean paste
2 cups fresh strawberries, cleaned and sliced
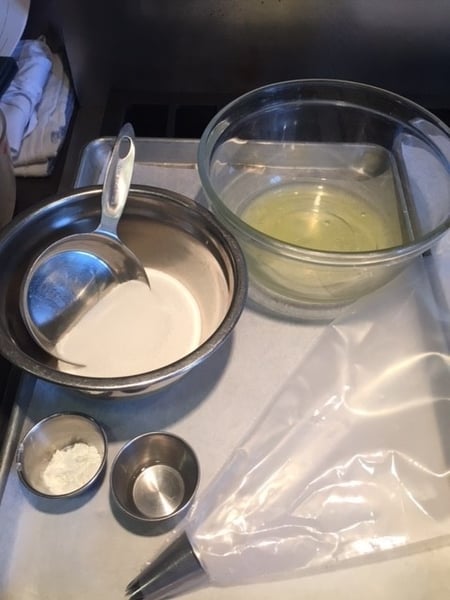 Here's how to make these show-stopping desserts:
- Preheat the oven to 250°. Line two sheet trays with parchment paper.
- Whip your egg whites in a stand mixer with the whip attachment until you have soft peaks. What do soft peaks look like? You know that little curl you get on the top of a soft serve cone? That's what soft peaks look like. Tip: Make sure you don't get any egg yolks mixed in with the whites. The fat will prohibit the egg whites from whipping properly.
- Once you have your soft peaks, slowly add in the sugar. You're going to continue whipping until the egg whites are thick, glossy and hold stiff peaks. Stiff peaks stand straight up on the end of the beater.
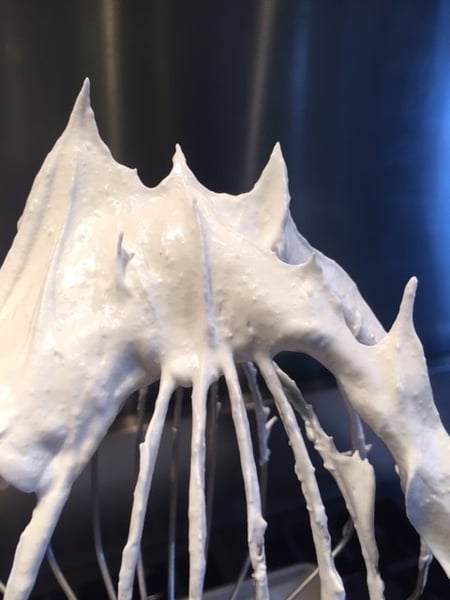
- You then fold a small quantity of vinegar and cornstarch in the whites. These ingredients help stabilize the egg whites.
- Transfer the egg whites to a piping bag fitted with a star tip. If you don't have a star tip then use a round tip. You can even just use a spoon and make dollops of the meringue on the prepared sheet trays. They will look a bit more rustic, but they will still be delicious. Tip: To fill your piping bag, place the prepared bag in a large container so you can use both hands to fill it.
- Now it's time for piping! You don't have to be an expert to make these look great. Just have fun, and don't worry if they don't all look the same. Just be sure they are about the same size so they bake evenly.
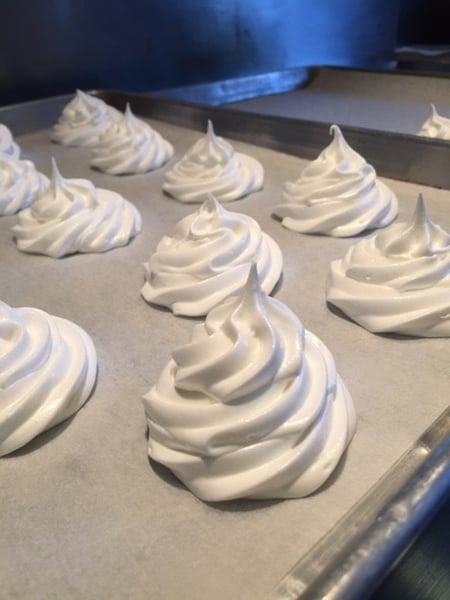
- Make the nests by using a small spoon to get the job done. Tip: Dip the spoon in hot water after each use.
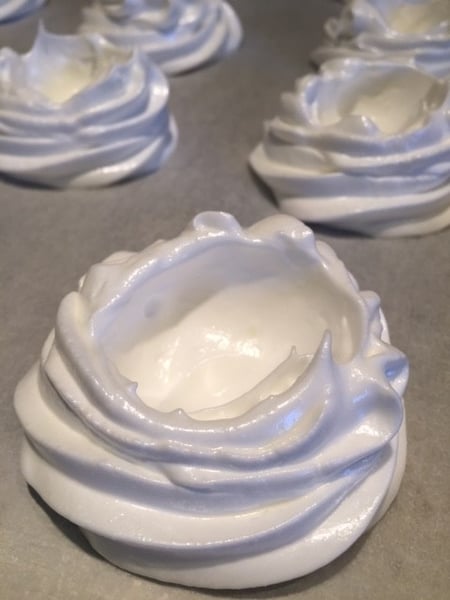
- Bake the meringue nests until they are a pale cream color, about 45 minutes. Every oven is different, so be sure to keep an eye on them. Turn the oven off, and keep the sheet trays in the oven for 5 additional minutes. Open the oven door so it's slightly ajar, and let the meringues cool completely in the oven. (The outside of the meringues will feel firm to the touch, but as it cools, you will get a little cracking and see that the inside is soft.)
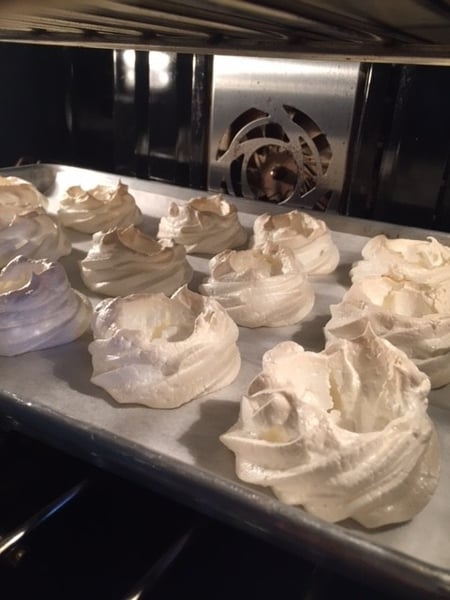
- In a large bowl, whip the heavy cream with the powdered sugar and vanilla bean paste until soft peaks form.
- Once the nests are completely cool, fill the baby pavs with the whipped cream and top with your favorite fruit. These don't hold for very long, so serve them soon after they are assembled. You can alternatively bake the nests in advance and keep them in an air tight container for 2 days before assembly.
It may seem like a lot of steps, but it's all very easy to put together. I promise you will be so glad you made these. After I made a batch of them at The Chopping Block I brought some over to our corporate office, and everyone loved them. I was a little nervous when our Australian HR director tried one, but she said I nailed it. She even said her mother would be proud! That put a smile on my face.
If you would like to see this recipe being prepared by one of our talented chef instructors then you must sign up for our Easter Treats class. We will be making these baby pavs along with a couple of other spring treats you won't want to miss. We'll also be running our very popular Food and Wine of the Southern Hemisphere demonstration cooking class in May featuring this dessert, so sign up early!
You know, Mother's Day is right around the corner and these would make a fabulous dessert for the occasion. I would be pretty happy if someone made these for me… hint, hint.

