
Previously on Cheese Trials: I decided to try my hand at cheese making, something I’ve never really attempted before aside from the very simple ricotta that many cooks learn to make at restaurants. I wanted try making a cheese that required the use of rennet to separate the curds and whey, but I also wanted something that I wouldn’t have to wait to eat so I settled on stracciatella, a decadent cousin of mozzarella, and the traditional filling for burrata.
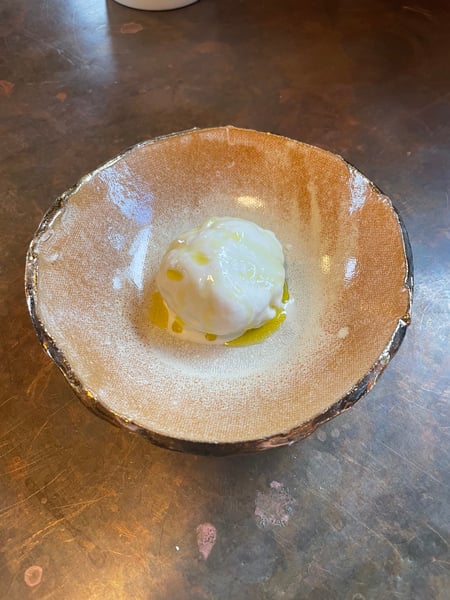 There were a handful of mishaps. I accidentally overheated my acidulated milk when I was warming it to the ideal temperature for the rennet (rennet is an enzyme, and like all enzymes it has a temperature at which it most efficiently performs its work) causing the milk to split prematurely into very tiny curds. I also added too much hot water at once when the time came to stretch the curds which caused much of the fat to melt out of the milk proteins in the curds. Despite all this, I was still able to make a pretty darn good (for a first try) batch of delicious stracciatella.
Well now, I’m back for round two. This time I figured I would not only try to rectify all the mistakes I had made the first time, but also try and take the actual cheese making to the next level. I knew I could make stracciatella, so I figured the logical next step was to make the preparation for which it is best known, and try out making burrata. If you’re not familiar, burrata is a cheese that, from the outside, looks like a ball of fresh mozzarella, but instead is composed of thin strands of pulled mozzarella dressed in cream (stracciatella), and enclosed in a thin skin of mozzarella type cheese. If you’re familiar with Chinese soup dumplings, its a lot like that but made entirely of cheese and cream. Pretty wonderful.
I followed the same steps as last time to acidulate the milk, warm it, and add rennet to split it into curds and whey. This time, though I did add closer to 3 oz. of white vinegar instead of 4, and I was careful not to repeat my previous mistakes.
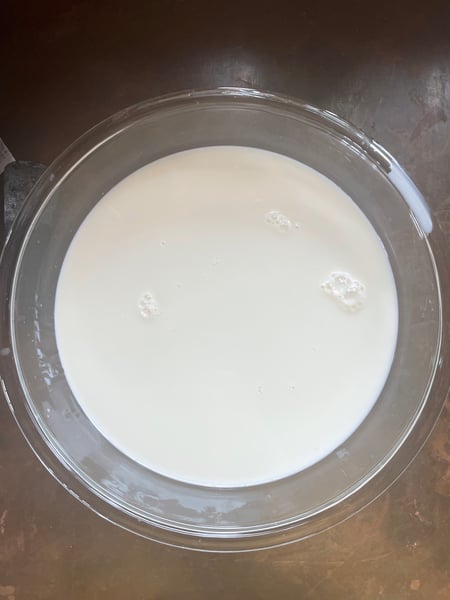 This is half a gallon of milk that I mixed with 3 oz. of distilled white vinegar while stirring constantly.
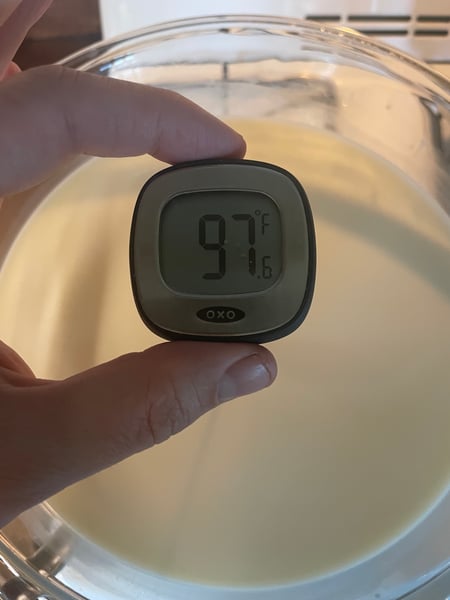 I used the same double boiler method as last time to heat the milk to prepare it for the rennet, but this time I paid attention and stirred, and checked the temperature consistently throughout, successfully avoiding the early curdling problem from before. My goal is to heat it to about body temperature or 96-98º F.
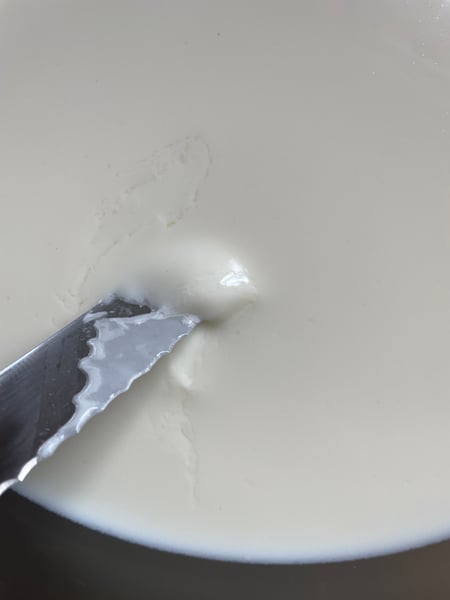 This is what your first curd cut is supposed to look like: a clean cut.
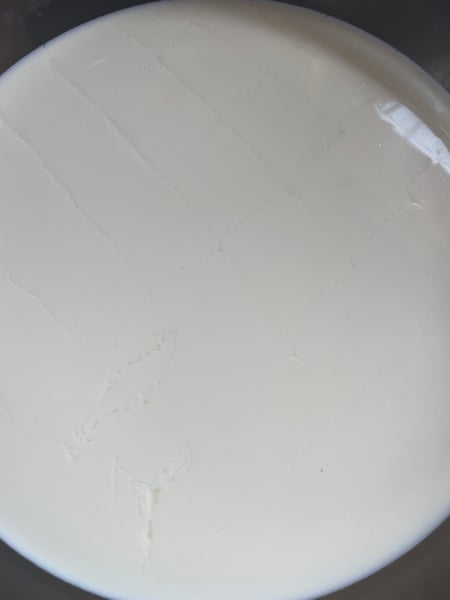 Here you can see the curd cut into a grid of cubes
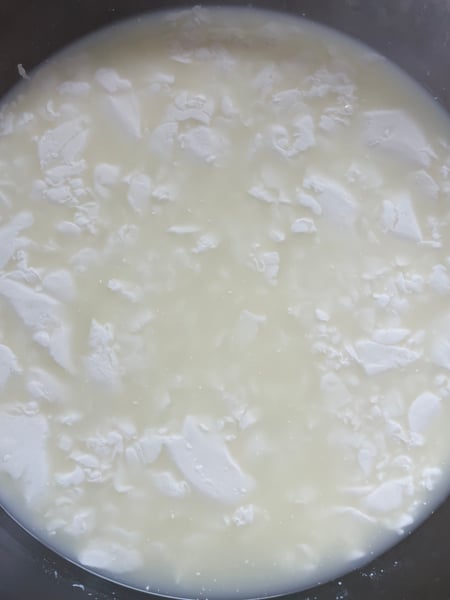 After gentle agitation with fingers to more clearly separate the curds from the whey and to firm up the curd a bit
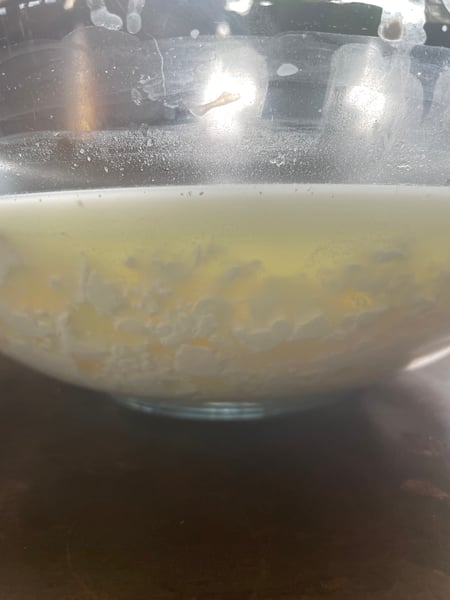 I then let it sit for 20 minutes to allow the curd to sink to the bottom of the bowl
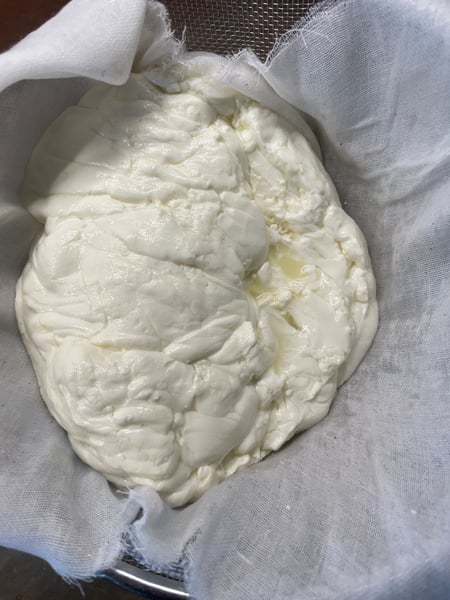 Just like last time, I strained the curds off into some cheesecloth, but this time they looked way more robust. I drained as much whey off the curds as I could, then turned the curd out onto a sheet tray and placed it in the fridge to firm up a bit before softening for shaping. This step was definitely necessary last time because my curds were so tiny and delicate. But I think this time I could have skipped it because my curd was so much stronger. In fact I think the chilling might have had a detrimental effect on the finished texture of the cheese.
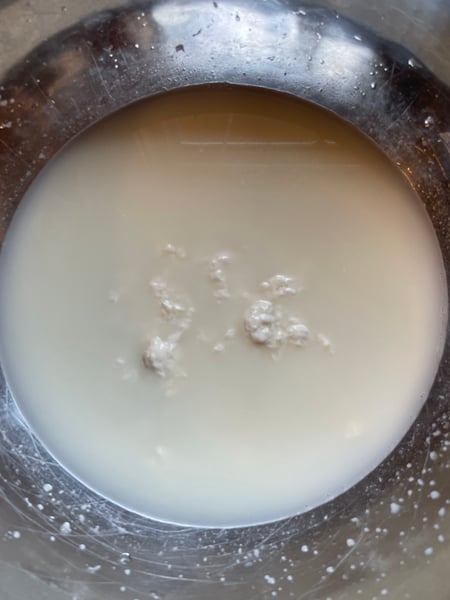 After chilling, I broke the curd up into smaller pieces in this bowl and seasoned them lightly with sea salt. Then I poured in 165º water about a cup at a time, agitating with my fingers after each addition (careful the water is hot), until the curd was soft and stretchy. This time, by adding the water slowly, I was able to avoid melting so much milk fat out of the curd.
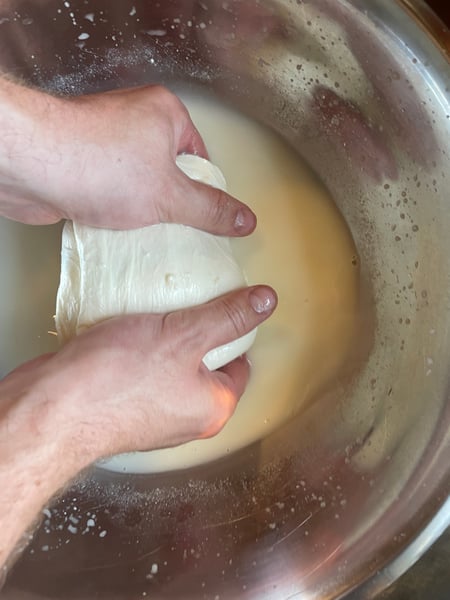 I gathered up all the curd bits, and mushed and stretched them together into one solid mass, then kneaded it a bit until I felt like it had the proper texture.
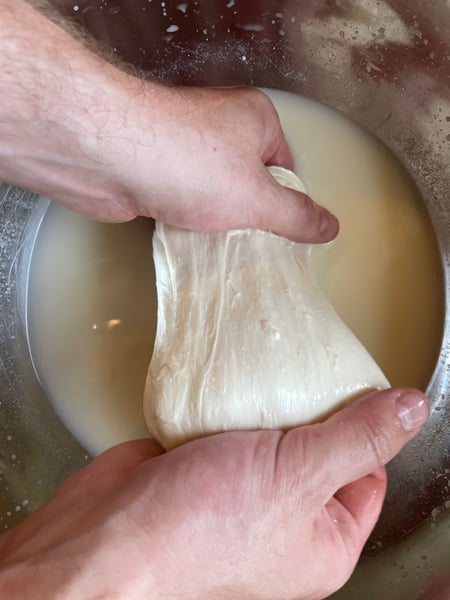
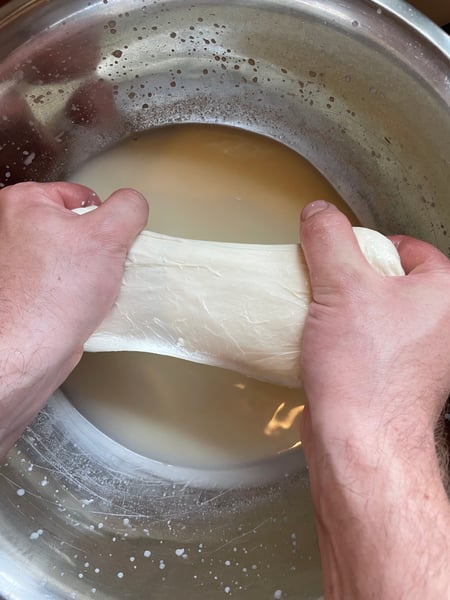
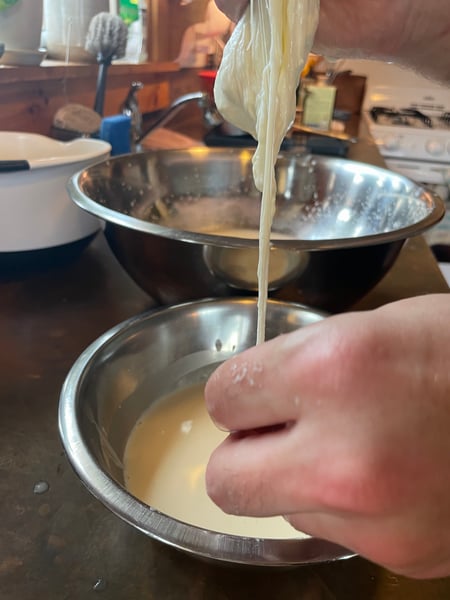 I tore off about a quarter of the stretched curd mass to use as the skins of my burrata, then pulled and stretched the rest into stracciatella, dropping the pulled curd into about a 70/30 mixture of cream/milk.
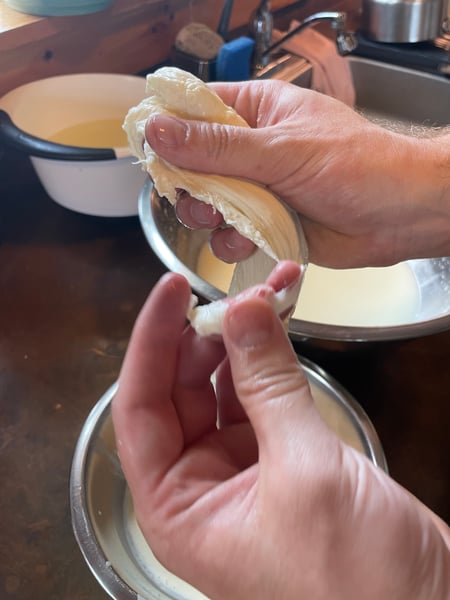
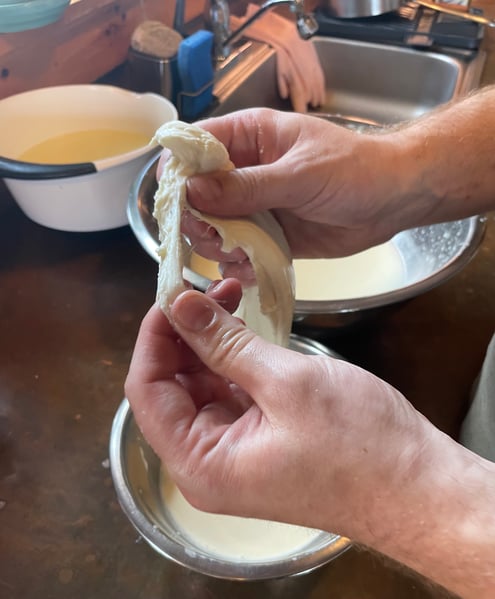
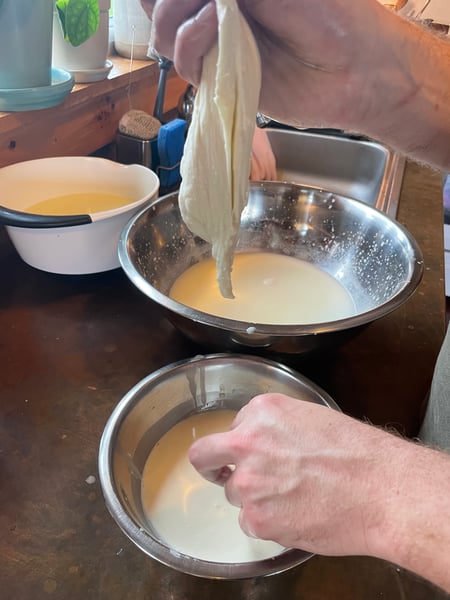
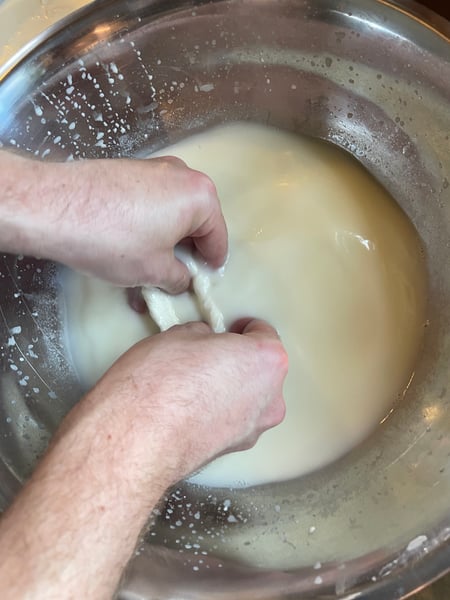 I then returned to the original bowl and re-warmed the curd for the skins with more hot water. I tried to stretch them into skins. I did okay, but I should definitely have watched someone do this before I just tried it.
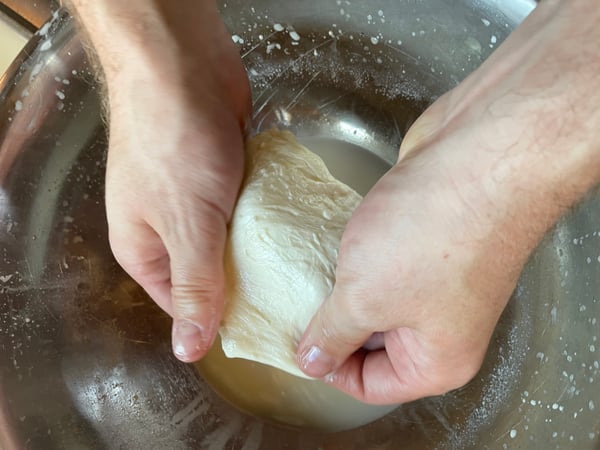
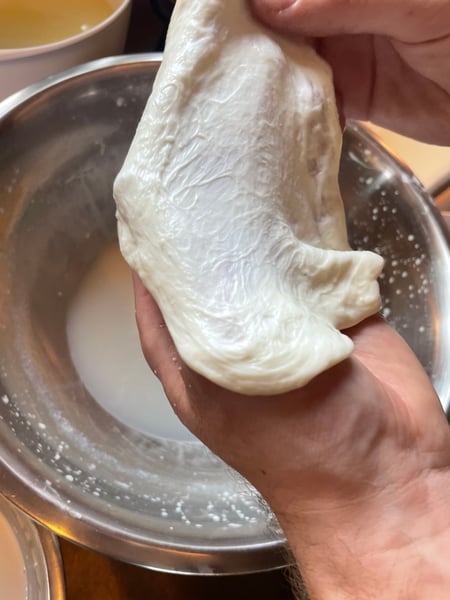
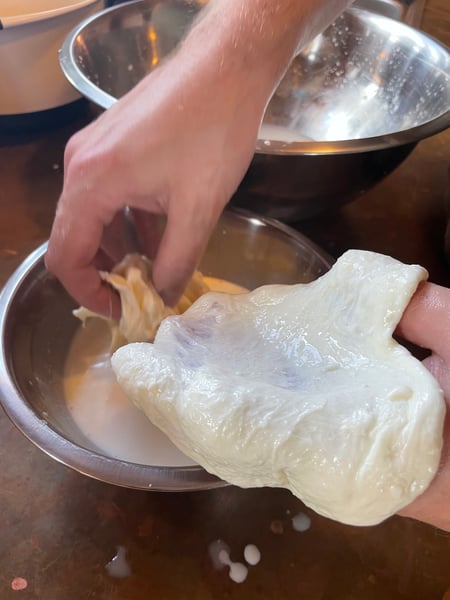 Once the skin was stretched, I quickly piled in some stracciatella and pinched it closed.
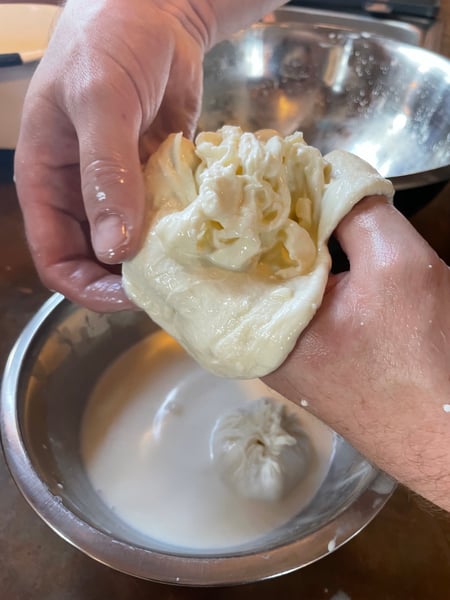
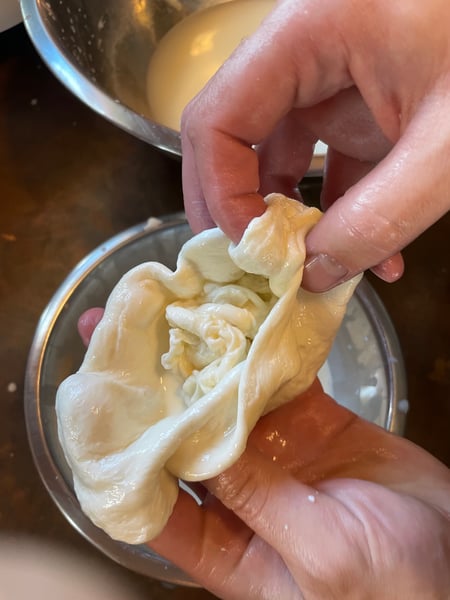
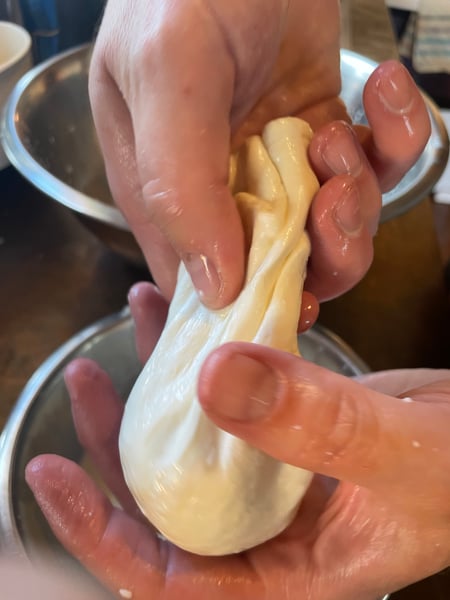
Once I had finished shaping the burrata, I chilled it in the fridge for a few minutes then dressed it with some salt and olive oil to give it a try. It was cheese, and so therefore it was delicious, but the texture was definitely tougher than I was hoping for. I think the curd definitely ended up getting overworked which I’m guessing toughened up the curd. It could also have been all the different warming and chilling cycles the curd ended up going through. I suspect that a lot of major changes in temperature would also toughen the curd up. Additionally, I’ve got to figure out how to get more cream inside the skin. All in all though, I’m pretty happy with this as a second ever cheese making attempt.
As an aside, I ended up generating about six cups of whey from this. You can use whey for a lot of things, but what I want to try is making the glorious mozzarella byproduct that is traditional ricotta. But I suppose that's for part 3!
And if this post has inspired you to seek out other Italian comfort foods why not check out our upcoming Virtual Sweet Potato Gnocchi or Virtual Pasta Shapes Workshop classes. Hope to see you there.

