

As a chef there are a lot of things most people just buy that I’ve tried to make from scratch. There are the basics like bread, ice cream, or mayo, but I’ve also made my own croissants, emulsified sausage, air dried charcuterie, Thai curry paste, and dry aged meat, among many other esoteric items that most people would probably think “why bother?” when I told them I made it myself. However one area I have never ventured into is the realm of cheese making. Of course, like most restaurant cooks of a certain level, I’ve made plenty of ricotta but beyond that, I am a complete cheese-making novice.
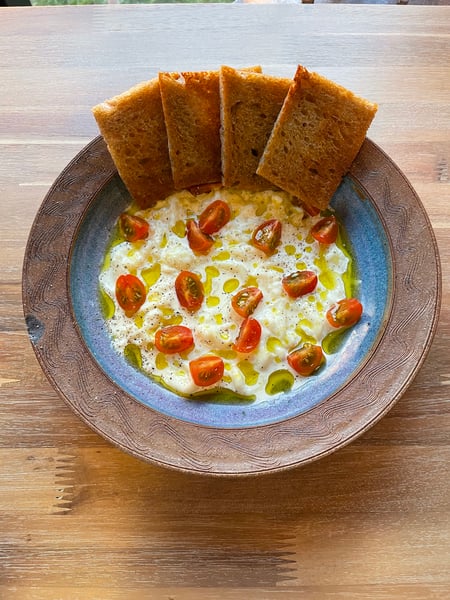 Recently, I went to a local pizza shop for dinner, and one of the appetizers on the menu was a plate of stracciatella. For those who don’t know, stracciatella is basically fine strings of fresh mozzarella cheese dressed with lightly seasoned cream. It's decadent and very delicious when done well. Most people will be familiar with stracciatella as the filling of choice for burrata. I’m a bit of a burrata and stracciatella freak, so I ordered it expecting to get the same two ounce portion you always seem to get for your $15+ at restaurants in most major cities. Imagine my delight when the plate was dropped on the table with what seemed like a cup and a half of the stuff. I realized that if this place could make their own stracciatella and afford to give out that much per plate, then I could make it myself, and have it on hand in my fridge basically 24/7.
I think a lot of people—professional cooks included—but especially home cooks tend to think of cheese making as complex, finicky, difficult, time consuming, or all of the above. But as I’ve come to understand with most cooking projects I’ve taken on over the years, it's actually easy. You probably won’t get perfect results the first time, but you can get about 80% of the way there without too much trouble.
What follows is a loose step-by-step guide to what my very first ever attempt to make stracciatella looked like. It's not a full recipe because this is still very much a work in progress, but I encourage you to give it a go as well.
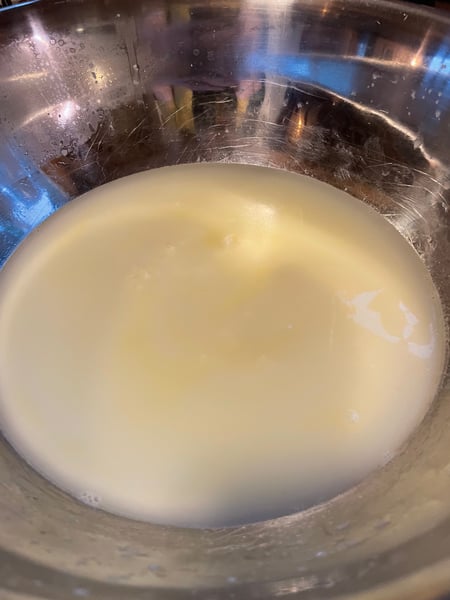
First, start with full fat non-homogenized milk. It is apparently very important for the texture of the cheese that the milk not be homogenized. Look for milk labeled “unhomogenized” “non-homogenized” or “cream top” at the store to be sure you’re getting the right one. I decided to start with a half gallon.
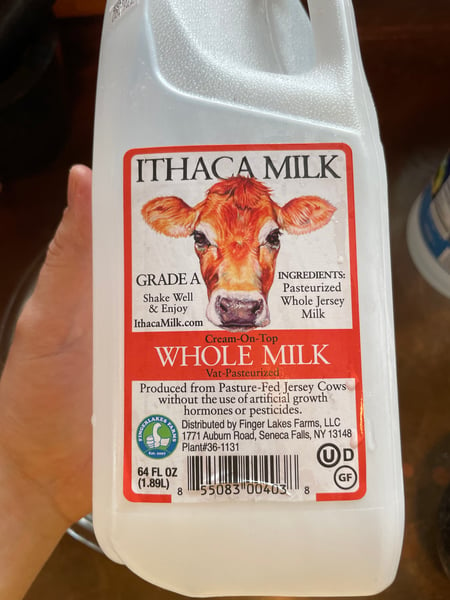 The milk I used
One of the most important steps in the cheese-making process is separating the curds form the whey. For simple fresh cheeses like ricotta this can be done by simply heating some acidulated milk. The milk can be acidulated by culturing it with microbes, or just by adding an acidic ingredient like lemon juice or vinegar. However for cheeses where you need some actual stability in the curd, you will want to split the milk with a product called rennet. I used Junket vegetable rennet tablets, and looked in the recipe packet that's included to figure out how much I would need. For making mozzarella, starting from a half gallon, I would need 1/4 tablet dissolved in 1/4 cup of water.
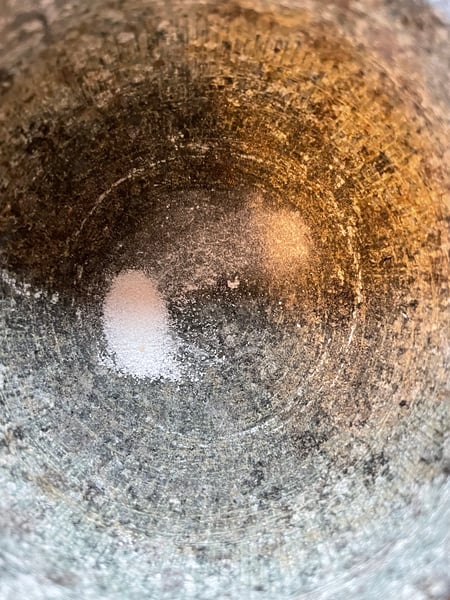
 The 1/4 tab rennet
 I powdered it up in a small mortar and pestle
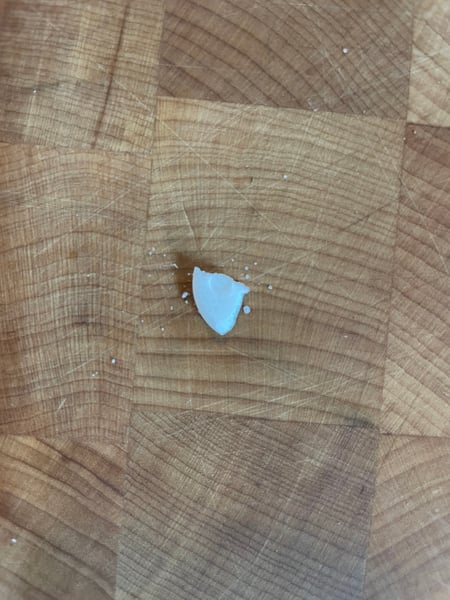
 The rennet dissolved in water
I did still need to acidulate the milk though (for flavor), so I added about four ounces of distilled white vinegar. I added this slowly to the milk while stirring because apparently if you add it too fast it can curdle the milk (I am skeptical as to whether or not this is really true, but I am a big proponent of following recipes exactly as written the first time you try them).
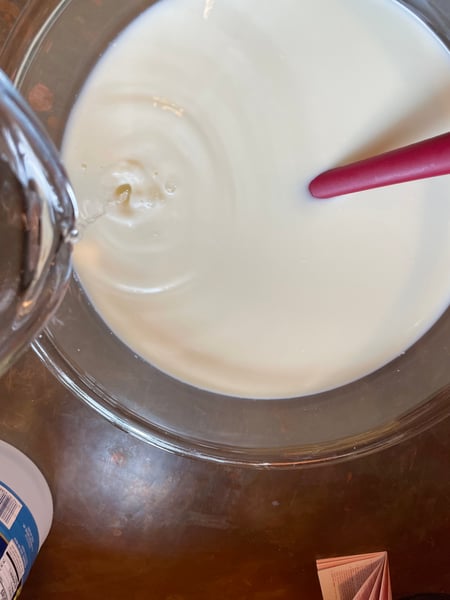 Adding vinegar while stirring
After this, we need to get the milk ready for the rennet. To do this we simply heat the milk up to body temperature (95º-98ºF). I did this using a double boiler setup so it was nice and gentle. Nevertheless I got a little too comfortable and walked away from the heating milk for about 5 minutes without stirring. When I got back I was horrified to discover the milk was starting to split before I’d even added the rennet.
 Milk beginning to coagulate
I checked the temperature to see if it had gotten too hot, but luckily it was still right around 96º-97º. I quickly stirred in the rennet and let it sit for 15 minutes to form a solid curd. After the curd forms you’re supposed to make a small cut and see a clear and clean separation. Here’s what mine looked like:
 This is not ideal
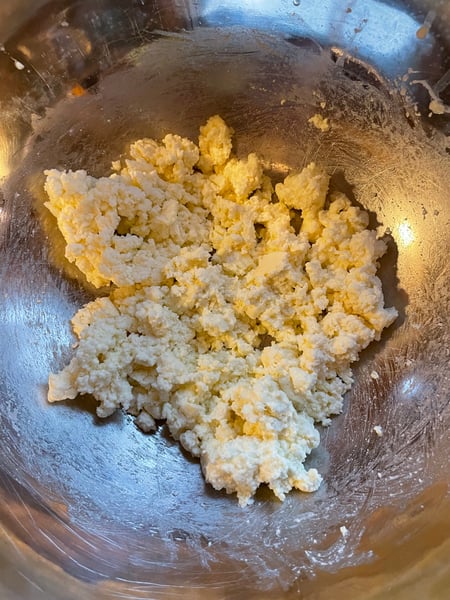
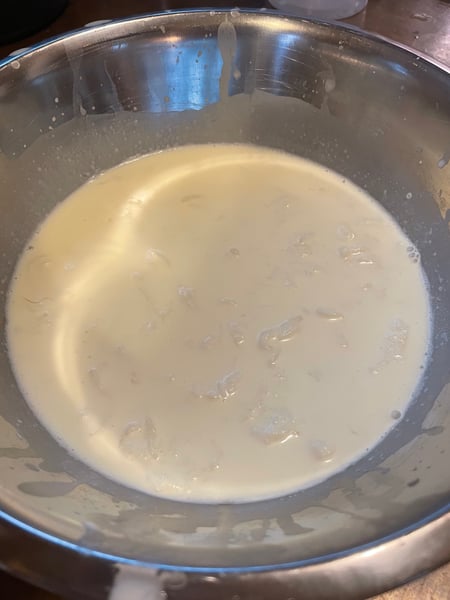
To be honest, at this point I assumed I had failed. I finished cutting the curd into a grid, and mixed it very gently with my fingers to start to firm up the curd and further separate it from the whey. When I finished, the curd had broken into what seemed like tiny pieces. At this point I was supposed to let it sit for a few minutes so the curd could fall to the bottom. I opted to spend that time driving to the store to buy new milk to try again. I was pretty sure this batch was a lost cause. When I got home I saw that the curds, tiny though they were, had indeed fallen to the bottom of the bowl. I decided to drain off the whey and continue with the process just in case it came together.
 Pouring off the whey
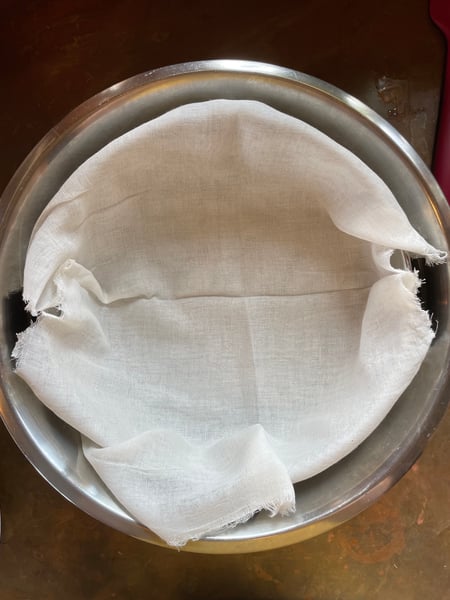
I guess with normally sized pieces of curd you could just pour the whey off and be done, but I decided mine needed a bit more straining. I poured it into a fine cheesecloth lined strainer, and let most of the whey drain out before tying it up to hang for about 5 minutes to get as much whey out as possible.
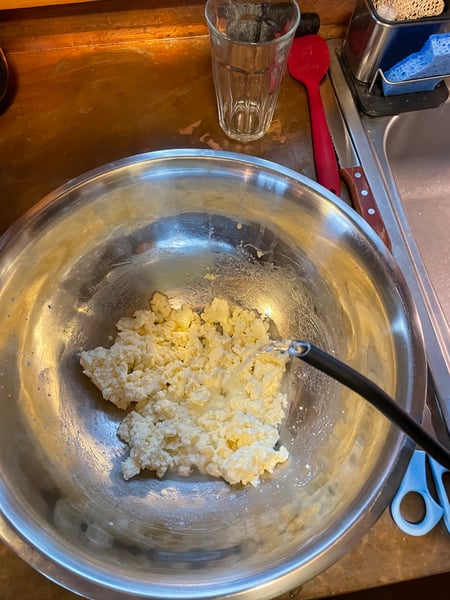
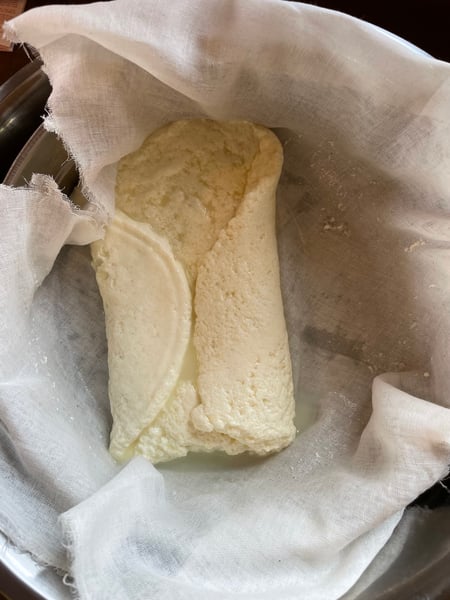 I put the drained curd in the fridge to firm up for about an hour because I felt like it was too delicate still to use in its current state. After the chilling time was up my curd had firmed up nicely. I roughly crumbled it into a bowl, and seasoned with a light sprinkling of sea salt which I mixed in very gently with my fingertips.
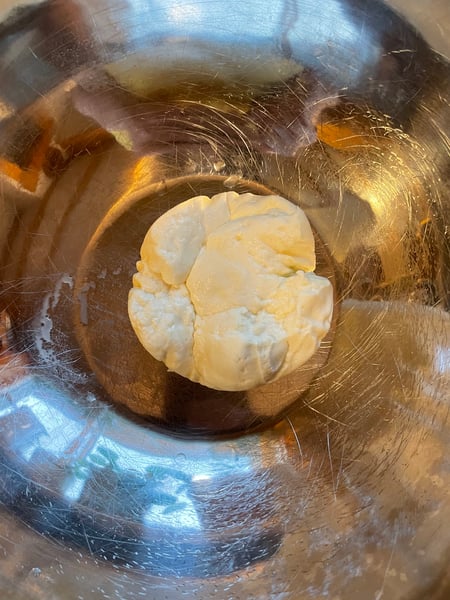
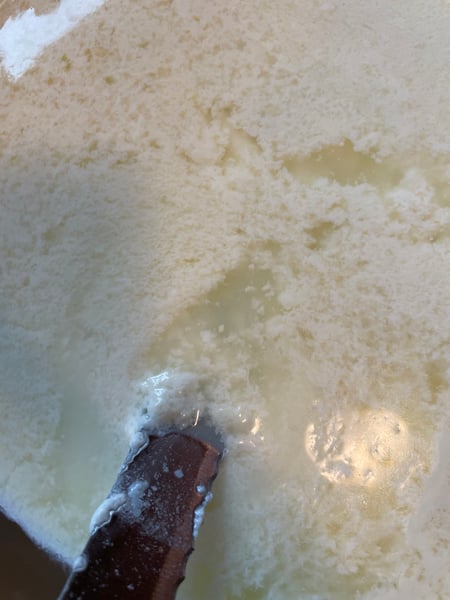
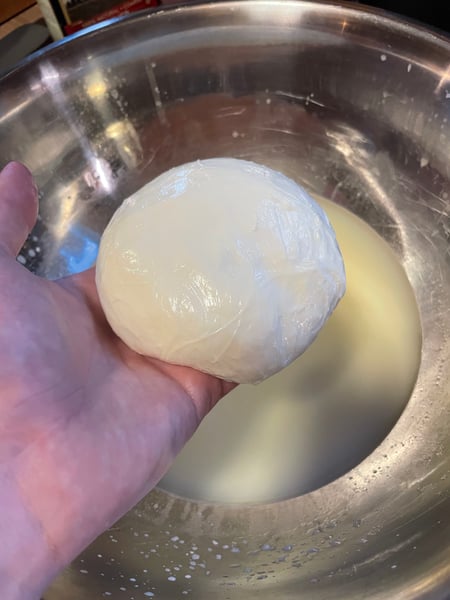
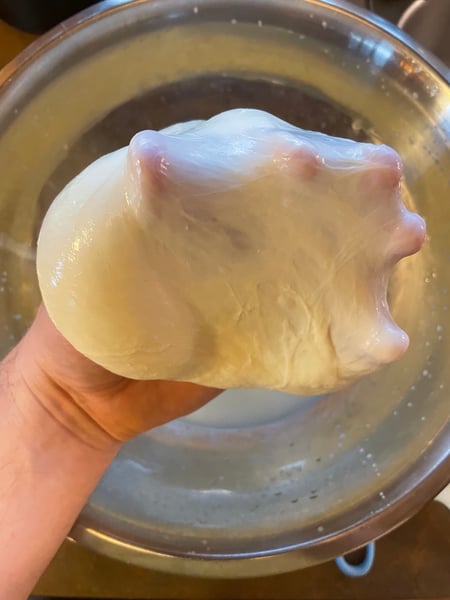
 This is where the cheese really starts to take form. It was seeming like maybe this batch was going to work out after all, but I knew this next step was the real moment of truth. The goal is to soak the curd in hot water (I used 165ºF water from a kettle). We want it to get hot enough for the curd to get almost melty; pliable and stretchy like mozzarella, but not hot enough for the fat to start melting out. A delicate balance that is meant to be achieved by adding the water in slowly. I forgot about that bit and poured in about 80% of my hot water right off the bat.
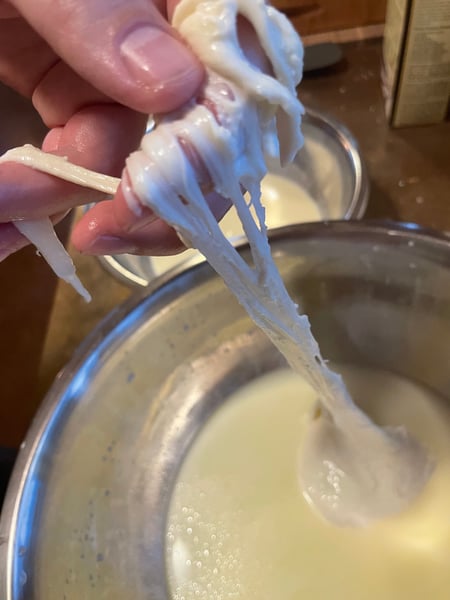
You can see that the water has turned a milky yellow color which indicated that it has gotten too hot and the fat has started to leak out. Again, not ideal, but I decided to roll with it. I worked the curds together and gently stretched them until they came together into an extremely mozzarella like ball. Success! I did it! This would be more than good enough to turn into stracciatella. I mixed my heavy cream with a bit of salt and milk in another bowl, and started filling it with my stringy bits of mozz. What a thrill!

 I hope this has shown you that even something that seems as externally intimidating as cheese making can turn out to be a surprisingly forgiving process. If there’s something you’re interested in learning, the best thing you can do is (find a good tutorial and) give it a shot. If you’re interested in learning more Italian delicacies from scratch why not check out our upcoming Italian Surf and Turf on the Patio class.
Our Owner/Chef Shelley Young attended a cheese making workshop some years ago and outlined what she learned in these blog posts. Be sure to check them out!
- Cheese Making at Home Part 1: Butter, Buttermilk and Sour Cream
- Cheese Making at Home Part 2: Cream Cheese and Yogurt
- Cheese Making at Home Part 3: Labneh "Yogurt Cream Cheese"
- Cheese Making at Home Part 4: Goat Cheese
