

In my experience, many people tend to think of French food as "fancy" food. It's true that a lot of classic French preparations are complex or labor intensive, and it's easy to think that because of this all French cooking is beyond the reach of the average home cook. But that's not true. There are a great many dishes in French cuisine that are not only achievable; they’re downright easy. Let's take a look at one of my favorites: duck confit.
 Duck confit is a classic of French cuisine, and it's easy to see why it can be intimidating. First, duck is a protein most people don’t cook very often, if at all. Second, it references a technique (confit) that is outside the repertoire of most home cooks. Not to mention the fact that it involves curing meat, and (potentially, if you’re up for it) butchering a whole duck. However, despite these hurdles I think I can show you that duck confit is composed of an approachable number of pretty basic steps.
But I’m getting ahead of myself. Let's start at the beginning. What exactly is duck confit? Typically duck confit is made from the legs of a duck which have been cured with aromatics before being slowly poached in rendered duck fat. Traditionally duck confit was a preserve that could be stored, still in the fat it was cooked in, at room temperature for quite a long time. Modern duck confit uses far less salt than traditional preparations which means it can’t sit out at room temperature, but stored in the fridge it will still last for months if it is kept submerged in the fat.
To be honest, the main difficulty I’ve found with duck confit is getting enough rendered duck fat to cook the legs (more on this in part two), which is why I usually try to start from a whole duck. That way, I can use as much of the extra skin as possible to render out more fat. However, we won’t end up needing as much fat as a traditional confit recipe (also, there is some debate as to whether the cooking medium makes any difference at all, some people maintain that a steamed-to-tender duck leg brushed with duck fat is basically indistinguishable from the real deal).
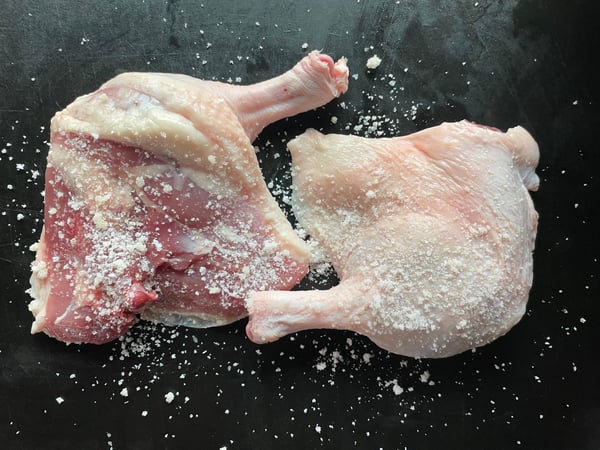
If you’re starting with a whole duck, then make sure you check for any goodies (i.e., giblets), then simply remove the legs. (If this is something you’re not comfortable doing I recommend watching a video tutorial on YouTube. Even if I gave you a step by step breakdown of how to do it, the video would be better.)
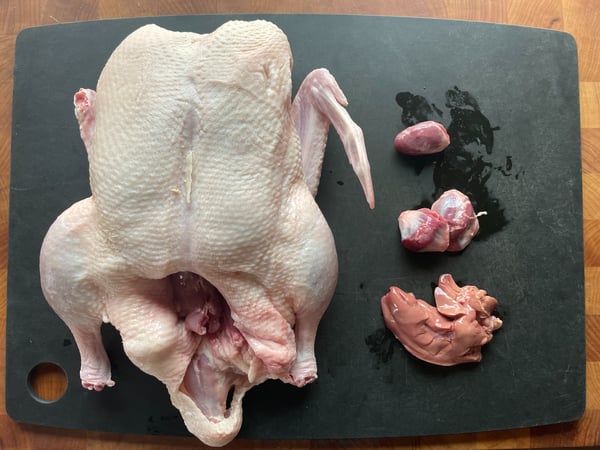
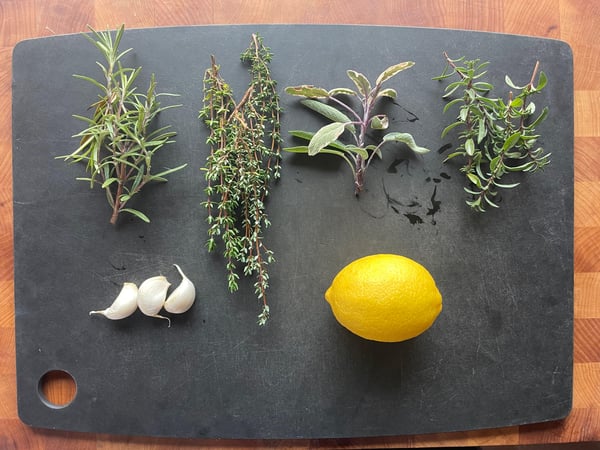
 Make sure you save the innards if you’ve got them. Typically you’ll get heart, gizzard and liver. Liver is great for incorporating into pate or sauces, or meatballs, or for emulsifying gravy. Now that you’ve isolated the legs, we can move on to the cure and flavorings. For flavorings, you can really use anything you like, but typical poultry herbs and garlic are traditional. Here I’m using rosemary, thyme, sage, winter savory, garlic and lemon zest
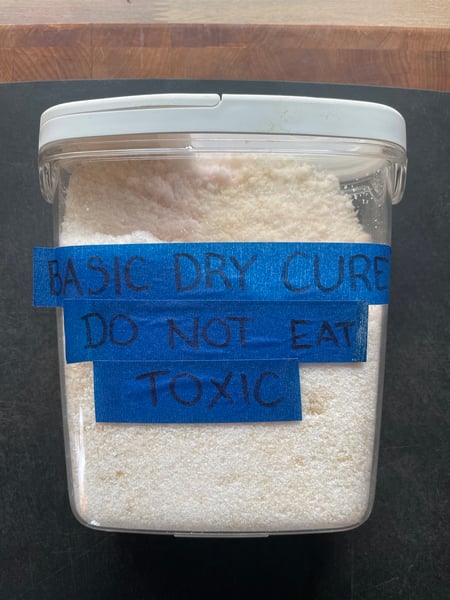
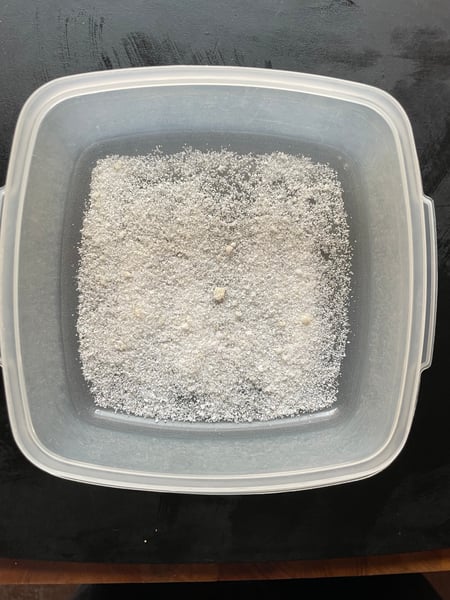
 Before we go any further, let's talk briefly about the cure mix. You could cure your duck legs in just salt, but this is leaving a bit on the table. Using a little sugar, and some pink curing salt will give you a few benefits. First, if you are planning to keep your duck legs at room temp submerged in fat for a long period of time, the pink salt will safeguard you against botulism, second, the sugar will help balance and temper the edge of all that salt, and will help bring out the character of whatever flavorings you use. I recommend making a mix of salt, sugar, and pink salt (you can make big batch to use for any future curing projects, or just enough to sprinkle over your duck legs). I use the following ratio by weight:
- 1 part salt
- 1/2 part sugar
- 1/8 part pink salt
To clarify, pink salt here refers to curing salts containing only sodium chloride and sodium nitrite. These are also called Prague powder #1, insta cure #1 or pink curing salt #1. This differs from pink curing salt #2 in that it doesn’t contain any sodium nitrate which breaks down over time into sodium nitrite. Pink curing salt #2 is used for projects that require long (many weeks plus) curing times. Additionally, do not eat an excess of pink salt on its own. Don’t use it to season your food, only use it in small amounts for curing projects. This is because sodium nitrite binds to oxygen and if ingested in excess can bind to the oxygen in your blood causing you to die from asphyxiation. You’d have to eat a lot of it for this to happen but still.
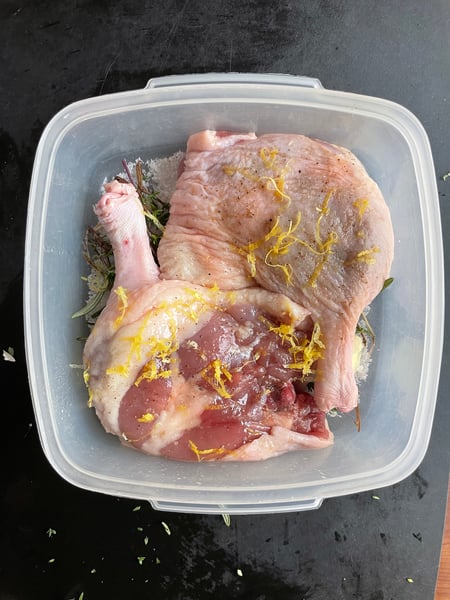
 Now that we’ve got our duck legs and cure mix ready, we can start putting it all together. Sprinkle the legs on both sides with just a bit of the cure mix, then sprinkle a thin layer on the bottom of a non-reactive container.
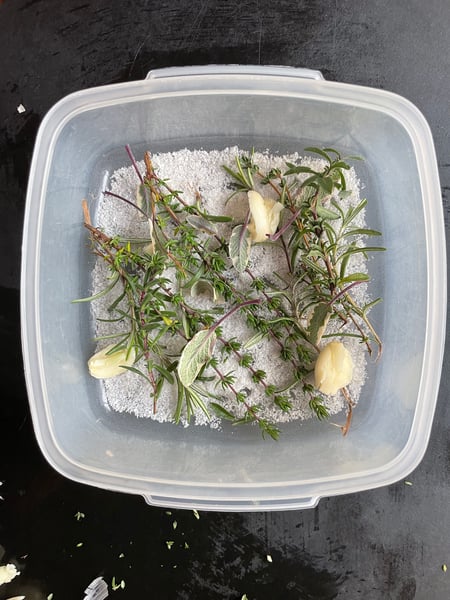
 Then put about half of your aromatics on top of the cure mix in the container. I like to give the aromatics a bit of a crush before adding them to help them release their flavor during the curing process. Then place your duck legs on top.
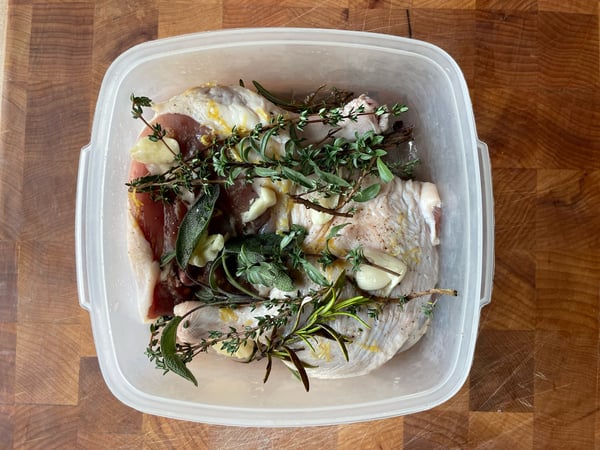
 Then add the other half of your aromatics on top of the legs, along with another light sprinkle of the curing mix.
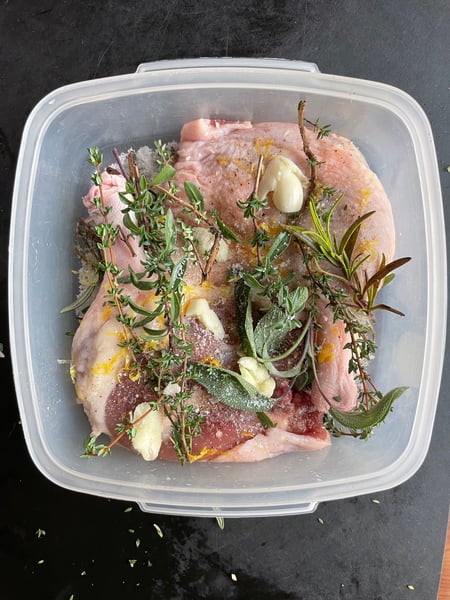 At this point, you’re ready to close up your container, and pop it in the fridge for a 24-hour cure. And that's where we’ll pick back up next time for “Duck Confit is Easy, Actually: Part Two” where we’ll learn about how to cook, store, and deploy our duck confit.
If this post has whetted your appetite for lovely French delicacies, I recommend checking out our upcoming French Bistro class this Saturday, November 19 at 6pm at Lincoln Square. There's just 3 spots left so don't miss out on:
- Forty-Clove Garlic Braised Chicken
- Truffle Mashed Potatoes
- Roasted Garlic Green Beans with Toasted Almonds
- Chocolate Mousse
