The world of kombucha has been something of a mystery for a long time and aside from a few movie references and jokes about it, the average person didn’t really know much about it. It wasn’t until recent years that it has seemed to surge in popularity and for good reason! Not only is it a tangy, tasty beverage, but it also has some great probiotics to enhance your gut health.
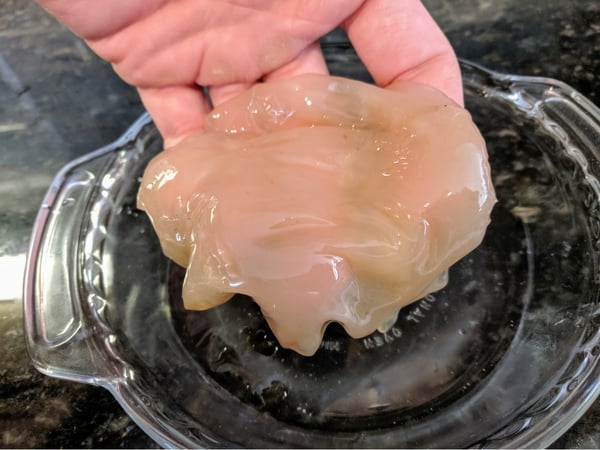
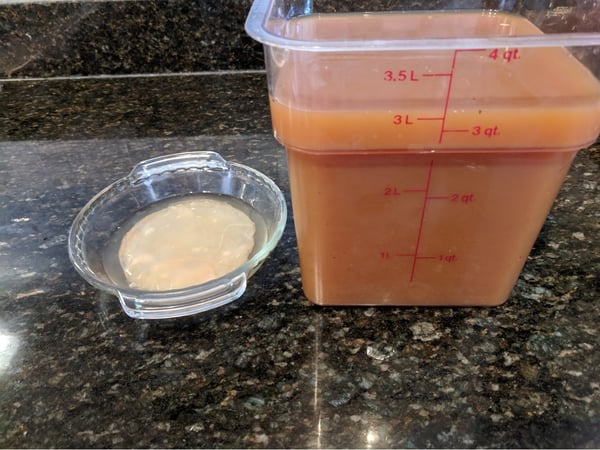
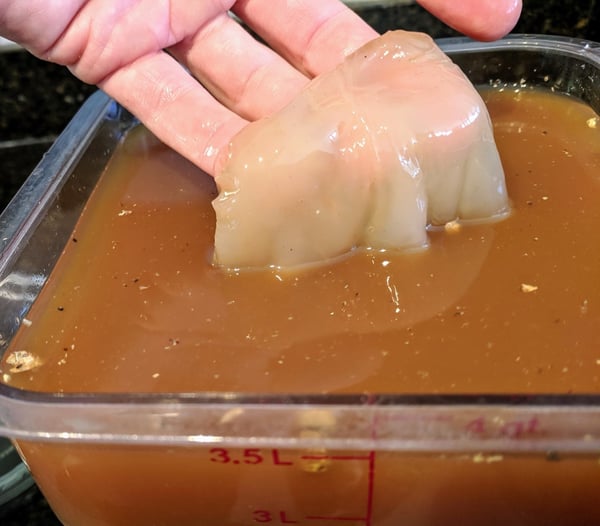
The exact origins of kombucha are unknown, but it is thought to have originated in Northeastern China or Eastern Russia. It is normally comprised of either black or green tea which has been sweetened with spices and/or citrus added. Kombucha can be flavored any way you like, as long as it has been fermented utilizing a “SCOBY”. SCOBY stands for Symbiotic Culture Of Bacteria and Yeast, and is also referred to as a “mother” or “mushroom”. As unappealing as this sounds, the flattened jellyfish appearance of a SCOBY is even more unique.
SCOBY can be purchased in a lot of different places such as health food stores, online, or most commonly just passed around between friends or at community swaps. If you are interested in growing your own, it is simple and only requires water, sugar and either a bottle of organic apple cider or another already-made kombucha.
Growing a SCOBY
If you have ever seen the tan colored, foggy particles, settled at the bottom of your apple cider vinegar or store bought kombucha, than think twice about pouring it out next time. This is the starting point for your personal SCOBY. After you have used or drank all but the lower inch of the vinegar/kombucha, swirl it around and pour the remainder into a wide mouthed, deep container (often a wide-mouthed quart jar). Next you can add a cup of water (room temp) with three tablespoons of sugar stirred into it. Cover this container with a coffee filter fastened by a rubber band. Place this in a dark spot that stays above 65°F, then leave it alone for about a week! When you return to it, you will add one tablespoon of water and one tablespoon of sugar, then once again leave it alone for a few more days. At this point you will begin to notice a little film growing on top of your liquid and this is the beginning of your SCOBY! You will continue to add a tablespoon of both sugar and water every 3-5 days and over the next month you will begin to see this thin layer of SCOBY begin to thicken and grow.
Using your SCOBY to make Kombucha
Kombucha can be made with many different mixtures, so I will give you my favorite recipe and general concepts to follow for your first go at it.
Kombucha Recipe
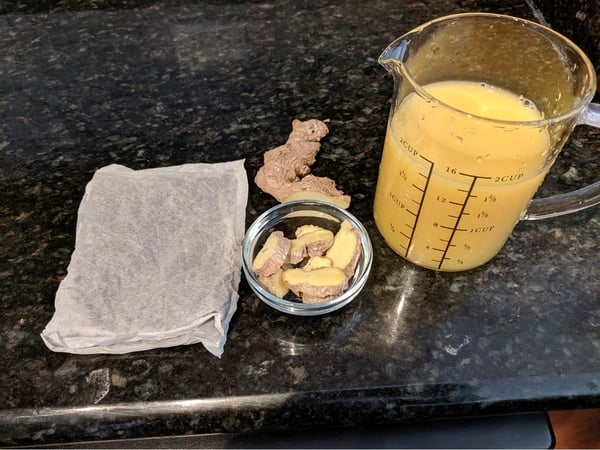
- 3 quarts water
- 1 cup sugar (regular granulated sugar works best)
- 8 bags black tea, green tea, or a mix (or 2 tablespoons loose tea)
- 2 cups starter tea from last batch of kombucha or store-bought kombucha (unpasteurized, neutral-flavored)
- 1 SCOBY per fermentation jar, homemade or purchased online
- 2 cups orange juice
- 2-inch piece of ginger root cut into small coins

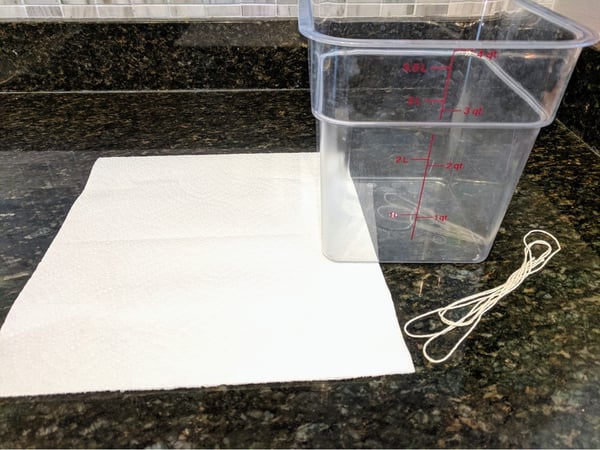
1. To start, you are going to need a large container that is okay to be used for a good week or two, this will be your fermentation vessel. Most often I will brew mine in roughly a one-gallon batch. Once you have your container, you will also need a breathable cloth or paper such as a coffee filter. This needs to be large enough to cover the opening of your container with enough over hang to fasten it with a string or rubber band.
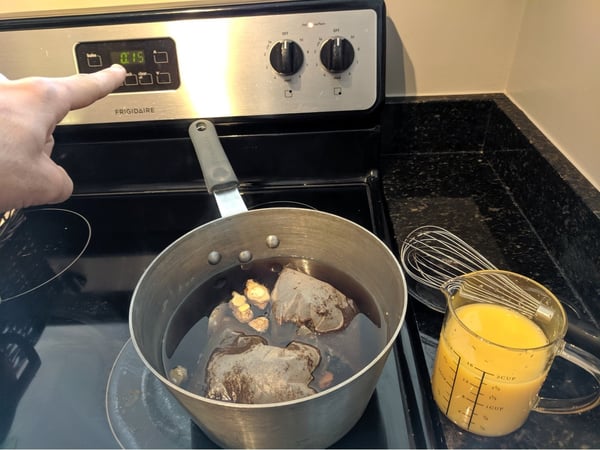
2. From here you are going to need a pot large enough to fit all your water plus about 25% more space to avoid overflow. Begin by boiling your water.
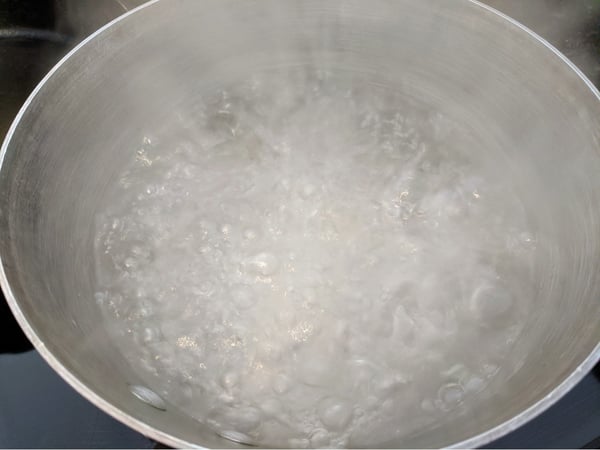
Once your water has come to a boil, turn it off and you will then add your sugar (normally about 10% of the water).

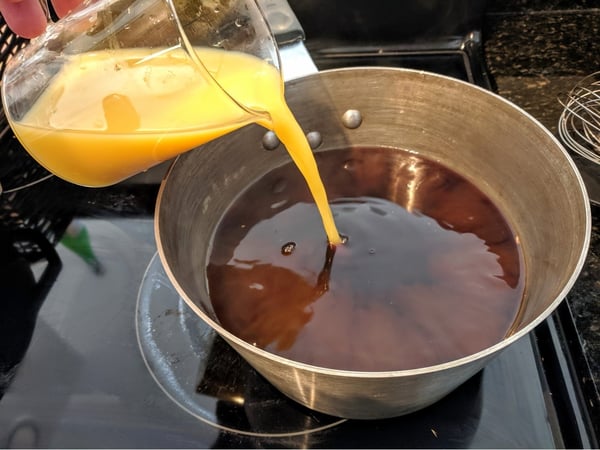
Once sugar is dissolved add your tea bags and any additional spices or flavor component at this point as well too steep for about 15 minutes. If you are adding fruit juices, add this after tea has steeped for brighter flavors.
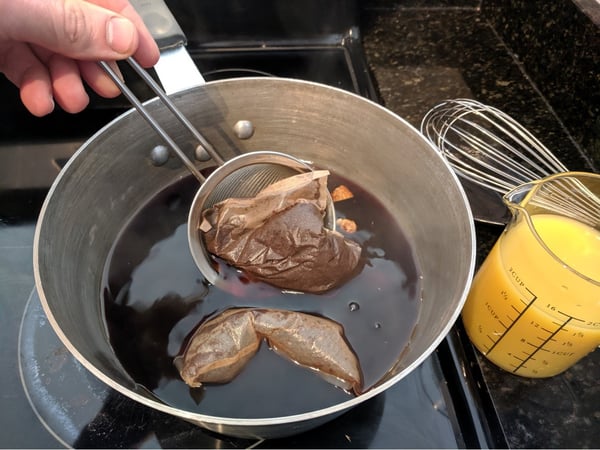
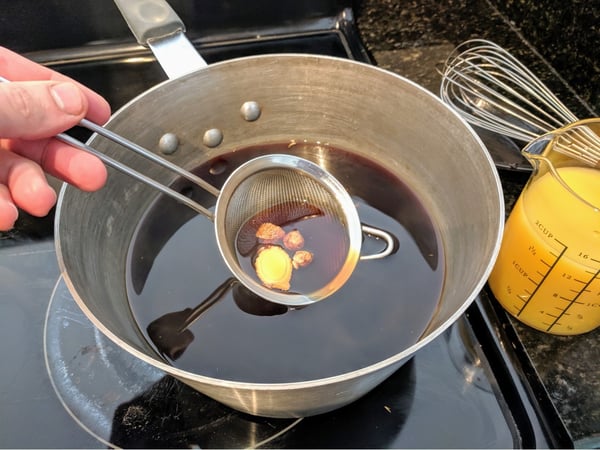
3. Remove your teabags and spices by straining your liquid as you pour it into you fermenting vessel. Leaving your tea bags in too long creates a bitter taste and the spices will continue giving flavor to the kombucha which if left too long will overpower your other flavors.
4. Next you must let the tea mixture cool down to less than 110 degrees. After it has reached this temperature you can then put your SCOBY into your tea mixture and cover the vessel with your breathable top.
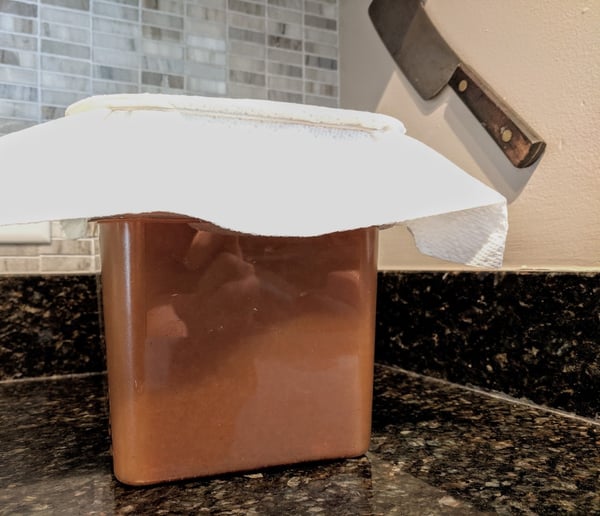
Make sure to label this so you know the dates started and then place your vessel in a dark space that stays between 65°F- 80°F. Leave it alone for about 7 days.
5. After 7 days, you will want to sample a small amount of your kombucha. At this point you are likely to need more time (often another week) but depending on the size and power of your SCOBY it's worth checking. You want to find your own happy balance on sweet and tangy/tart. The best rule of thumb is if you like it then you are done. Longer fermentation will enhance your probiotic value, but if you don’t enjoy it, then what is the use in taking it any further?
6. Next you will carbonate your kombucha which is a natural occurrence after bottling. You are best off to either reuse other screw top bottles or any form of mason jar/ latch top bottles. The number one thing to be sure of it that they are sanitized by boiling water or by chemical sanitizer (follow the packet instructions).
7. Once you have sterilized your containers, you can fill them with your kombucha and leave about a half inch of space at the top and tighten the top well. Place your bottles out of direct sunlight at room temperature for an additional 2-3 days then straight into the refrigerator to stop the carbonation for building any additional pressure. Your kombucha can be stored refrigerated for up to a month.
8. It is easier to use at least one plastic bottle for your first few batches. This will allow you to squeeze the bottle each day and when it is rock hard you know the carbonation is all set. When you have a good idea of the time-line for your recipe, you can then use all glass.
At this point you have yourself a delicious beverage to enjoy chilled or in a mixed cocktail. Kombucha is tasty and although it does take a little planning and time, it is something well worth the work. The nutritional benefits are fantastic for regulating your digestion, clearing skin, countering side effects of antibiotics, regulating blood sugar, aiding in cholesterol levels and so much more! If you want to learn more about the benefits of kombucha and many other fermented products come join me for The Chopping Block's Good for the Gut class.
We also discuss fermentation and give you more recipes to try at home in our free guide Preserving Food: Let's Can, Pickle and Ferment.