

I love having adventures in the kitchen, and I love making recipes that are totally unfamiliar to me. Both of these occurred when I tried my hand at making conchas, a traditional Mexican sweet bread that translates to “shell”. Also known as pan dulce (sweet bread), the conchas consist of a soft and tender sweet bread topped with a crunchy coating that resembles the grooves of a seashell. It’s no wonder they are called conchas!
To be totally transparent, I have never made conchas before, and I have only eaten them once or twice in my lifetime, but that didn’t stop me from venturing into unknown territory. My inspiration for making these came from the ever-so-amazing Chopping Block class assistant, trainer, friend and colleague, Eric. He helped me redesign our Summer Kids and Teen Camp curriculum, and suggested we incorporate conchas into the curriculum the day we make yeast-risen breads. I’m always game for learning about new foods and techniques, so I was more than excited to get familiar with the concha!
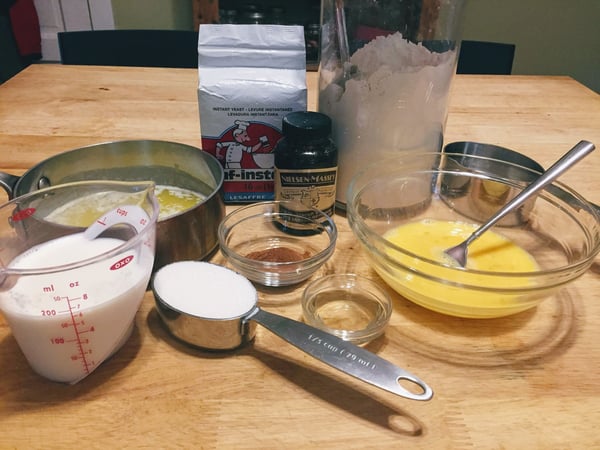
There are two parts to this recipe. The first part consists of an egg-enriched, cinnamon and vanilla flavored dough. The dough, which I made in my stand mixer fitted with a dough hook, follows the standard way of making yeast dough.
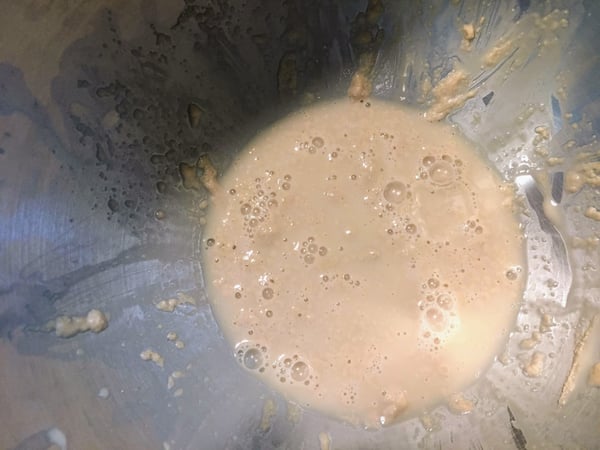
- When making yeast dough, I always start by measuring together the yeast and water, and allowing it to sit for a few minutes until bubbly. This ensures my yeast is alive, and ready to work.
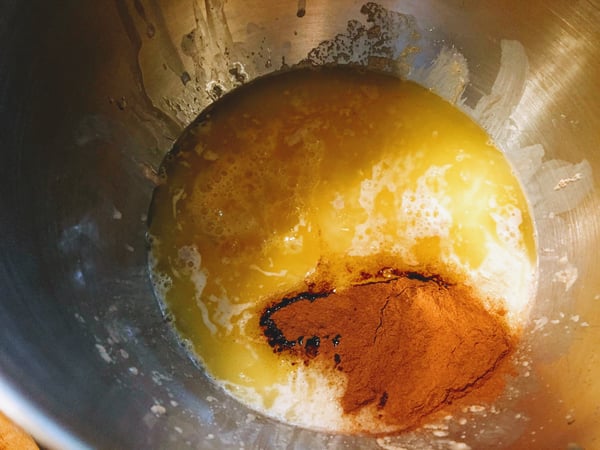
- Then I added the everything else, except for the flour, and mixed until combined. I actually used my whisk for this step, because the dough hook isn’t great at mixing wet ingredients. And, if you didn’t know this, cinnamon does really weird things in liquids! It just kind of floated on top, but incorporated nicely once the flour went in.
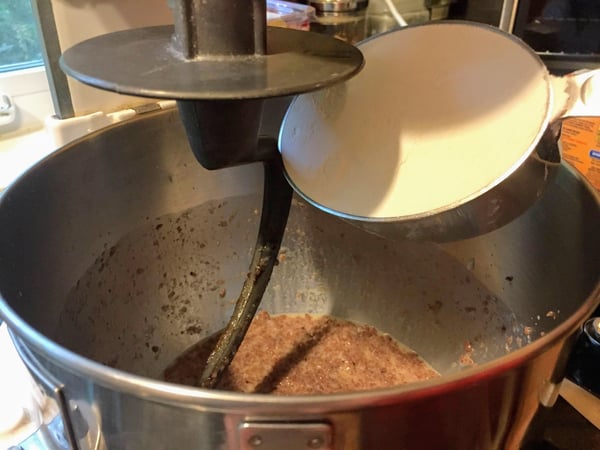
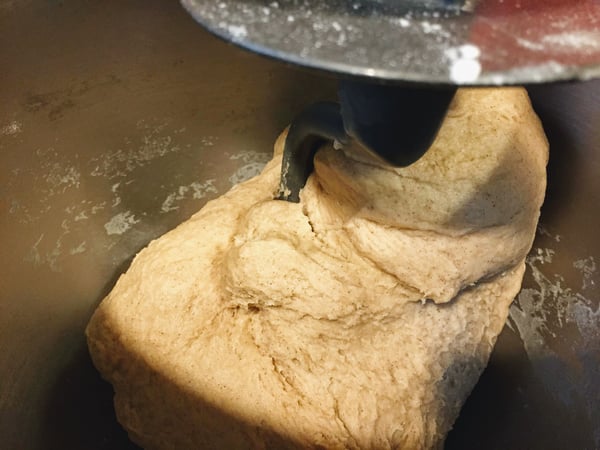
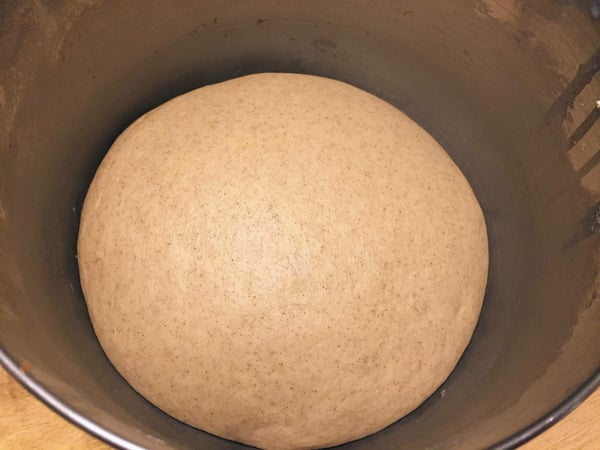
- Last, I added the 4 cups of flour, and let the dough hook work its magic. The amount of flour was absolutely perfect… the dough pulled beautifully away from the sides of the bowl and remained soft and supple. I allowed the hook to knead the dough for about 5 minutes.
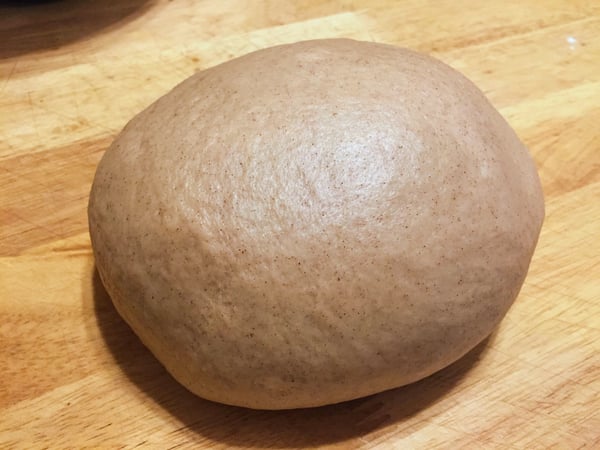
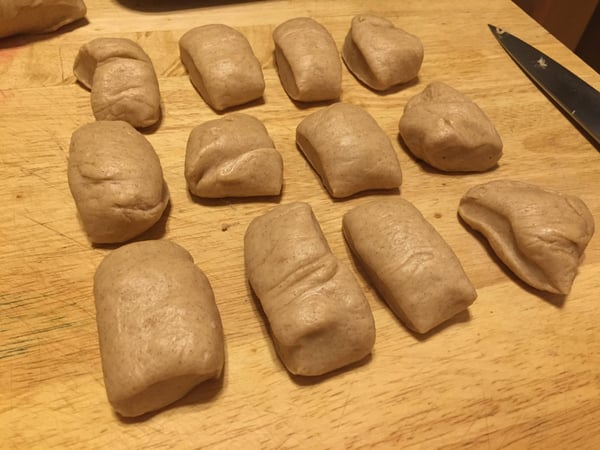
It was a pretty hot and humid day when I made the conchas, so I let the dough rise outside under a shady tree, which took about an hour. My bowl was covered with plastic wrap to ensure any uninvited guests didn’t make an appearance. Once doubled in size, I portioned the dough and formed them into balls.
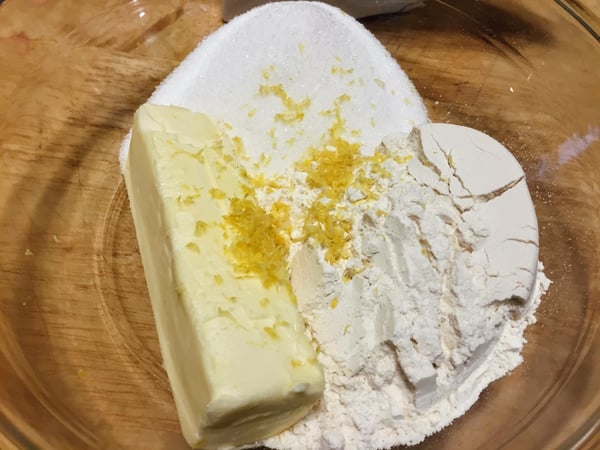
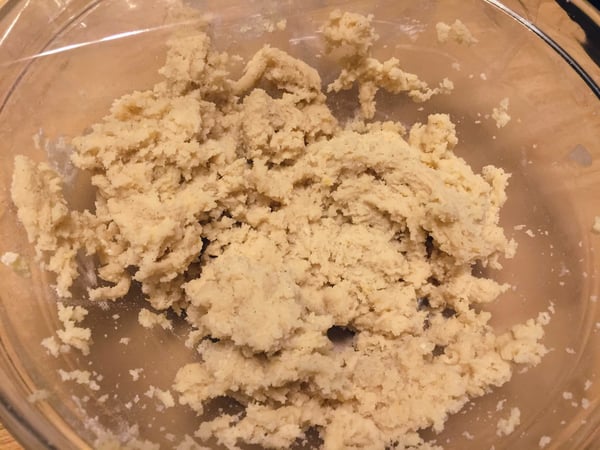
The second part of the recipe involves the crunchy topping; a mixture of flour, sugar and butter. You just beat everything together until incorporated. Our recipe calls for orange zest, but because I didn’t have any oranges, I used lemon zest instead.
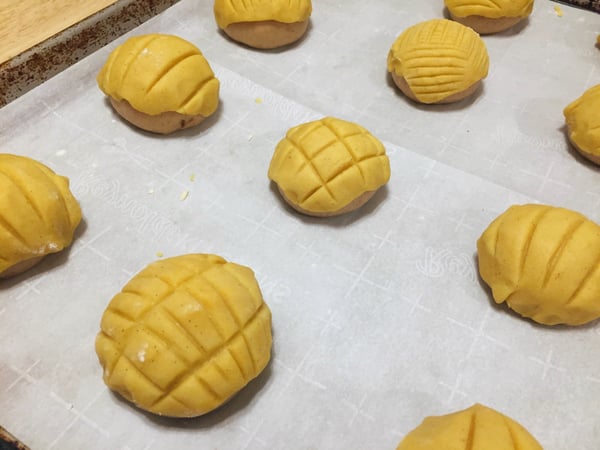
The food coloring is optional, but it makes the conchas look fun and festive. Remember that this was my first time making these, and initially I forgot to add the food coloring until I realized how monotone my conchas would look. I wanted to add red food coloring, but we were out (too many red velvet cupcakes!), so I used yellow instead, and it turned out really nice. I added about 10 drops.
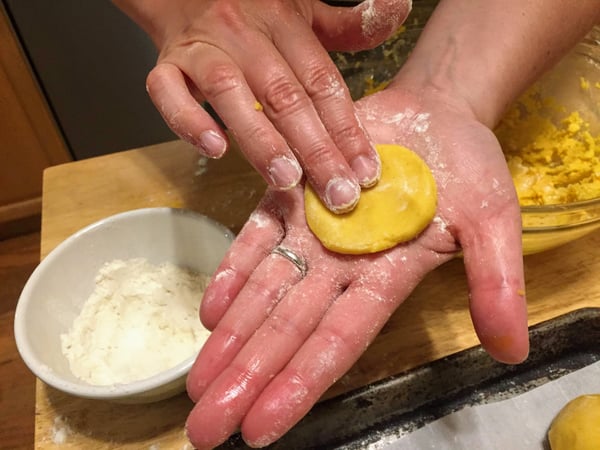
The next part is where the conchas get covered with a disk of the crunchy topping. I really could have benefited from working with an experienced concha maker here, but all in all it went pretty well. After watching some YouTube videos on this step, I discovered most people use a plastic wrap-lined tortilla press to form the circle that tops the buns. This is genius, but because I made mini conchas, I used my hands.
The mixture naturally stuck to my hands a bit, so I sprinkled a touch of flour onto my palm while pressing the yellow topping into a circle just large enough to cover the shaped buns.
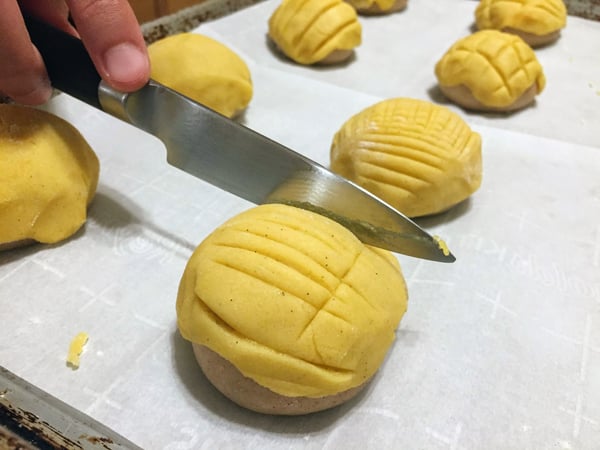
I draped the topping onto each bun and my daughter and I used a paring knife to make the tops look like shells. I learned a few things in doing this. Don’t drag the knife, or the dough will look kind of ragged. We learned this the hard way, but it could have been because my kitchen was pretty warm and the topping was getting a bit soft. Just press the knife into the topping, or even better use what the pros use: a concha cutter. This would have made my life a lot easier, but my daughter and I had fun being creative and making lots of different designs. Another thing we discovered is that we didn’t cut the topping deeply enough, so when the conchas baked, we lost some of the markings.
After all of the conchas were assembled, I covered them with a towel and allowed them to proof for an additional 30 minutes.
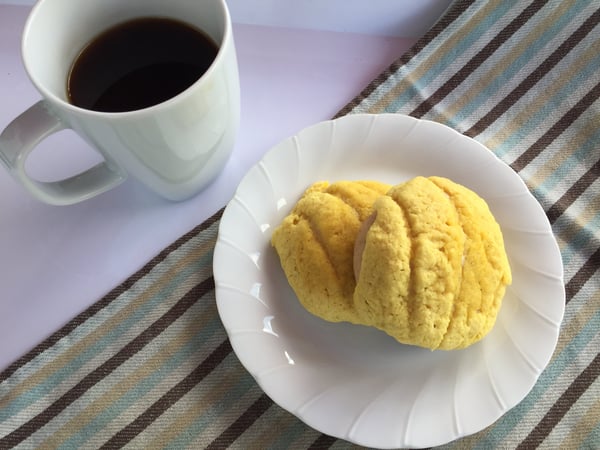
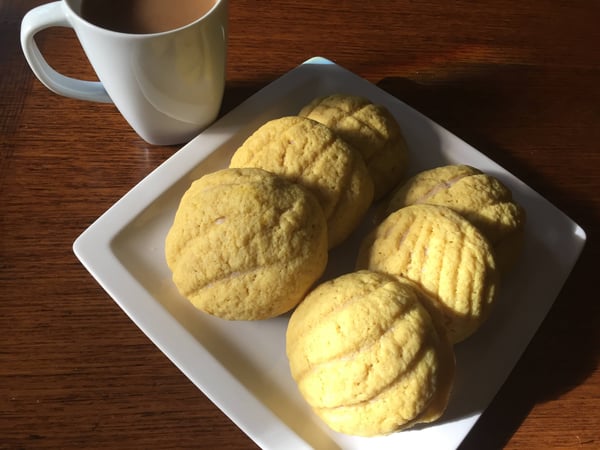
They baked up beautifully, and once they cooled my family and I jumped right on them. The texture was exactly what it should have been; a soft, sweet and tender bun on the bottom with a crispy, crunchy topping. The contrast between the two was perfection. They are amazing with a cup of coffee!
Orange and Vanilla Mini Conchas (Popular Mexican Sweet Pastry)
Scroll down for a printable version of this recipe
Yield: 24 mini conchas
Active time: 45 minutes
Start to finish: 2 hours, 40 minutes
1/4 cup water, 110° to 120°
2 1/2 teaspoons active dry yeast
1 stick unsalted butter, melted and cooled
1 tablespoon grapeseed oil
1/3 cup granulated sugar
3/4 cup whole milk
1/2 teaspoon fine sea salt
2 teaspoons vanilla extract
2 teaspoons ground cinnamon
2 eggs, room temperature, well beaten
4 cups all-purpose flour
For the topping:
1 stick unsalted butter, room temperature
2/3 cup granulated sugar
1 cup all-purpose flour
1 teaspoon vanilla extract
1 teaspoon orange zest
Food coloring (optional)
1. In the bowl of a stand mixer fitted with a dough hook, or a large mixing bowl, mix together the warm water and the yeast. Allow to sit until foamy, about 5 minutes, to ensure the yeast is alive.
2. Add the melted butter, grapeseed oil, sugar, milk, salt, vanilla extract, cinnamon and eggs to the bowl. Mix together the ingredients with the dough hook, or a whisk if making this in a large bowl.
3. Add the flour to the bowl, and if using a stand mixer, mix with the dough hook until soft and smooth. The dough should pull away from the sides of the bowl. If making this in a bowl, add the flour and use a wooden spoon to mix in the flour. Transfer the shaggy dough to your work surface, and knead for about 10 minutes or until soft and smooth.
4. Lightly brush the inside of a large bowl with grapeseed oil, and place the dough in the bowl. Cover with plastic wrap, and allow to rise until doubled in size.
5. While the dough is rising, prepare the topping. In a large bowl, using an electric mixer, beat together the butter, sugar, flour, vanilla extract and orange zest until smooth. Add food coloring if you like. Cover with plastic and set aside.
6. Preheat the oven to 350°, and line two sheet trays with parchment paper.
7. Transfer the risen dough to a clean work surface, and divide into 24 equal pieces. Form the dough into balls, and place 12 on each sheet tray. Cover with a kitchen towel.
8. To cover the dough, take about 1 tablespoon of the orange-vanilla topping, and using the palm of your hand, flatten it into a thin round that’s just large enough to cover the concha.
9. Drape the topping over the dough ball, patting it down lightly. Repeat with the remaining topping and dough balls.
10. Using the back of a paring knife, cut grooves into the topping to resemble a clam shell. You can also make other decorative designs.
11. Cover the conchas with the kitchen towel, and allow to proof an additional 30 minutes.
12. Remove the towels, and bake until light golden brown, 20 to 25 minutes.
13. Enjoy while warm.
Now that conchas have invaded my life, I am on a quest to order them everyplace I find them. I’m excited to try different variations and flavors of this popular treat so I can put my own spin on my next batch. If you have a favorite bakery that makes conchas, please comment below and let me know!
For a savory Mexican dish to serve with these conchas, check out our virtual cooking demo on Chiles en Nogada on Thursday, July 16 at 6pm CST. For just $11, you'll learn how to make these Poblano Peppers Stuffed with Spiced Pork and Dried Fruit with Walnut Crema.


Orange and Vanilla Mini Conchas
Ingredients:
- 1/4 cup water, 110° to 120°
- 2 1/2 teaspoons active dry yeast
- 1 stick unsalted butter, melted and cooled
- 1 tablespoon grapeseed oil
- 1/3 cup granulated sugar
- 3/4 cup whole milk
- 1/2 teaspoon fine sea salt
- 2 teaspoons vanilla extract
- 2 teaspoons ground cinnamon
- 2 eggs, room temperature, well beaten
- 4 cups all-purpose flour
- 1 stick unsalted butter, room temperature
- 2/3 cup granulated sugar
- 1 cup all-purpose flour
- 1 teaspoon vanilla extract
- 1 teaspoon orange zest
- Food coloring (optional)
Instructions:
- In the bowl of a stand mixer fitted with a dough hook, or a large mixing bowl, mix together the warm water and the yeast. Allow to sit until foamy, about 5 minutes, to ensure the yeast is alive.
- Add the melted butter, grapeseed oil, sugar, milk, salt, vanilla extract, cinnamon and eggs to the bowl. Mix together the ingredients with the dough hook, or a whisk if making this in a large bowl.
- Add the flour to the bowl, and if using a stand mixer, mix with the dough hook until soft and smooth. The dough should pull away from the sides of the bowl. If making this in a bowl, add the flour and use a wooden spoon to mix in the flour. Transfer the shaggy dough to your work surface, and knead for about 10 minutes or until soft and smooth.
- Lightly brush the inside of a large bowl with grapeseed oil, and place the dough in the bowl. Cover with plastic wrap, and allow to rise until doubled in size.
- While the dough is rising, prepare the topping. In a large bowl, using an electric mixer, beat together the butter, sugar, flour, vanilla extract and orange zest until smooth. Add food coloring if you like. Cover with plastic and set aside.
- Preheat the oven to 350°, and line two sheet trays with parchment paper.
- Transfer the risen dough to a clean work surface, and divide into 24 equal pieces. Form the dough into balls, and place 12 on each sheet tray. Cover with a kitchen towel.
- To cover the dough, take about 1 tablespoon of the orange-vanilla topping, and using the palm of your hand, flatten it into a thin round that’s just large enough to cover the concha.
- Drape the topping over the dough ball, patting it down lightly. Repeat with the remining topping and dough balls.
- Using the back of a paring knife, cut grooves into the topping to resemble a clam shell. You can also make other decorative designs.
- Cover the conchas with the kitchen towel, and allow to proof an additional 30 minutes.
- Remove the towels, and bake until light golden brown, 20 to 25 minutes.
- Enjoy while warm.