

If you want to earn your baking creds, learning how to roll pie dough is a must but don’t feel alone if you have had some failures! Doughs of any kind require more than just a good recipe; they require good technique. That is the essence of what The Chopping Block does. Yes, we provide great recipes but what we really do, whether it be virtually or in-person, is teach technique. Technique takes time to develop, and it takes repeated efforts. The hard part is to keep from getting discouraged when we have failures.
If you have attempted pie dough before without success, be forgiving of yourself and know that is part of the process. You may also be pleased to know that your failures and frustrations may be mostly due to receiving some misleading information. I am going to break the process down for you step-by-step and debunk some bad advice you have likely been given over the years.
 I am going to focus on how to roll pie dough in this blog, not the technique of making the actual dough. But you can watch my video on how to make our tried and true pie crust recipe. This is the recipe I am demonstrating with in these videos and photos.
Step 1: Chill the dough for 24 hours
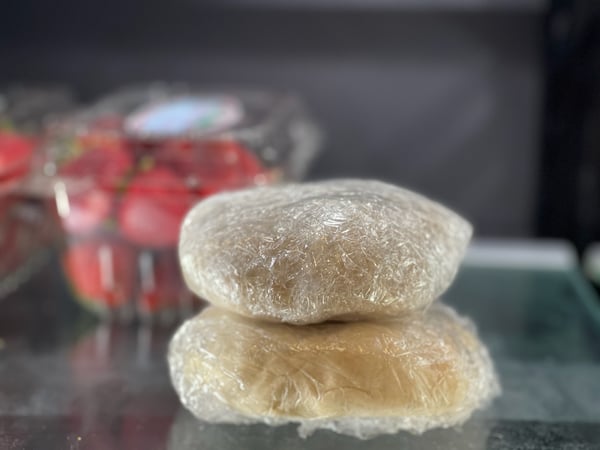 This is really the game changing tip: a really cold pie dough is so much easier to roll than a slightly chilled pie dough. Almost every pie dough recipe I have ever seen says to chill your pie dough for two hours. I can promise you this is not helpful and precisely the reason most people have difficulty rolling pie dough. That's because your dough is not chilled after just two hours. After two hours, your dough is very chilled on the outside and still warm on the inside. When pie dough is chilled for just two hours, it makes it hard to roll. Since the outside is chilled and the inside is warm, the outside will crack and split while the inside will be warm and sticky.
What I recommend you do is completely chill your pie dough for 24 hours, so that the dough is chilled from the inside out. The entire disc of dough should be really hard and cold. I think of it this way: pie dough has a lot of butter in it. Could you roll a stick of warm butter into a circle? I think not. Could you roll a stick of ice cold butter into a circle? That's much more likely.
Once you have completely chilled the dough, please do not then take it out of the fridge and warm it up before you roll it. You will end up back where you started, except now the outside is soft and sticky and the inside is cold. I promise you that is even harder to roll than the other way around.
Step 2: Rolling surface
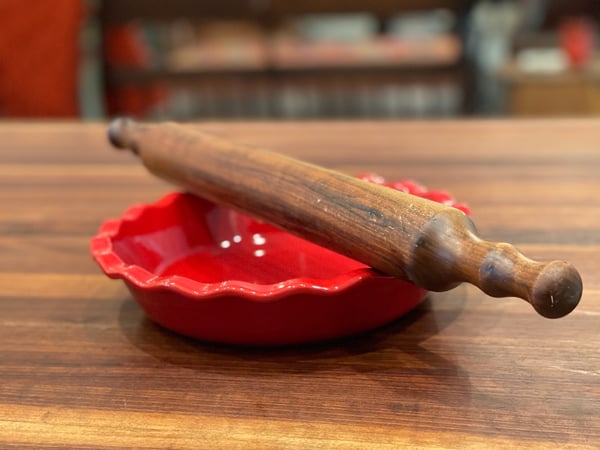 The surface you roll on isn’t critical if your dough is thoroughly chilled but I wanted to share a couple of thoughts on the subject. Many people recommend marble as an ideal surface, the concept being that marble's surface is colder, so it keeps the dough colder. This is technically not true; everything in your kitchen is the same temperature. It’s just that some materials conduct temperature better than others, and marble is a very poor conductor of heat so it feels cooler. Since marble is a poor heat conductor it certainly helps to keep your dough cold, so if you live in a really warm or humid climate, marble may be very helpful.
I personally like to use a wood surface to roll my pie dough. Wood has texture and that texture grabs the surface of the dough, so I feel like it lends a hand when rolling the dough. You can roll pie dough on any surface when your dough is extremely cold, because the cold dough is what really helps to keep it from sticking.
Step 3: Lightly flour the surface
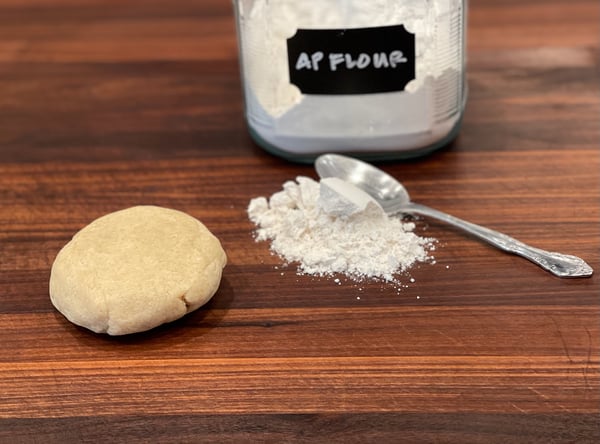 Just a light dusting of flour applied many times is better than one big thick coating of flour. Just add flour as needed as too much flour can toughen the dough.
Step 4: Make the dough pliable without warming it
How we make the pie dough pliable from that very cold state is to whack it a few times with a rolling pin. This process is extremely fast, effective and fun! Don’t take this to an extreme, just about 10 to 15 whacks evenly distributed over the top of the dough is sufficient.
Step: 5 Move the dough while rolling
You can flour the board and still have the dough stick. You need to move the dough around and reapply the flour to make sure it isn’t sticking. This is a big one, most people don’t do this and end up rolling the dough without ever moving it or making sure it isn’t sticking. It is very disappointing to find that you rolled the dough into a beautiful circle, and it is completely stuck to the board.
Step 6: Rolling the dough into a circle
- After you make your pie dough and before you chill it, form it into a circle. It is easier to roll it into a circle if you start with a circle.
- General Shaping: I like to think of the dough like a clock. I roll from 12 o'clock to 6 o'clock, rolling the entire surface of the dough. Rotate the dough 180 degrees and roll it again from 12 o'clock to 6 o'clock, rolling the entire surface of the dough. Then I turn it 90 degrees and roll it 12 o'clock to 6 o'clock, rotate the dough 90 degrees and again roll it 12 o'clock to 6 o'clock, each time rolling the entire surface of the dough. Once you complete these initial steps, you will have the foundation of a circle.
- Fine Tuning the Shape: After the general shaping, I usually end up with the foundations of a circle but will find that some of the edges are straight, not rounded. What I do is use the end of my rolling pin and roll from the center of the dough outwards to round out the edge. Through most of the fine-tuning process, I am either rolling the entire dough or rolling from the center of the dough outward towards the edge. What I don’t want to do is to roll the edge itself. If you are trying to round out the edge by rolling the actual edge you may make the edge very thin, and that thin edge poses problems. It can become too thin and start to crack and stick, it can also make it difficult to form a nice decorative edge. Either roll from the inside out or roll the whole entire surface of the dough.
- This might sound obvious but one thing that is very helpful in being able to roll your dough into a circle is to be able to look at your dough and understand why it isn’t a circle. Do not feel bad if you don’t have this skill, you can make beautiful pies without being able to roll a dough into a perfect circle. You may want to get one of those pie dough rolling mats that have circles on them so you have a visual aide.
Step 7: Roll the dough to the pan size, not the thickness
Clearly, we don’t want a paper-thin crust or a really thick crust, but if you are using a good pie dough recipe it should be built according to the range of a standard pie dish, so to me, thickness is a non-issue. Instead focus on size of the circle fitting the pie dish. Roll your dough into a circle that is 2 to 3 inches wider than the pie pan you are placing it in and don’t worry so much about thickness.
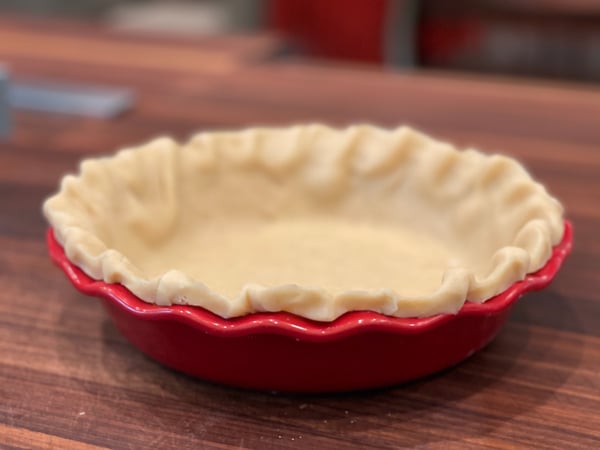
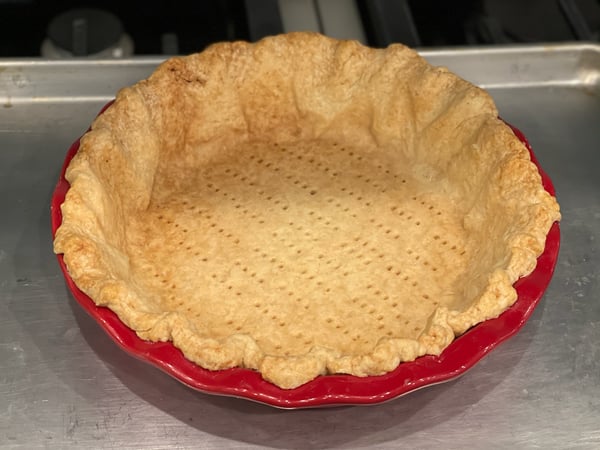
Step 8: Fold Under the Overhang to Create the Edge of the Crust
For a one crust pie, don’t cut all the overhang off of the edge, tuck it under to create a thicker edge that can more easily be crimped and hold its shape.
On a two-crust pie, fold the top crust underneath the bottom crusts overhang to create the edge.
When making a tart, we fold the overhang over and into the tart pan to create a more thick and durable edge to the tart.
Step 9: Make sure the dough is cold before baking
Ideally after rolling your pie dough, the dough should still be really cold. It will likely take some practice before you can roll your dough fast enough to keep it cold from start to finish. However, there is no need to worry. While you are still perfecting your rolling technique, you can just chill the dough after you roll it. The colder the dough is when it goes in the oven the flakier the crust will be, so the cold dough is not only essential for easier rolling but also to create a flakier crust with less shrinking. Chilling dough after it is rolled is quick. Putting the whole pie or just the crust into the refrigerator for about 15 minutes will do the trick.
 I hope you find these tips helpful but if you feel like you would like some live interaction with a professional chef, join us for our popular Pie and Tart Boot Camp at Lincoln Square on Sunday, July 25 at 10am. This weekend's session is already sold out, so be sure to reserve your spot early as space is limited!
