I love pretty much anything lemony, and lemon curd is way, way up at the top! I use it on all sorts of things from slathering it on scones and muffins to topping a tart to swirling it into my morning yogurt. And while this is tough to admit, I’ve also been known to hear it calling my name as I walk by the fridge which, of course, makes me pop in and just eat a spoonful right from the jar! And since making it is so simple, I almost always have some on hand.
I’ve used my lemon curd recipe interchangeably with limes and oranges, so I know it works well for citrus fruits. But with summertime here, and so many more amazing fruits in abundance, I thought a seasonal, non-citrus fruit curd or two might be fun to try. When I went to the Internet to see what was out there, everything I found seemed to include cornstarch (my lemon curd recipe does not). I gave one recipe for strawberry curd a go, but it ended up not as “strawberry-ish” as I would have liked, and – more importantly from my perspective – it also left a bit of a chalky aftertaste, which I could only attribute to the cornstarch. So I scrapped the whole search and instead decided to try using my own lemon curd recipe as a base for strawberry curd and peach curd.
I had to do a little bit of tweaking, but eventually got there after a couple of tries, and I learned a number of things along the way. First I found that using fruits that don’t have the natural “zing” of lemons (or citrus in general) will yield a milder, softer tasting curd. This was fine with me but, even so, I wanted to be sure they still had substantial flavor. When I did an equal substitution of strawberry or peach juices for my usual amount of lemon juice, the result just didn’t have enough flavor. I had to increase the amount of fruit juice I was using.
For my lemon curd recipe, I use ½ cup of lemon juice. With the strawberry and peach curds, I ended up using ¾ cup of juice. I also found that it needed a little kick – something to add just a bit of that missing “zing”! – so I also added the juice from half a lime and that seemed to do the trick.
Lastly, I found that I needed to add an additional egg yolk to my lemon curd recipe in order to get the consistency I wanted with the strawberry and peach curds. I’m not sure, but I think this may have something to do with the fact that the juice from the strawberries and peaches is a bit thicker than lemon juice, since it is strained off from puree (versus juice simply being squeezed directly from lemons), and these juices are also a lot less acidic than the lemons.
Once all was said and done, I ended up with two beautiful seasonal curds – and I wanted to share the process with you so you can enjoy them as well! Not including the time it takes for the finished curd to cool down, making one of these curds takes less than an hour – and you’ll have enough to enjoy for a good week or two… so long as you don’t listen when it calls your name from the fridge!
Gather your ingredients to start.

Note that I gathered ingredients for both curds at once, so the photo shows everything I needed. However, below I’m listing the ingredients for just ONE batch of curd:
- 1 lb strawberries OR 1.25 lbs peaches (the difference in weight is due to the fact that, between the pit and the skins, there is more waste with the peaches)
- 3 oz sugar
- ½ lime (can be juiced directly into the saucepan later)
- 3 whole eggs PLUS 1 egg yolk (whisked VERY well together – no streaks of whites showing!)
- A pinch of fine sea salt (not pictured)
- 3 oz unsalted butter, cut into pieces (the smaller the pieces, the faster they will melt later on)
For equipment, you’ll need a food processor or blender, a saucepan, a fine-mesh sieve that fits well over a bowl (you will rinse and re-use both), a whisk, a wooden spoon, and two rubber or silicone spatulas (it doesn’t matter, as long as they’re flexible).
The process is the same for both, and I documented the strawberry curd since that’s the one I made first.
First, cut the tops off the strawberries.
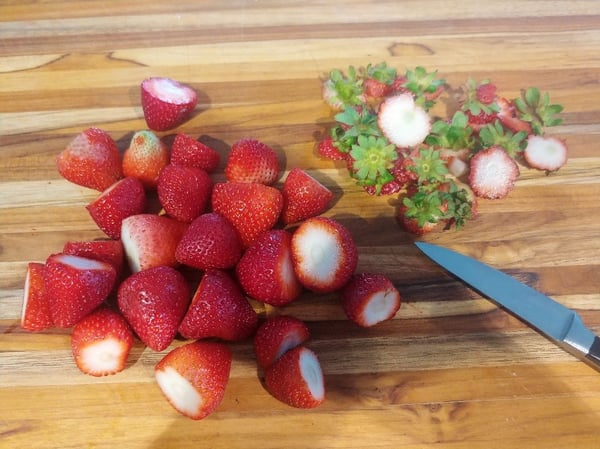
If I’m using strawberries whole or sliced, I prefer to hull them – I think they’re prettier and the core can be a little tough, compared to the outside. However, since these are being pureed, I just cut off the tops and tossed the entire berry into the food processor.
Now go ahead and puree your strawberries in your food processor or blender – just push the “On” button and let it go, turning it off once or twice to scrape down the sides to make sure you get all those bits and pieces in there! You want this to be as pureed as possible. Once pureed, pour the mixture into a fine-mesh sieve over a bowl and press the mixture through. Here’s how I do it:
Once I strained the puree through the sieve, I ended up with about 1.5 cups of strawberry juice. You may end up with a little more or a little less.
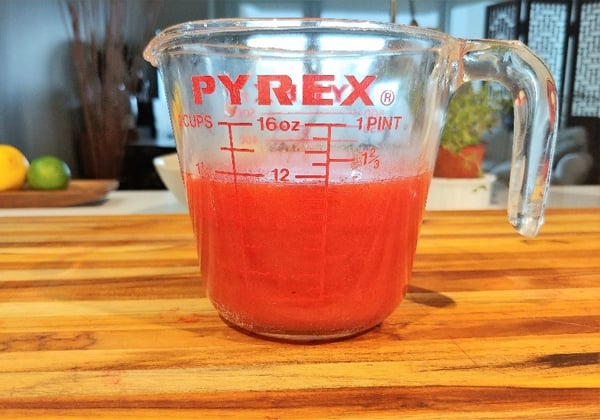
You’ll only need ¾ cup of that juice, but don’t toss the rest! You can use the juice mixed into a cocktail or in a salad dressing – or just drink it! It may need some sweetening, but it’s perfectly good, so why waste it? Just stash it in a container in the fridge and decide what to do with it later!
Now pour ¾ cup of juice into a saucepan, adding the 3 oz of sugar, a pinch of fine sea salt, and squeezing in the juice from half a lime. Don’t turn on the heat yet! Whisk all that together and then whisk in the well-beaten eggs and egg yolk. Now you can turn the heat on to about medium or medium-low. Add the butter and continue whisking. Once the butter is melted and blended into the mixture, take a little taste of the mixture. Let your own palate tell you if it needs anything! Does it need to be sweeter? Add a little more sugar. Does it need a flavor boost? Maybe add a tad more salt. Does it need a bit more “zing”? Add a touch more lime juice. And maybe (more than likely!) it will taste just fine. Regardless, now is the time to check. Do be sure you have all those ingredients handy, just in case – because once this starts to heat and thicken, you kind of have to keep going!
At this point, I also recommend switching from your whisk to a wooden spoon. The wooden spoon will allow you to feel the mixture thicken as the eggs begin to come together and will also allow you to see when the mixture has become “nappe” – or thick enough to leave clear path through the coating on the back of the spoon. Here’s how I get the mixture to that point:
You will find that many recipes do not call for straining the curd mixture once you take it off the heat. While you don’t HAVE to, I DO like to take this one extra step. It takes practically no time (as you’ll see in the next video), and it gives you the smoothest, creamiest curd possible; it really is the difference between “good” and “sublime”! Simply put, why not? You can re-use the sieve and bowl you used earlier, just rinse them out first.
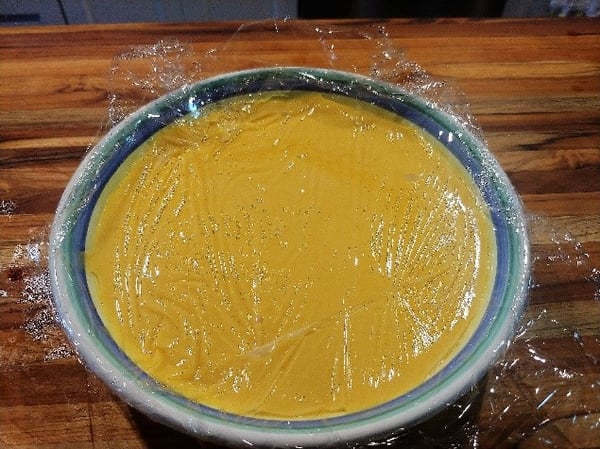
As I mentioned in the video, I like to pour the curd into a wide, shallow bowl to cool. This is only because I am impatient and like it to cool faster, it is certainly not necessary! I also find it easier to place the plastic wrap onto the curd in a shallow bowl, but maybe that’s just me. At any rate, here is what the curd looks like with the plastic wrap.
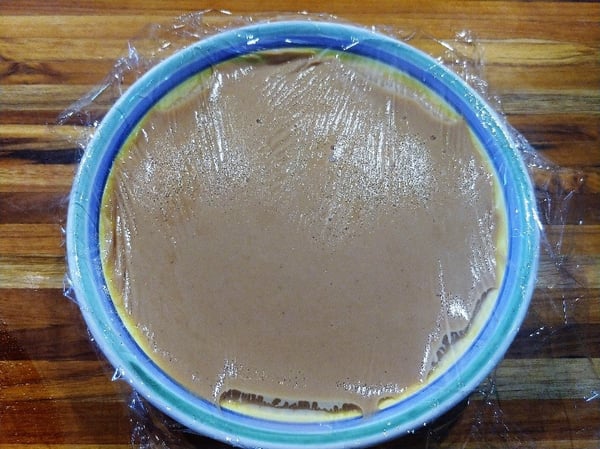
You can see that I have patted the plastic wrap directly onto the curd, as opposed to stretching it taut over the bowl. This is to prevent a skin from forming on top as the curd cools to room temperature. Once the wrap is taken off, I can then transfer the curd to whatever container I’d like for storing in the fridge.
And there you have your strawberry curd – you will end up with about 1 ¼ cups’ worth!
As for the peach curd, everything proceeds pretty much the same as for the strawberry curd. The one difference is in the preparation of the fruit. To keep it as simple as possible – remember everything gets strained! – I cut up the entire peach (yes, skin and all!), throw away the pit, and puree it. However, I don’t know about you, but I don’t always have a lot of luck twisting the peach halves and taking the pit out cleanly. And since all we’re doing here is pureeing everything, I just cut the peach the same way I would apples for pie, right around the pit!
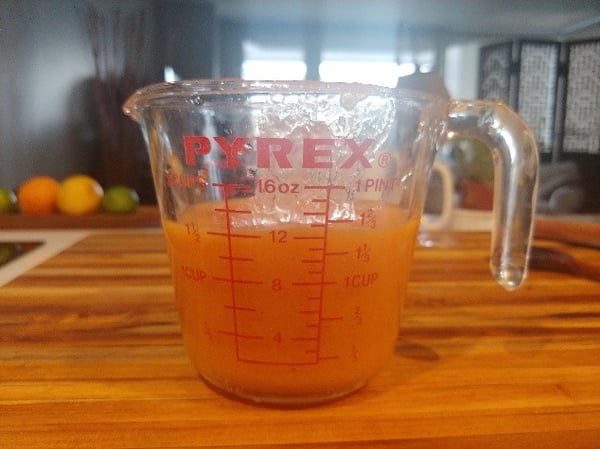
As with the strawberries, you’ll end up with about 1.5 cups of peach juice, but only need to use ¾ cup in your curd mixture.
Follow the same procedure for whisking, heating, stirring and straining. Once again, after everything is finished you’ll want to cover the cooling curd with plastic wrap.
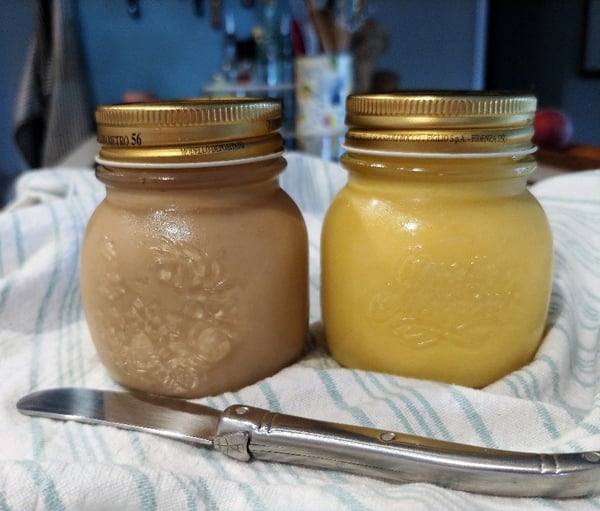
After scooping both the curds out into pretty little jars and letting them sit in the fridge overnight, they are beautifully set, dreamy-creamy and delightful – and ready to either eat or give away!
This process was all about taking a familiar recipe and adapting it, experimenting a little bit until I got just what I wanted. That’s what cooking is all about and it’s exactly what we try to teach at The Chopping Block. In every class and at every private event, we’re constantly asking our guests to “taste, taste, taste”! We can tell you how to do something, but only you know how you want it to taste in the end!
Some of my favorite classes are our “101” classes that give you the basics of how to approach certain proteins. From there you can take the recipes home and adapt them around what you have on hand and how you would like to prepare them. For rest of this month and through July, take a look at our class calendar for Seafood 101 and Meat 101. I hope to see you there!